Similar Posts
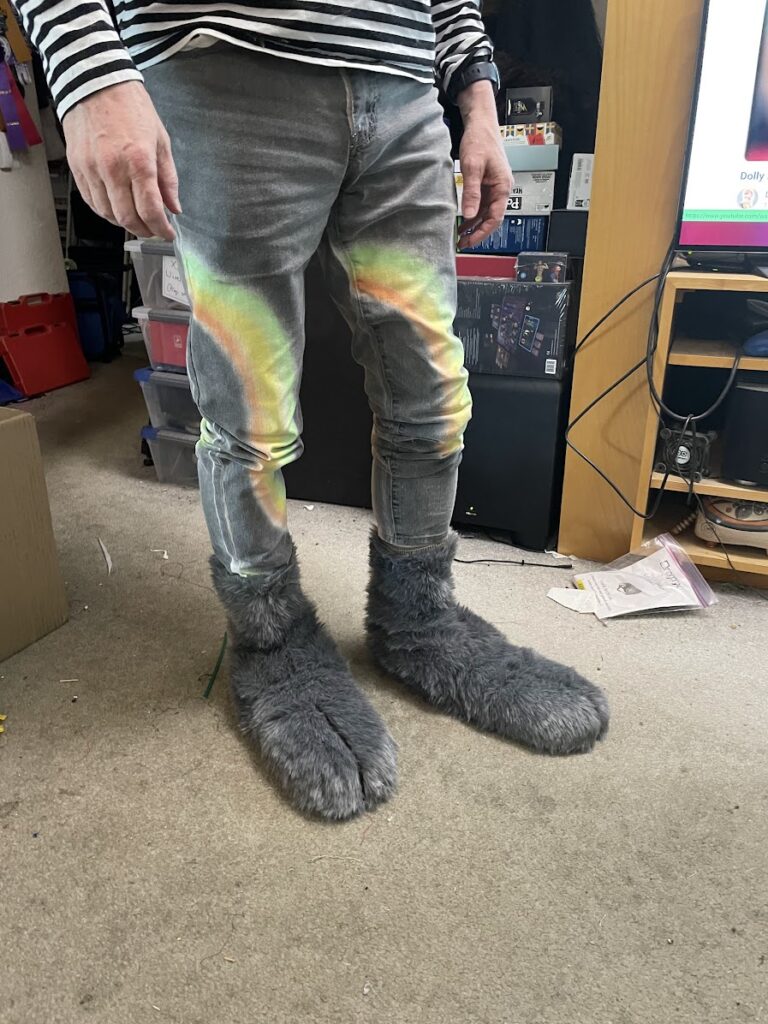
Feet Don’t Fail Me Now!
Building the back and shaft of Rocky’s feet took a while. I did a basic pattern piece that would join up with the shape of the front of the paw. Then I shaved down a bunch of fur to 3/4″ pile and cut two of those out. I modified (and shortened) another pair of the…
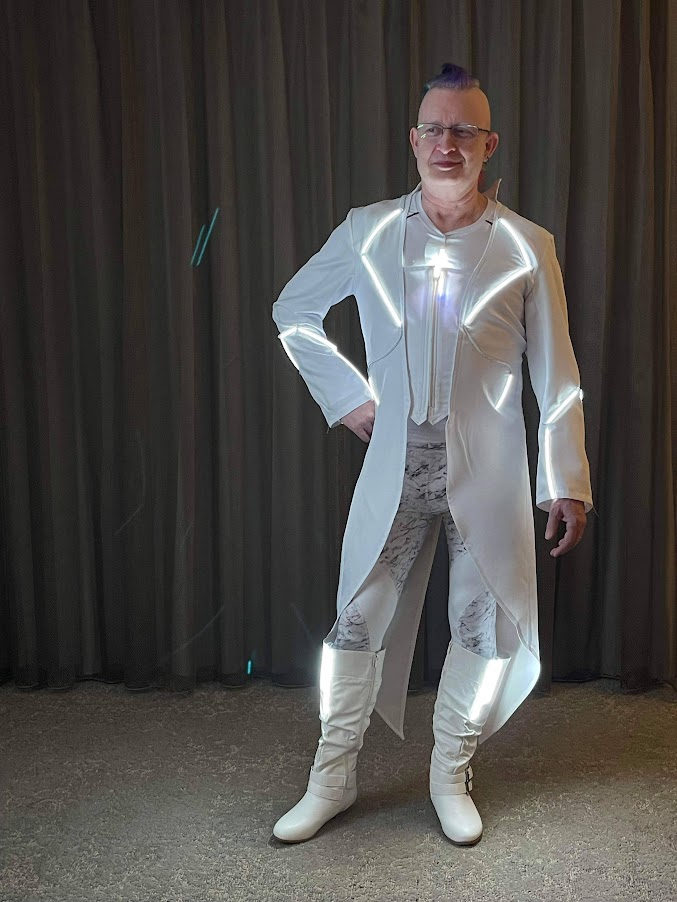
Castor/Zuse at Gallifrey!
I got all the final bits finished in time, and here are some fabulous photos from Gallifrey One!(Most of these are courtesy of Linda Wenzelburger… Thanks!)
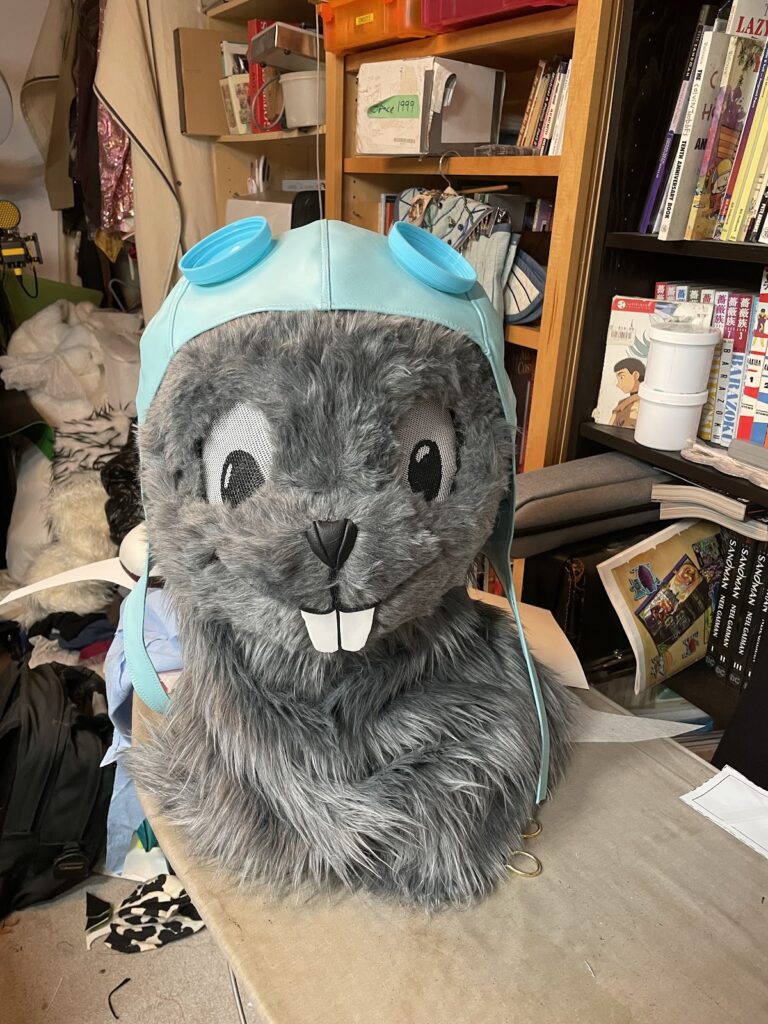
Building Rocky’s Aviator Helmet
This took three mockups to get right. That was after I’d tried scaling up a commercial pattern (TOO BIG) and starting from a fabric beachball pattern (dimensions did not match description, and it was the wrong shape anyway).The problem basically is that Rocky’s head is basically a squashed basketball shape (not the vertical ovoid of…
Test of embedPress with Google Photos
Rocky’s hind feet are always drawn as long and plain grey, with only two toes suggested by a midline, and no paw pads on the underside) My costume version of Rocky’s feet are being built on a pair of simple grey deck shoes with elastic inserts rather than laces. I’ve added pull straps to them…
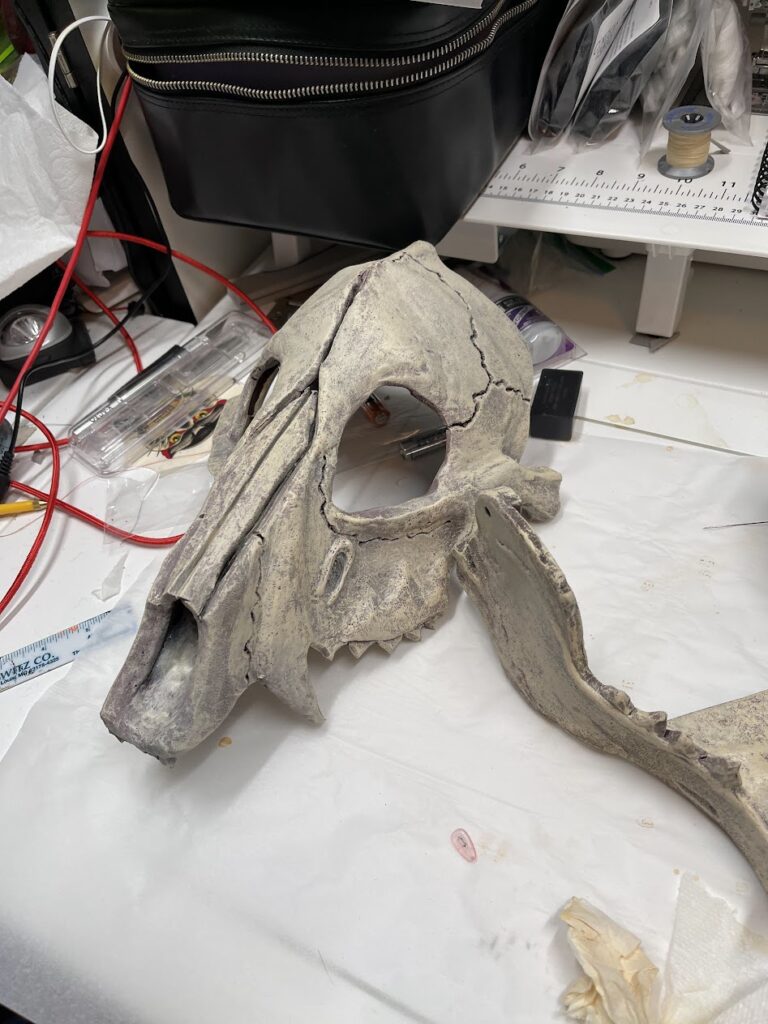
First layers of color… unbleached titanium
The first of four rounds of painting on the skulls was with liquitex Unbleached Titanium paint. First a wash with a fair amount of water plus the paint, which left the dark red skulls looking like they’d been dug out of a dusty pit. Then after that dried, drybrushing with scant amounts of the same…
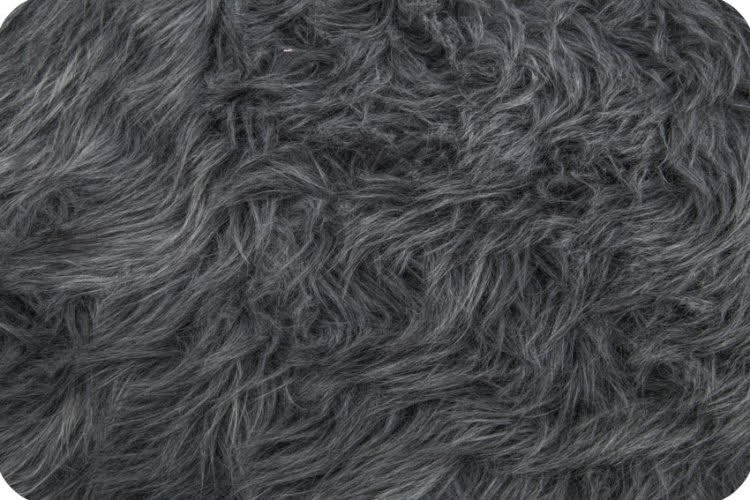
Starting on Rocky’s Feet
Edit: I’ve updated the gallery with the images it was lacking. Rocky’s hind feet are always drawn as long and plain grey, with only two toes suggested by a midline, and no paw pads on the underside) My costume version of Rocky’s feet are being built on a pair of simple grey deck shoes with…


