Similar Posts
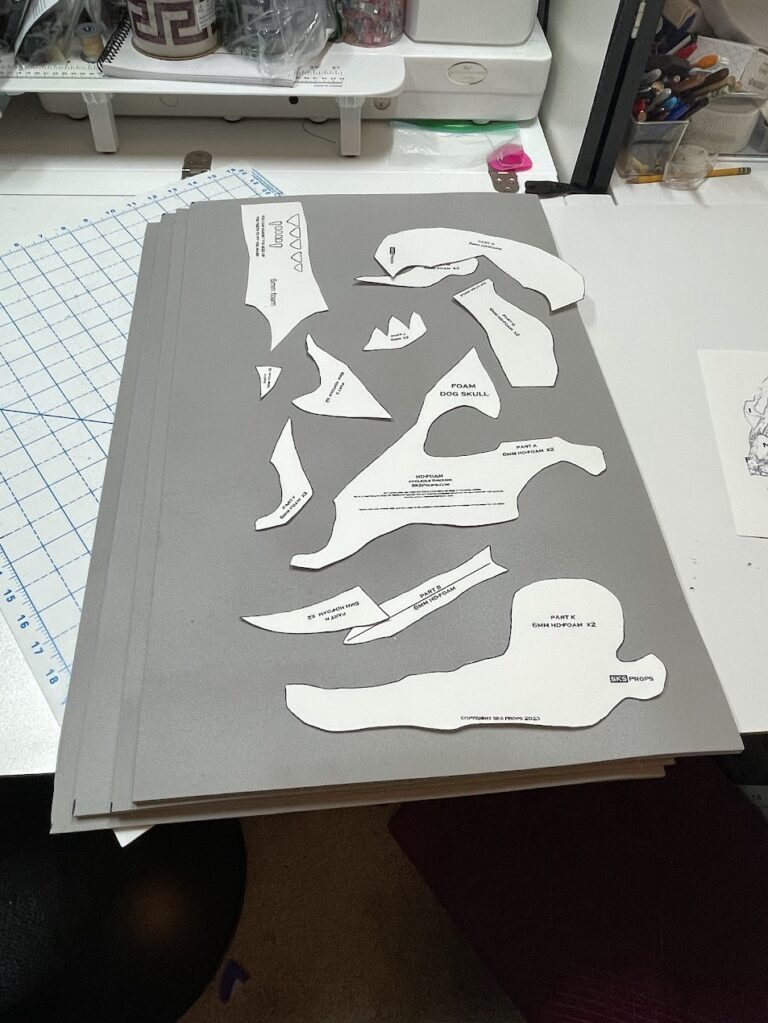
Laying out the Skull masks for cutting
Step one of the whole project was printing out the pattern template onto card stock and then tracing that onto the foam. We’re using SKS Props branded HD (EVA) foam purchased through Blick’s Art Supplies, in 2mm, 6mm, and 10mm thicknesses.SKS had laid out the template to print as a tiled large print; I reorganized…
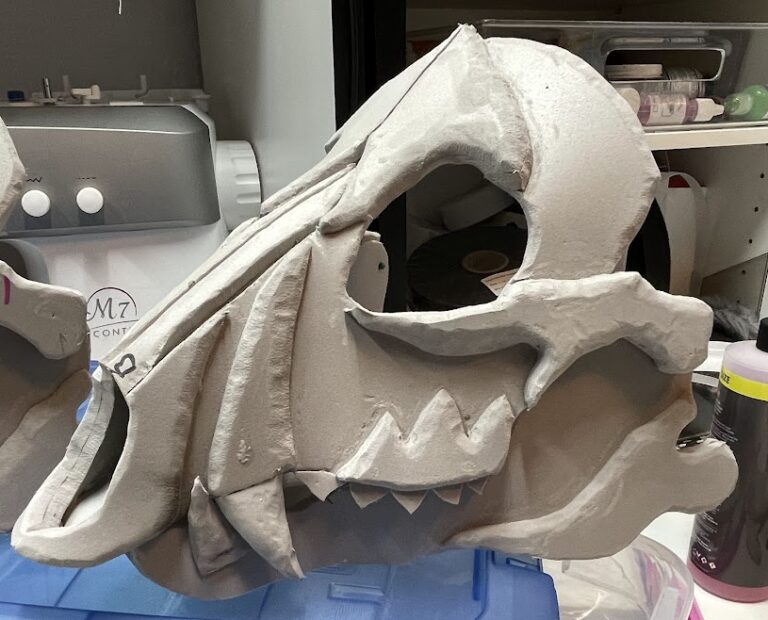
Main assembly, shaping/sanding, and dentition done.
Over the weekend I got almost all the main assembly done for both skulls (there’s one final piece that extends off the back of the mask) and did an initial pass at shaping all those square foam edges with a tapered grinding stone on my Dremel mototool. (the regular kind of Dremel, not the coping…
Getting Further Along!***
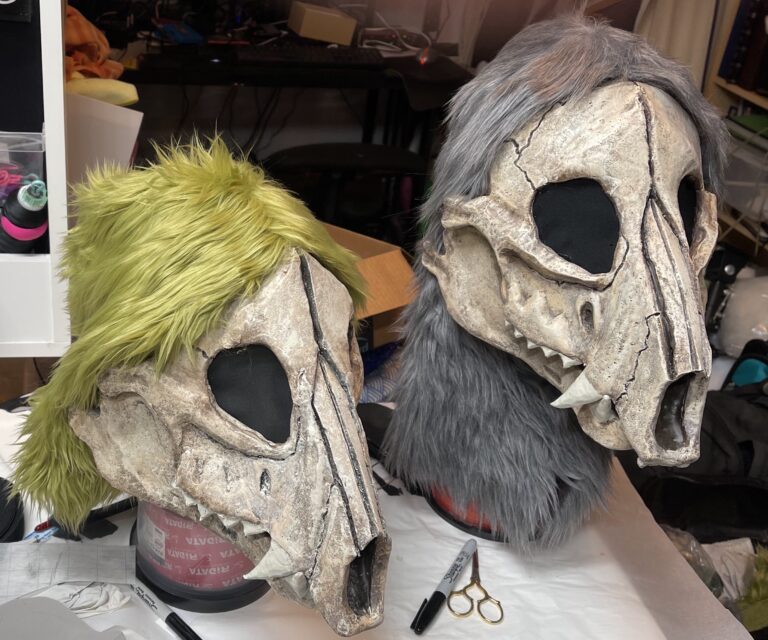
Now that the skull masks are painted, we needed the rest of the heads. After adding elastic loops to close the jaws, and another, adjustable bad of 1” elastic that goes behind our head to secure it*, we considered our options. PAWCon is only 3 days away! We decided to go for simple fur hoods,…
Hey Rocky!
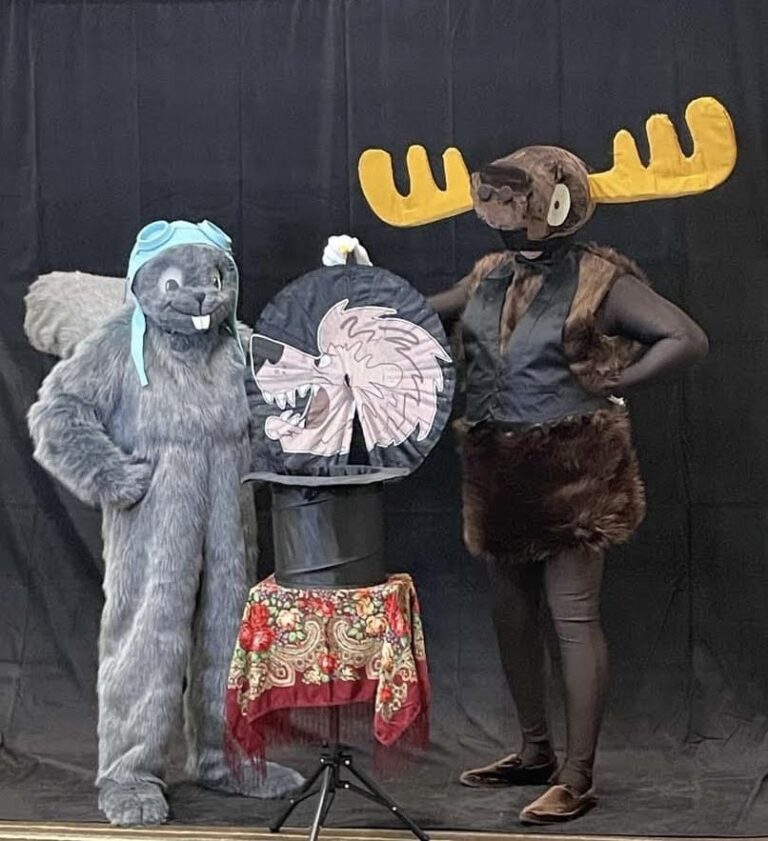
Here’s a great photo (thanks to Christine Doyle) taken before we went on stage at CC42 After our presentation, our friend Wolfcat joined us in the lobby to give Bullwinkle Natasha Fatale’s traditional greeting to Moose and Squirrel
Getting some character: individual sanding/shaping, and more Nasty, Big, Pointy, Teeth
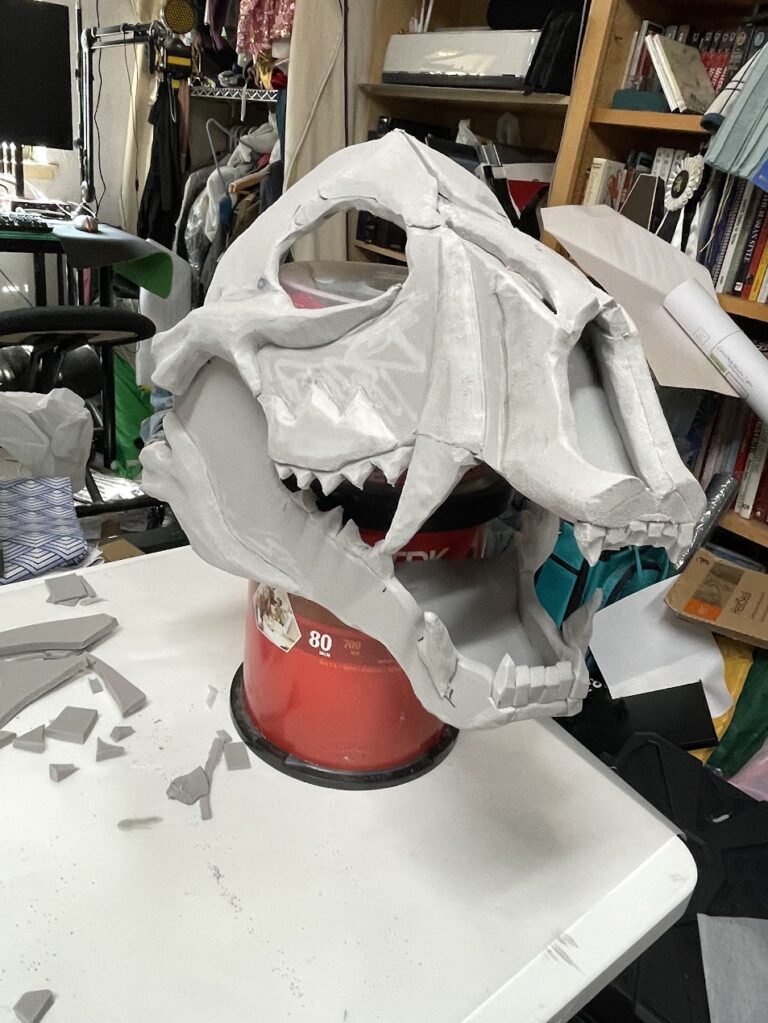
The next step was to do more shaping on the main pieces of the skull with the Dremel. We got a bunch more sanding and shaping heads, and Andy and I each took one of the masks and worked on it for ourselves. This let us each give our own mask a bit of personalized…
Starting assembly on the first mask
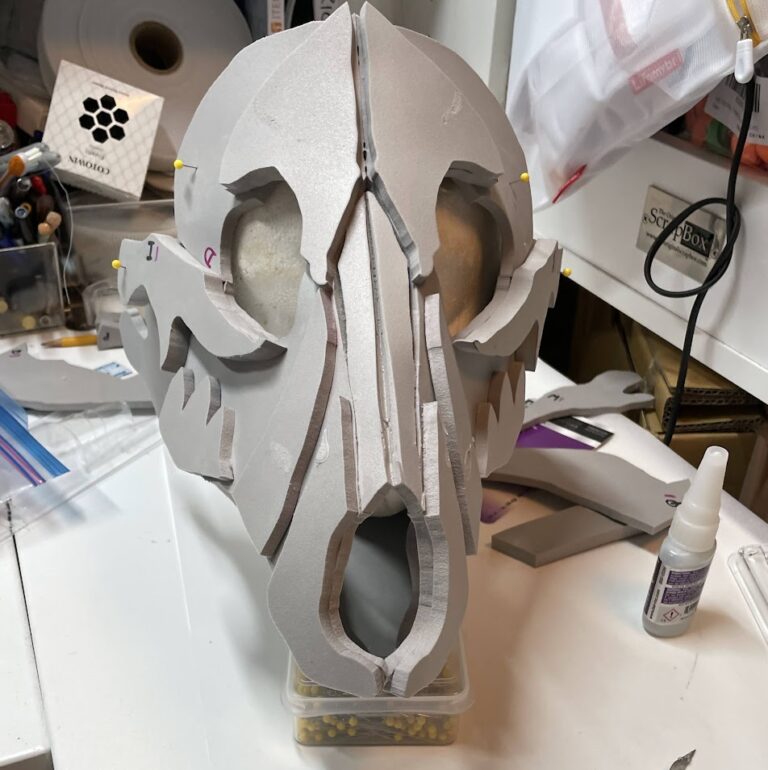
October 7, 2024 Using a gap filling superglue (Bob Smith Industries Insta-Cure Plus *), I did most of the rough assembly of the first skull in an evening, following along with Steve’s demonstration in the Youtube Video (https://www.youtube.com/watch?v=0LKYCmaZ2uE&ab_channel=SKSProps)He goes pretty fast, so there was lots of pausing and rewinding going on. The superglue was cranky…


