Similar Posts
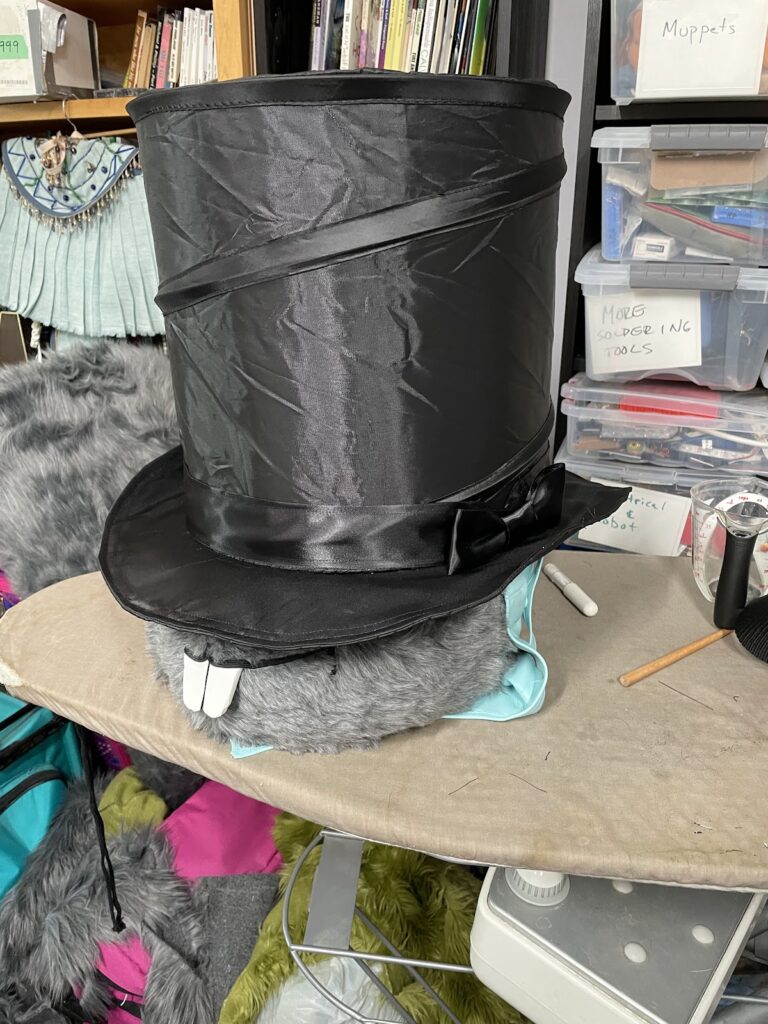
So Much Handwork…
This weekend has been some finishing work on the tail and hat, which has entailed an enormous quantity of handwork. Finishing the tail While the main assembly of the tail was complete, neither end had been stitched up yet. The tip of the tail had been left open to make it possible to insert the…
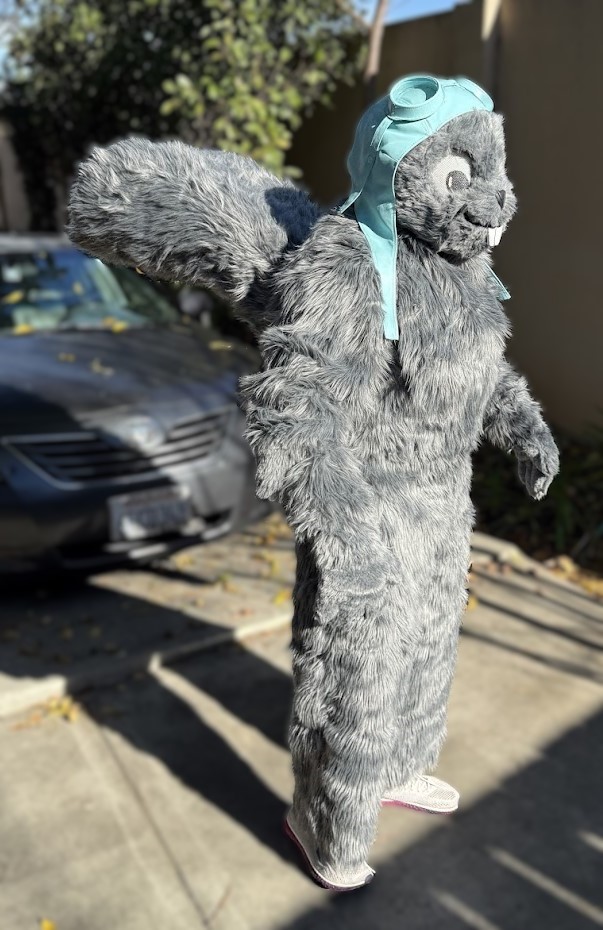
Rocky’s Got Back!
After about four hours work, Rocky’s silhouette is greatly improved for his future appearances!
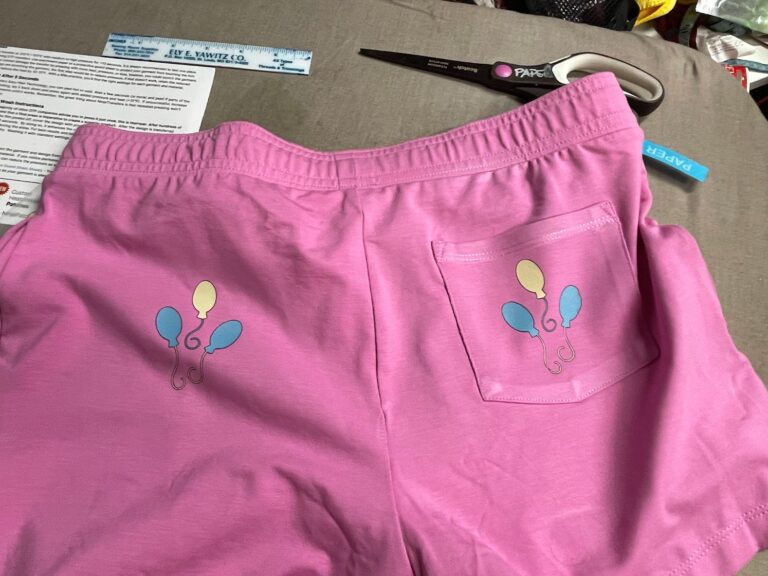
New Improved Shorts for Pinky Pie
The one thing I was REALLY unhappy with in my Pinky Pie outfit for the performance was the pink booty shorts. They managed to be a little too baggy in the legs, too tight in the waist, plus the whole malformed zipper fly. This is no doubt why they ended up in the “meh” bin…
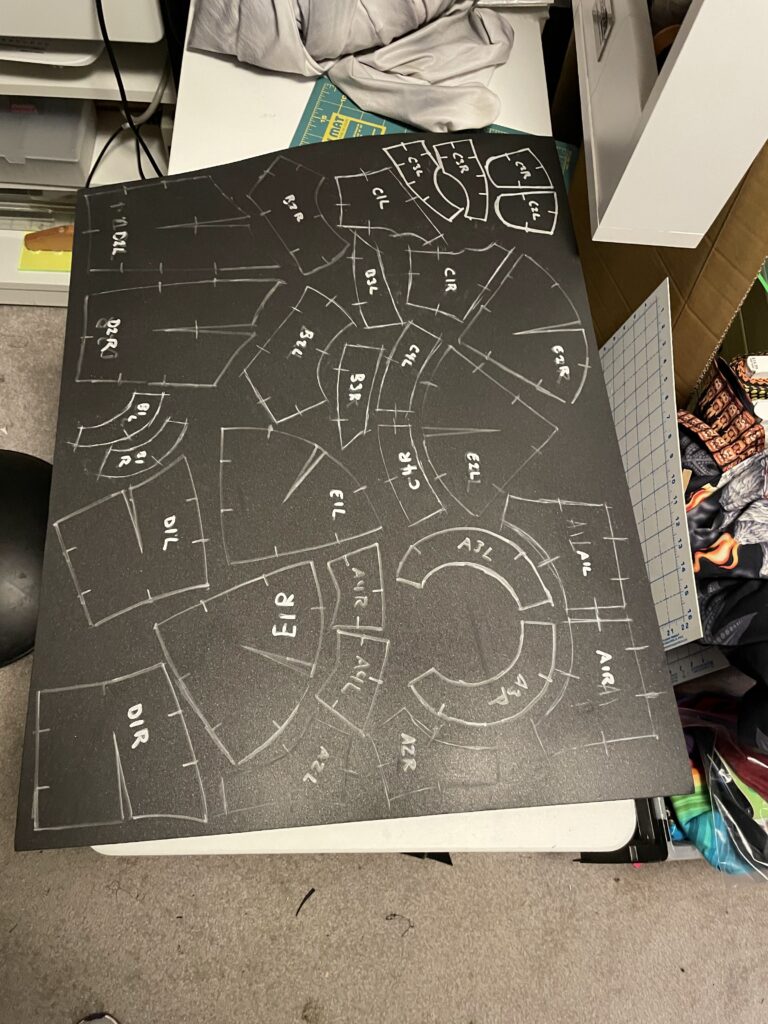
Getting Started — head base layout
The very first step (after buying more 10mm EVA foam) is laying out the pieces for the fursuit head base. This is the downloadable Mantacraft “kiko” head base pattern which I purchased as a starting point. (the license for building with the pattern is acknowledging its use; I have no issue doing that as it…

Building a Jacket for Pinky Pie
Part of the Pinky Pie street wardrobe is this wonderful fringed short jacket. It’s based on the Simplicity 8441 Men’s Cowboy Shirt pattern, which I’d altered and fit last summer for a pair of rainbow shirts. I could use my already altered (and transferred to quilters grid) pattern pieces so I knew it would fit.I…


