


Getting Started — head base layout
The very first step (after buying more 10mm EVA foam) is laying out the pieces for the fursuit head base. This is the downloadable Mantacraft “kiko” head base pattern which I purchased as a starting point. (the license for building with the pattern is acknowledging its use; I have no issue doing that as it proved just about perfect for this project). https://www.etsy.com/listing/1333237707/fursuit-headbase-pattern-kiko-download
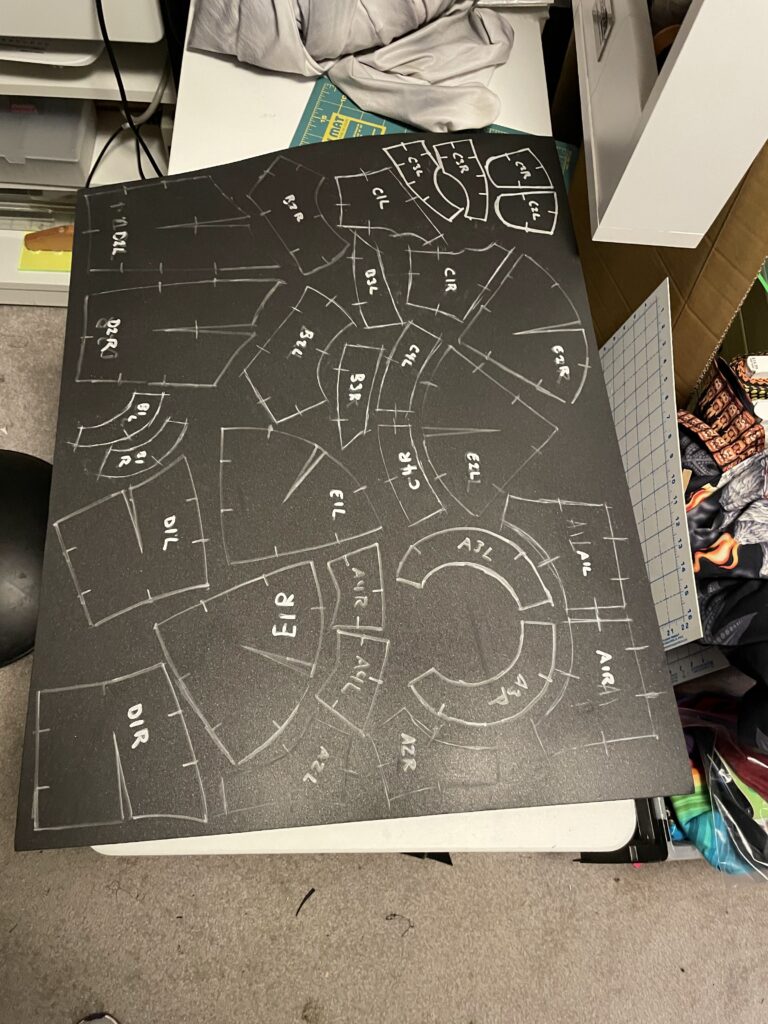
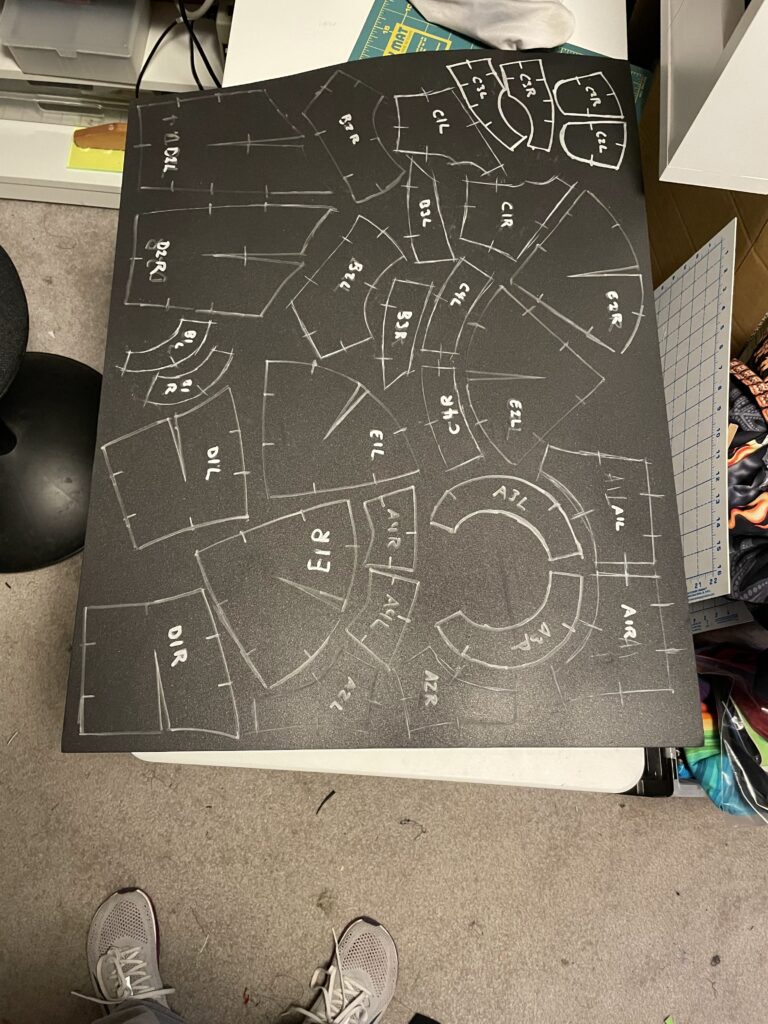
The pattern was supplied as a PDF. I printed it on heavy matte inkjet photo paper, then cut it out, then laid out the pieces on the foam by tracing with a silver paint marker and/or chalk wheel.
One lesson learned from the Brutus (Space Tyrant) project: I bought a $13 pattern notcher and used it to cut the registration notches in the pattern pieces before tracing; this gave me beautifully uniform registration marks on the foam pieces
")


