Notes on working with EVA foam
(Transcribed from a comment I made on Bill Howard’s FB page)
- Pattern setup:
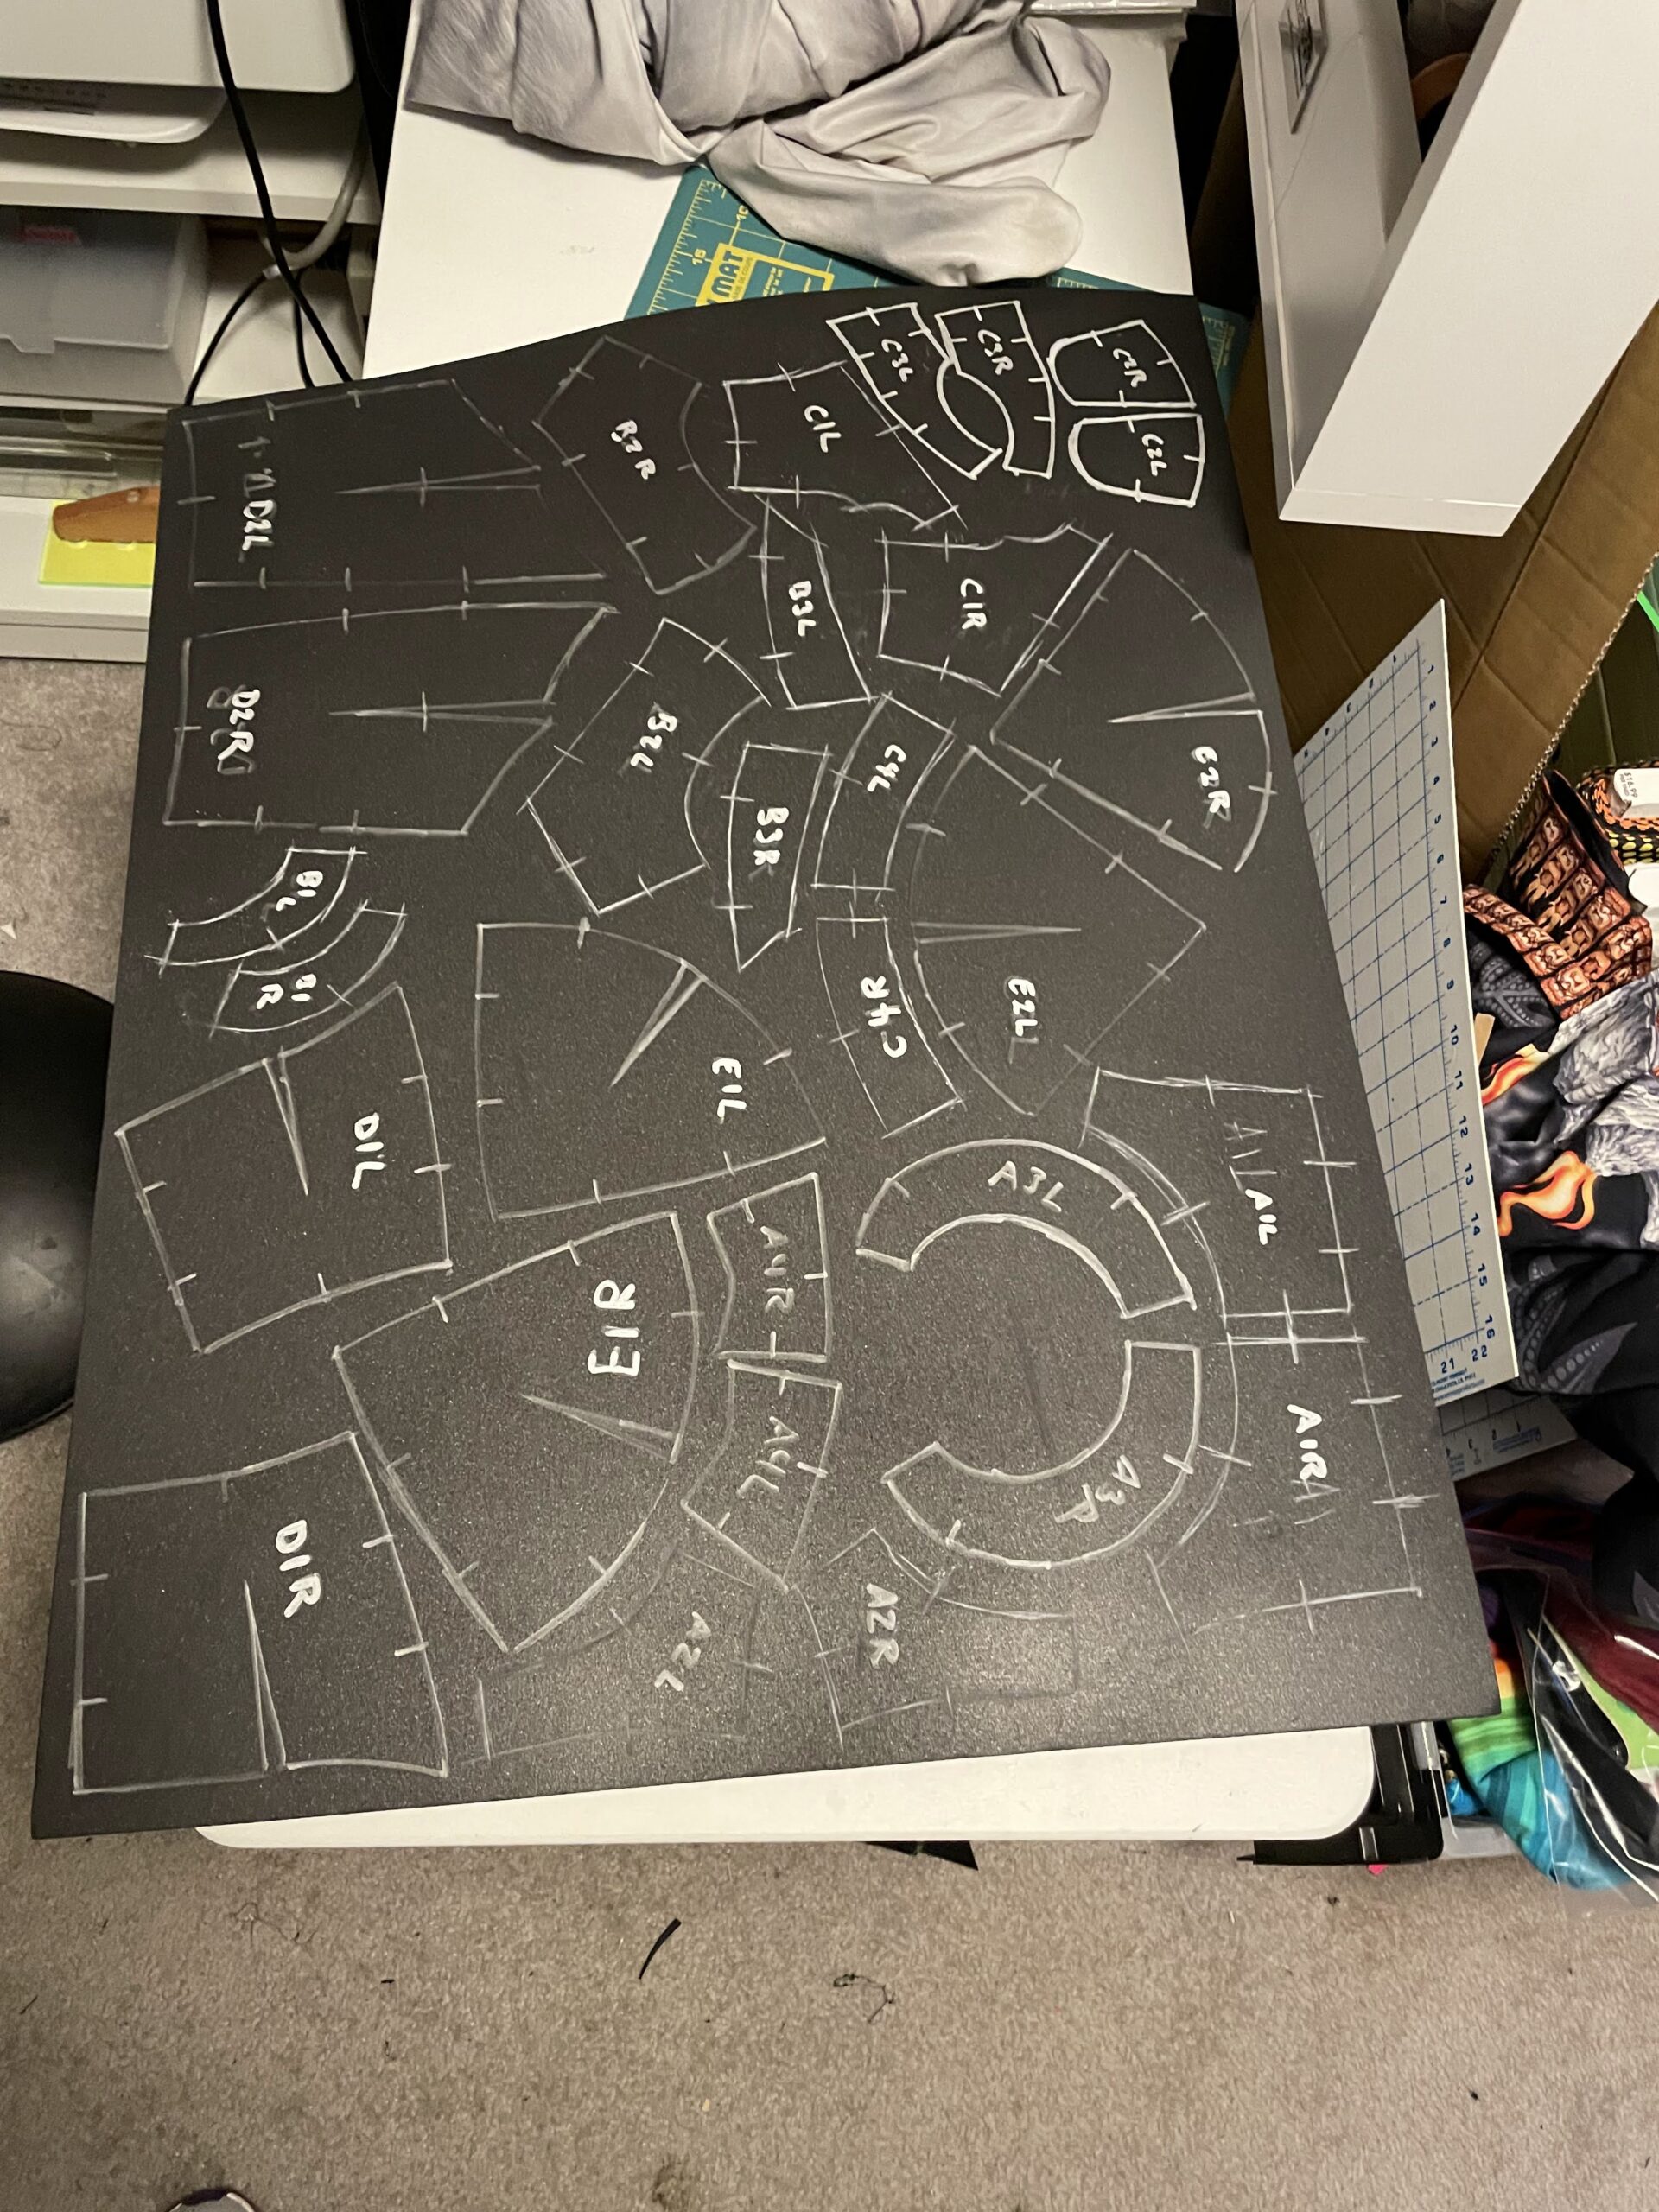
- Trace/print your pattern onto cardboard (heavy matte inkjet photo paper worked for me) and cut it out.
- Get a notch cutter (8-10 bucks on Amazon) to cut the alignment marks on the pattern uniformly.
- Trace the pieces with a silver sharpie paint marker to get nice clean lines; tracing over the notches will give you really nice alignment marks.
- Cutting
- I use both a snap off knife and a rotary cutter, the latter gives really clean edges but can’t navigate tight curves.
- For convex joins (like a skull) undercut (bevel to the back) the pieces just slightly so the joins assist in creating the round shape.
- There may be particular edges that are called out to be undercut or over cut; I use a 45 degree cut on those.
- It is way easier to do the beveled cut when you first cut out the piece.
- A heat gun is your friend:
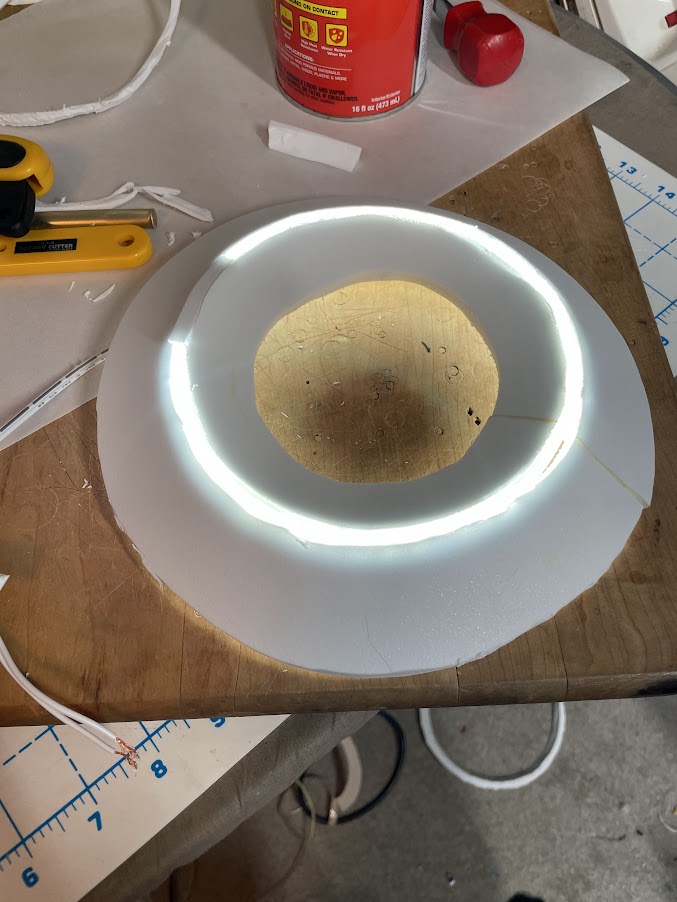
- Use it (on lower setting) to seal the surface of the foam before cutting (it will also help it flatten out from being rolled) by gently and fairly quickly (you’ll see the surface texture change slightly).
- After cutting, do the same to the cut edges.
- Gluing:
- Use the stinky kind of contact cement, not the water-cleanup kind.
- Use at least a couple light coats of the cement on each edge rather than a single thick coat; you can apply a second coat after the previous one has tried to tacky.
- Wait 12-15 minutes for the last coat to dry (should be slightly tacky and glossy but not wet) and then join the edges.
- You can make initial grip even grabbier (and the foam slightly more malleable —handy for curves) by heating the edges very briefly just before joining.
- It’ll be super grabby, so do the initial alignment quickly but carefully, and then go back and work the seam thoroughly, pressing the two sides together to get as much as possible of the cut faces to bond as possible; about 10 seconds should give a firm bond.
- Let it cure at least overnight.
- Smoothing/shaping
- Use a sander (wear a mask/repirator and do it outside) to smooth the ridges of the seams,
- Use the heat gun plus gentle kneading to round the shape better into its final form. You can use a smooth firm ball on the inside to help with that shaping.


