Bullwinkle at CC42!

Bill will be adding details of his Bullwinkle build as time and opportunity present


Bill will be adding details of his Bullwinkle build as time and opportunity present
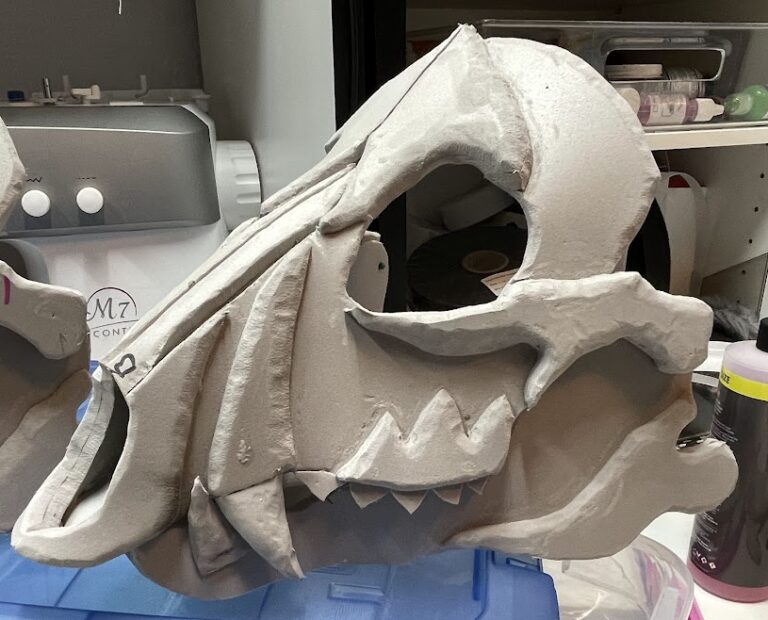
Over the weekend I got almost all the main assembly done for both skulls (there’s one final piece that extends off the back of the mask) and did an initial pass at shaping all those square foam edges with a tapered grinding stone on my Dremel mototool. (the regular kind of Dremel, not the coping…

Saturday I finally took the time to add the internal band that lets Rocky’s head rest securely on my own.

Part of the Pinky Pie street wardrobe is this wonderful fringed short jacket. It’s based on the Simplicity 8441 Men’s Cowboy Shirt pattern, which I’d altered and fit last summer for a pair of rainbow shirts. I could use my already altered (and transferred to quilters grid) pattern pieces so I knew it would fit.I…
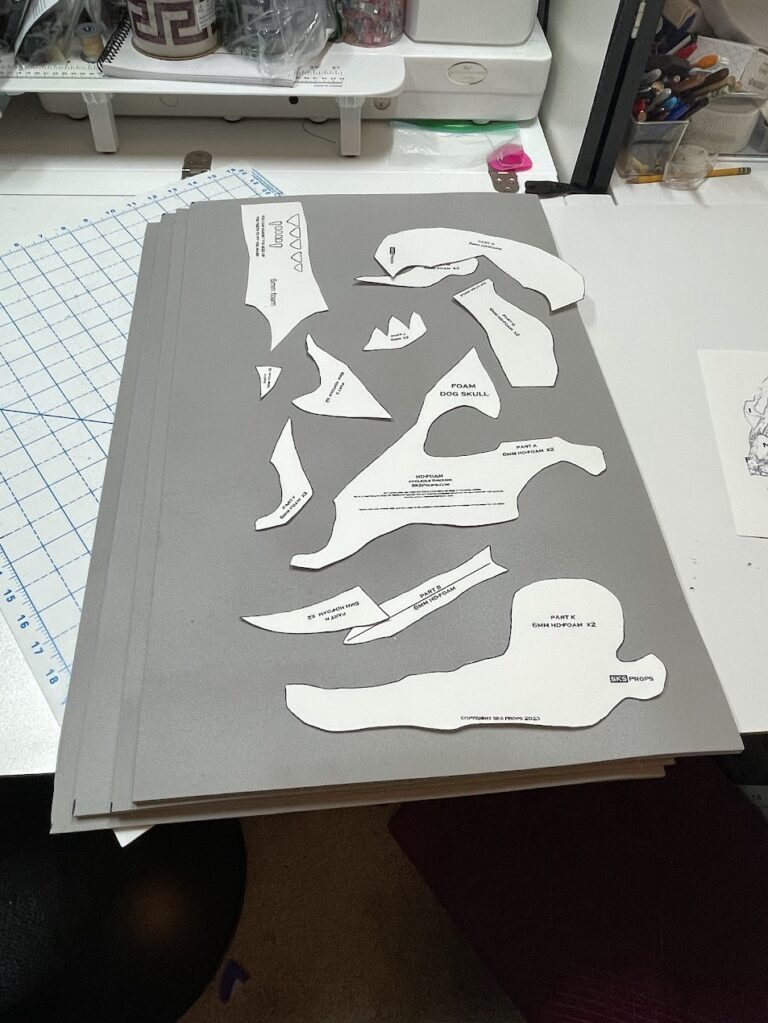
Step one of the whole project was printing out the pattern template onto card stock and then tracing that onto the foam. We’re using SKS Props branded HD (EVA) foam purchased through Blick’s Art Supplies, in 2mm, 6mm, and 10mm thicknesses.SKS had laid out the template to print as a tiled large print; I reorganized…
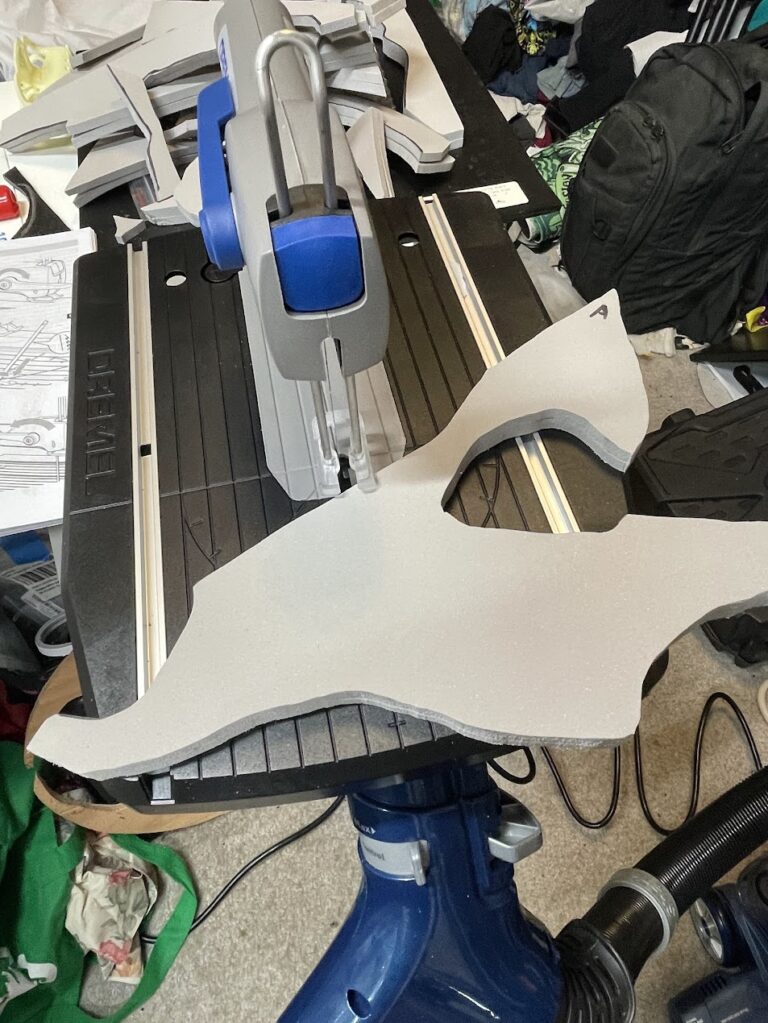
(copied from Facebook posts)It was amazing how *spiffy* the Dremel coping saw was at cutting the HD EVA foam. The pieces for the dog skull masks have pretty intricate shapes. My mini-review of the Dremel MS20 Moto-Saw The tool I bought for this job isthe Dremel Moto-Saw MS20. It can theoretically be used freehand but…
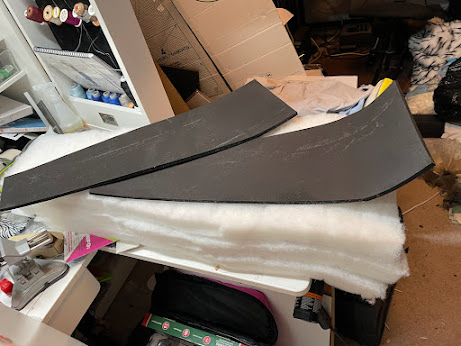
One of Rocky’s signature features is his giant fluffy tail (it often rises taller than his head in the cartoons). After finishing his head and flying cap, that tail is my next major construction challenge (and I only have 4 weeks left! eep!). I investigated several ways to make the tail free-standing and self-supporting, but…
Thanks for sharing your costume build for those of us who will not be attending the convention.
Thanks! Bill and I should be posting regular updates to our respective build diaries here.