

It’s a head!
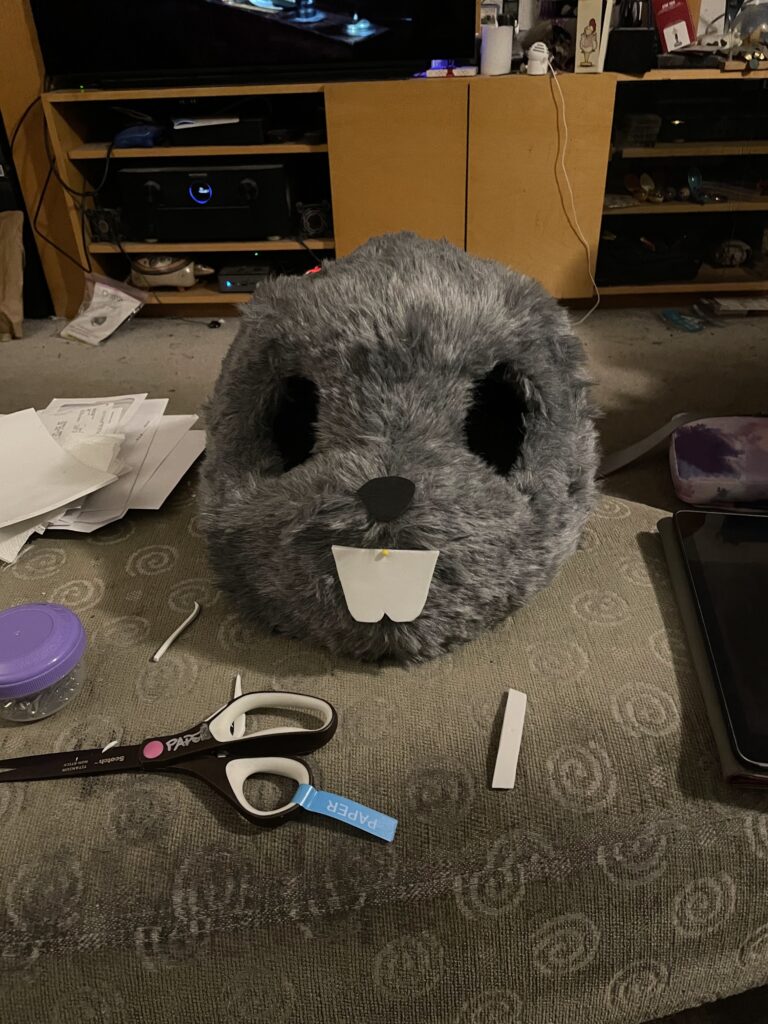
Here’s how Rocky’s head looks after assembling and doing a first shave on the furring.
The fur is not yet glued to the head, and the nose and teeth are just pinned on.
Fur also needs to be trimmed back from the eyeholes slightly.

Here’s how Rocky’s head looks after assembling and doing a first shave on the furring.
The fur is not yet glued to the head, and the nose and teeth are just pinned on.
Fur also needs to be trimmed back from the eyeholes slightly.
")
The last couple days I’ve been working on finishing finer details on Rocky’s face. The quick mockup I published earlier wasn’t bad, but I noticed a couple of things.First and foremost, Rocket J Squirrel does not have a significant cleft in his upper lip; in all the original cartoons its almost always a smooth line…

A quick and mostly-easy hall costume inspired by Rainbow Dash from My Little Pony, Friendship is Magic, and the number of times my rainbow mohawk inspired frazzled moms to distract their fussy kids by pointing at it and saying, “look, he has hair just like Rainbow Dash!”

This took three mockups to get right. That was after I’d tried scaling up a commercial pattern (TOO BIG) and starting from a fabric beachball pattern (dimensions did not match description, and it was the wrong shape anyway).The problem basically is that Rocky’s head is basically a squashed basketball shape (not the vertical ovoid of…

After making the pattern pieces, I carefully cut out the fur in mirror-imaged pieces. You cut the fur by tracing the pattern pieces on the back side, then carefully cut through just the backing with a sharp X-Acto knife from the back side.This both dramatically reduces the amount of loose pile (“hair”) you end up…

