OMGWTF GOGGLES!
Rocky now has goggles!
This was a bit of a trial. After making the basic pattern, I started cutting frames to support the lenses out of some 3mm thick heavy cowhide in my stash. It took 3 iterations to get the pattern the right size, as I wanted to wrap it in the light blue lambskin.
Close, but lumpy
The results of those 3 iterations showed I was on the right track, but they looked a bit, well, lumpy. Trying to get the plastic Petri dish “lens” in place was stretching and mushing the seamed lambskin in the assembly.
Fourth Time’s the charm
I scaled up the frame pattern by 2 more mm, to allow for the thickness of the lambskin, and cut new frames. A quick wrap test showed this should do the trick.
I then edge-stitched the seamed lambskin pieces to the top edge of the frame piece while it was still flat, through all 3 layer, so the seam in the blue leather would sit on the inside edge of the frame where I wanted it.
I then perforated and hand stitched with carpet thread the ends of the frame to form the rings, and glued a (cleverly cut) flap over the inside, messier looking, X part of those seams.
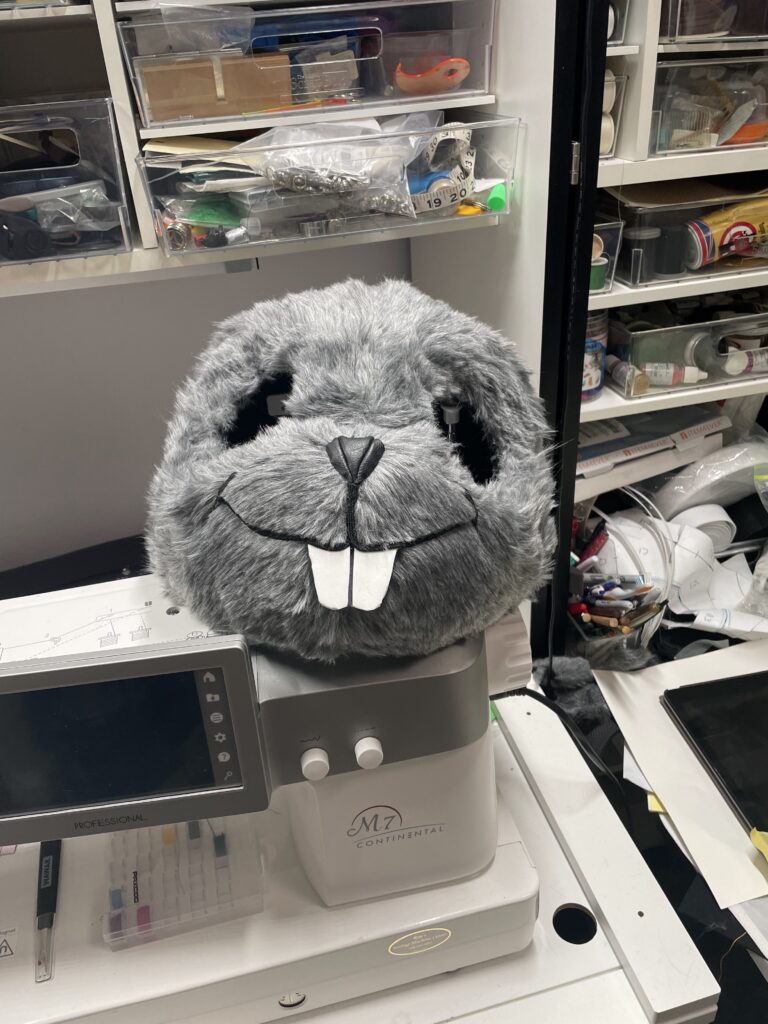
Voila! Lens frames! A couple quick shots with them sitting on Rocky’s cap looked great.
Going for Broke
Now that I had lens frames, I needed “eyecups” (bases) and straps to hold everything together. I cut out 2 sets of oval base pieces, cutting the centers out of one set, and a 1 1/2″ strip for strapping, applied a couple coats of contact cement, then laminated (or folded) and burnished the glued pieces together, then edge stitched them all. I cut the strap into a short center piece and two long side straps, and machine stitched those onto the bases.
I realized the best way to put the frames on the bases was going to be hand stitching, so I unthreaded the needle, turned off the thread breakage sensor, and used the M7 to perforate a ring of holes in the lambskin. (My leather lacing punch would have been overkill for the lambskin). Then I started stitching. A movie and a half later, the lens frames were firmly attached. I then cut out the remaining centers of the eye cup assemblies and inserted the lenses.
I’m *really* pleased with how they turned out.


