Building a Jacket for Pinky Pie
ByKevin
Part of the Pinky Pie street wardrobe is this wonderful fringed short jacket. It’s based on the Simplicity 8441 Men’s Cowboy Shirt pattern, which I’d altered and fit last summer for a pair of rainbow shirts. I could use my already altered (and transferred to quilters grid) pattern pieces so I knew it would fit.
This spangled tulle sheds glitter continuously. It’s getting a special storage bag to contain the spread.
Spangled Tulle to make a terrifyingly floofy train
I had just barely enough of this silver-printed spandex to cut the waist, cuffs and collar for Pinky Pie’s Jacket
After cutting, this is all of the pink spandex that was left!
The basic waist pieces, with the darts in. This is based on Simplicity 8441, a full length yoked men’s shirt pattern
The lines indicate where the “Western” style yoke would be applied; I’m going to outline the shape with trim rather than make a yoke.
close up of yoke marking and shoulder seam
Didn’t have enough pink to do the collar in one length, so it’s pieced down the center back
Jacket assembled and trimmed, waiting for cuffs and final finishing
Again, waiting for cuffs and finishing
(playing with color filters on shooting the jacket; it’s hard to get the colors to pop like they do in person)
fringe and trim to outline the yoke. The dangly bits right below the collar band need to be dealt with
Finished Jacket! If you look carefully you’ll see a small line of horizontal stitching about an inch below the collar band to control the drape of that top bit of fringe
Back of the finished jacket
back, different color filter
Sleeve Fringe is incorporated into the underarm seam. Cuff pattern was extended so sleeve has the lap, but no pleating into a smaller cuff.
Pink Pearl Snaps!
Seven yards of spangled tulle gathered into about 12 inches!
Sparkly buttons on ribbon (under the tulle) to create the swags
More swags
Still More Swagging
OMG it’s Floofy!
the “jewel” buttons peep out of the sparkly tulle
more hidden gems
So much Pixie Dandruff. The train is going into a storage bag asap
Three sets of cutie marks (mirrored) printed onto inkjet printable fabric after setting the ink. One set were satin-stitched around for making patches
Another look at the printed fabric cutie marks
The M7 can really crank out the satin stitching!
Cutie marks applied to little pink shorts. Bonded first with Bo-Nash bonding powder, then hand stitched in place
Nice and neat, and the pocket still works!
pretty happy with that hand-stitching
and the right pocket to match
While I was at it I found a Pinky Pie patch in my stash and stitched that onto the jacket yoke
I’m *really* happy with how neatly this went on
The stitching’s almost invisible! (I didn’t iron it on because I wasn’t sure what the adhesive might do to the silver ink on the spandex
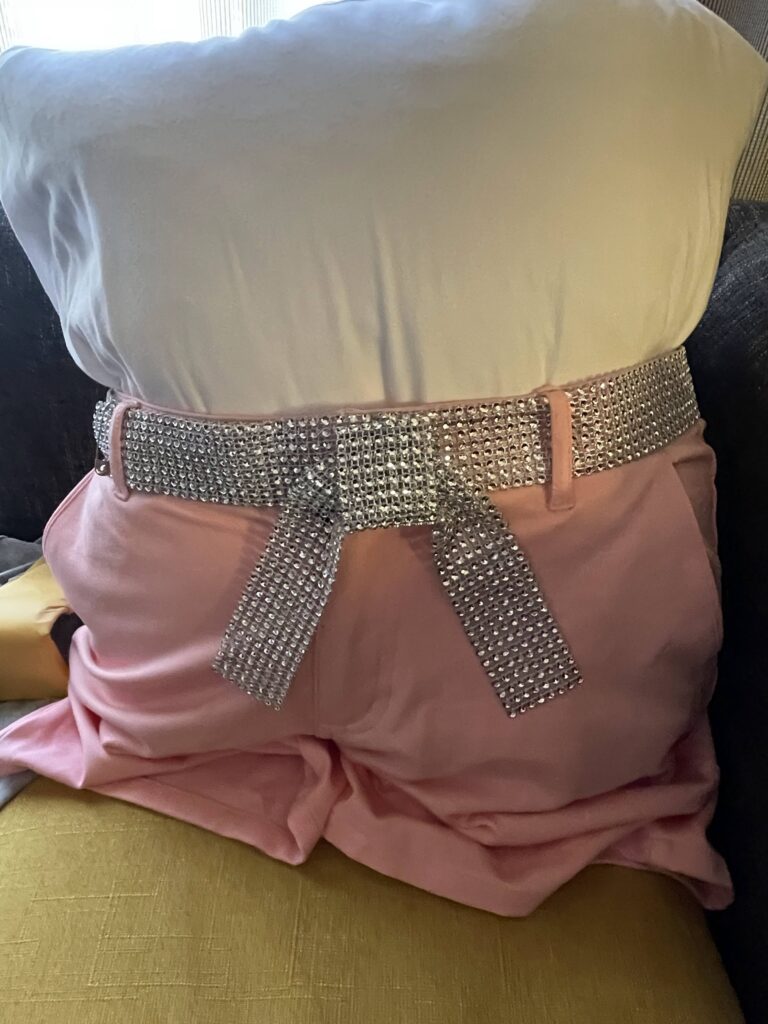
The fastener on the shorts was a bulky riveted jeans button and buttonhole. I adapted a pair of bra hook extenders to smooth it out and let me adjust the waist slightly
closeup of the loops side. I took the hooks off this one.
close up of the hooks side. I took off the loops on the reverse to reduce bulk. The extra hand-applied hook lets me hold the edge down (the fabric is slightly stretchy and it kept peeling back. It didn’t look much better with the button and buttonhole)
it’s a set!
(Not in photo: tights, shirt, accessories)
That Pinky Pie applique just rounds the look out so nicely!
Note: the sparkly train has since been bagged to reduce Pixie Dandruff
New cute little VERS shorts from awrymenswear.com (drawstring removed)
The original outside buttonholes for the drawstring, tacked shut
New (not pretty, first try doing buttonhole stitch by hand) interior buttonholes for drawstring
DTF (Direct Transfer Film) Cutie Mark iron-on transfers from Ninja Transfers. Custom printed from my art
Voila! Cutie marks on the shorts!