Chunking the foam for cutting
Before the foam can be cut with my Dremel coping saw, I have to make sure the pieces will *fit* in the arm of the saw, so I chunked it up
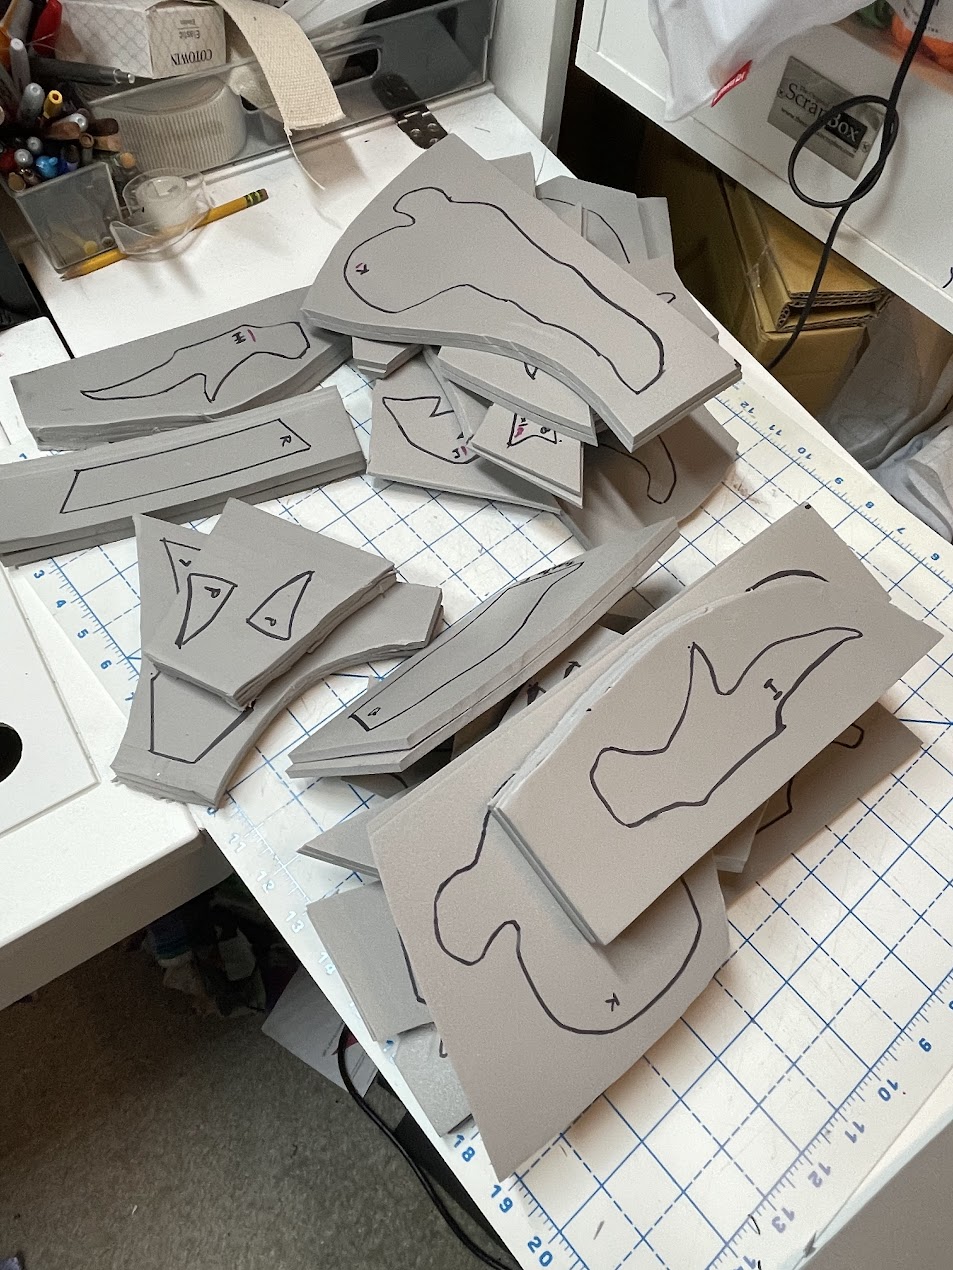
Before the foam can be cut with my Dremel coping saw, I have to make sure the pieces will *fit* in the arm of the saw, so I chunked it up

Part of the Pinky Pie street wardrobe is this wonderful fringed short jacket. It’s based on the Simplicity 8441 Men’s Cowboy Shirt pattern, which I’d altered and fit last summer for a pair of rainbow shirts. I could use my already altered (and transferred to quilters grid) pattern pieces so I knew it would fit.I…
just some pix from the convention
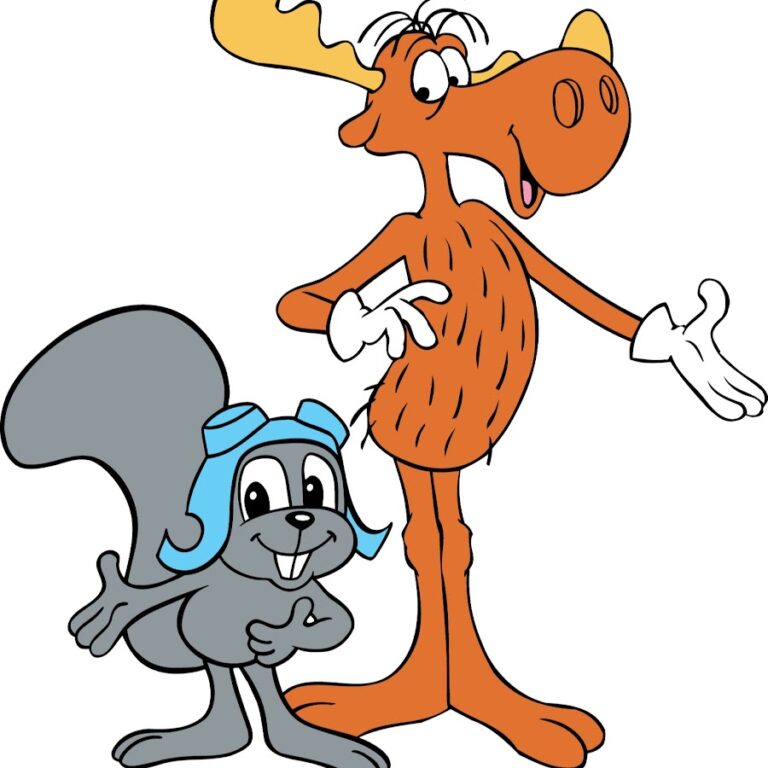
Bill will be adding details of his Bullwinkle build as time and opportunity present
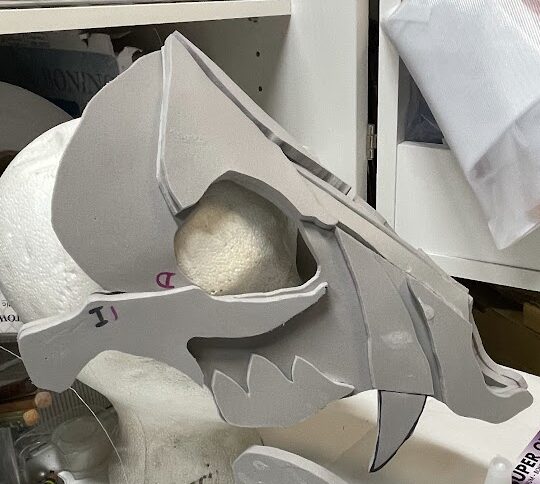
Had a board meeting, so only got a tiny bit more done — upper big teeth and building out the lower jaw a little.
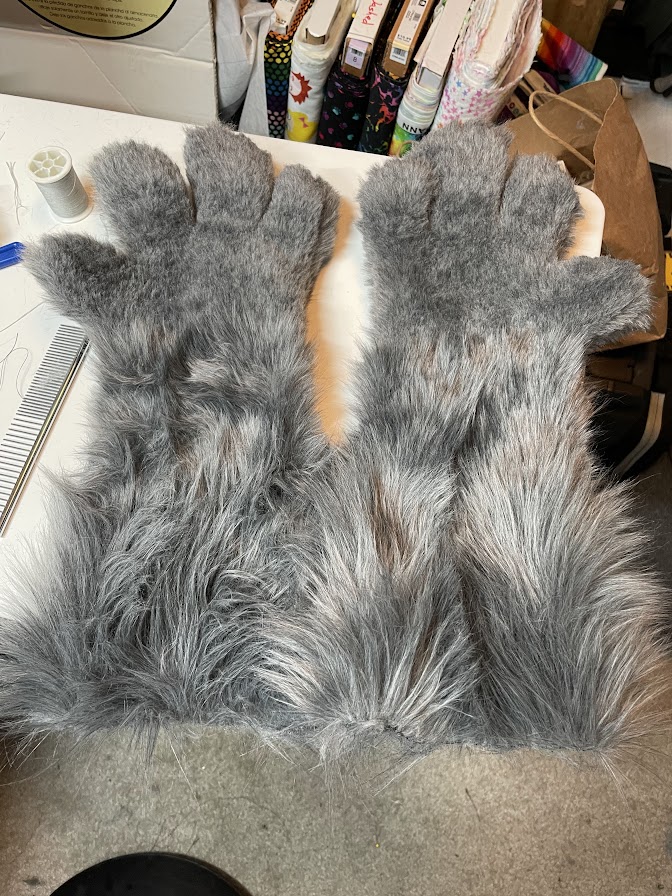
Two Paws are Better Than One After the successful (but requiring lots of handwork to fix gaps in the seams) on the left paw, I set out to build the right paw a little more methodically. First I trimmed the batting layer just about 1/8″ in from the edges. Then I hand basted the batting…
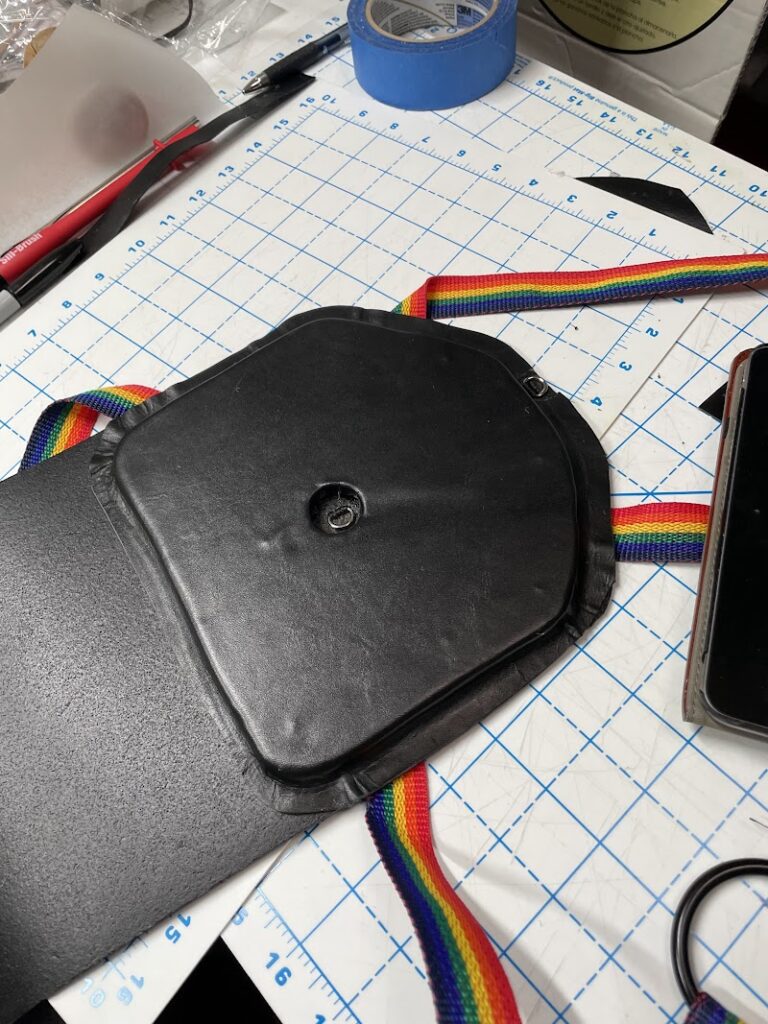
Reinforcing the rigging harness I needed to stiffen the tail support across the shoulder blades because even the heavy hide I used was too flexible. Fortunately I’ve acquired a healthy set of power tools in the course of working on my townhouse and building both Tiki Dalek and Thinbot, so it only took about 20…