A New Mane and Tail for Pinky Pie
I wasn’t happy with the smooth tail for Pinky Pie, and after some experiments with clip-in extensions to cover my rainbow mohawk, set out to convert a pair of wigs into a new curly bright pink mane and tail. (Pinky Pie’s mane and tail are always drawn as giant puffy curly things)
I will be expanding this post with more notes, but if you want to see them as attached to the images, you can visit the google photos album directly at https://photos.app.goo.gl/bUs3V7UrisE7ndse9

I started by buying two cyclamen pink “long spring coil” wigs (tight ringlets) from cosplaysupplies.com . It turned out they were actually from the venerable Lacey’s Costume Wigs of New York, which was a pleasant surprise; Lacey’s wigs are usually quite well constructed which makes them easier to modify adapt.
I had expected I might be doing serious modification to the wigs, possibly even peeling the wefts of hair off the wig cap and rebuilding them into something new, but to my pleasant surprise I realized I could take a much simpler (and quicker) approach to both.
Building the mane
The wig as shipped has a fringe of shorter curls across the forehead hairline and then longer curls on the crown, side and back.
My goal was to simplify the hairline, and then add toupee comb clips into it so I could clip it into my existing mohawk.
The toupee clips in question are these small (0.9″) narrow toupee clips, I purchased them from Manhattan Wardrobe Supply: https://www.wardrobesupplies.com/mws-narrow-tooth-toupee-clips-12-ct.html. They have silicone coating for better grip, and are of the curved “flex to snap open/closed” variety.
After fussing a bit with the wig, it turned out I only needed to do two things to get the mane effect I wanted.
- remove the side tabs (used to pull the wig on, usually end up just in front of your ears) to give the wig a smooth edge
- wear the wig sideways! (put the “forehead” hairline parallel to the side hairline of my mohawk)
Once that idea clicked, I started sewing the toupee clips into the front (now side) edge of the wig. After a couple fittings which showed I needed *more* clips to secure it better at the front of my mohawk, the mane was pretty much done!
Building the Tail
Examining the wig construction, the main wig consists of a dome-shaped lace cap for the top of the head, with a spiral line of the curly hair weft starting at the crown and winding around all the way to the outer edge, and a sort of squariesh crescent of lace extending the cap across the back of the head, with parallel rows of curls wefted onto it. Then there are the sort line of curls added to the front hairline, and the two side tabs.
- First, I removed the side tabs as I did for the mane
- Then I carefully snipped the lace between the last row of the spiral on the crown and the first row of the back section, leaving me with a sort of beany of curls.
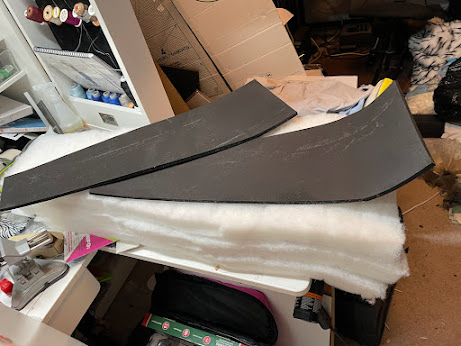
- From stiff hide I cut two identical pieces to support the tail and the belt clip, and punched 4 holes for Chicago screws through the pair of leather pieces
- I riveted the belt clip to one of the leather pieces.
- I used a lacing punch to put about 15 holes through the upper edge of the second leather piece so I could securely orient the tail wig to the belt clip
- I fed the long (socket) half of the Chicago Screws through that piece, and then used double-stick art tape to tack a small (shaped with scissors) chunk of NuFoam onto the tail side to fill out the shape when finished
- I turned my curly beany inside out (hair side in) and oriented it with the forehead edge up, then pinched the edges together at the bottom whipstitched up until I’d turned the beany into a pouch full of curls
- Turned the result right side out, slipped the prepped leather plate with padding into the pouch, centered the forehead edge on the top and whipstitched the edge binding to the leather through the prepunched lacing holes
- Stitched the remaining edges together so the cushion-plus-leather piece was now completely inside the lace pouch
- Worked the ends of the Chicago screws through the lace and then stacked the belt-clip leather piece over them, sandwiching the stitched wig edges between the two leather pieces.
- Aligned the Chicago screws with the outer piece and pushed them through, then put the threaded heads of the Chicago screws into the mating sockets and tightened everything up.
Voila! it’s a curly, fluffy tail that will clip securely on the back of my belt/shorts!


