Building Rocky’s Body
A note on piecing the fur
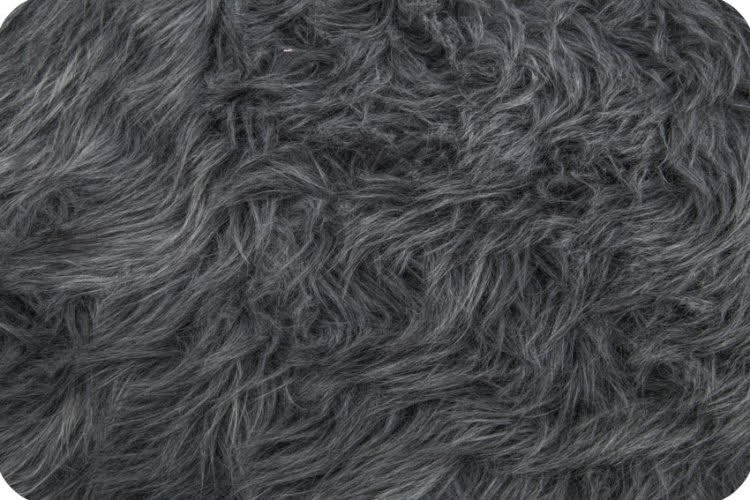
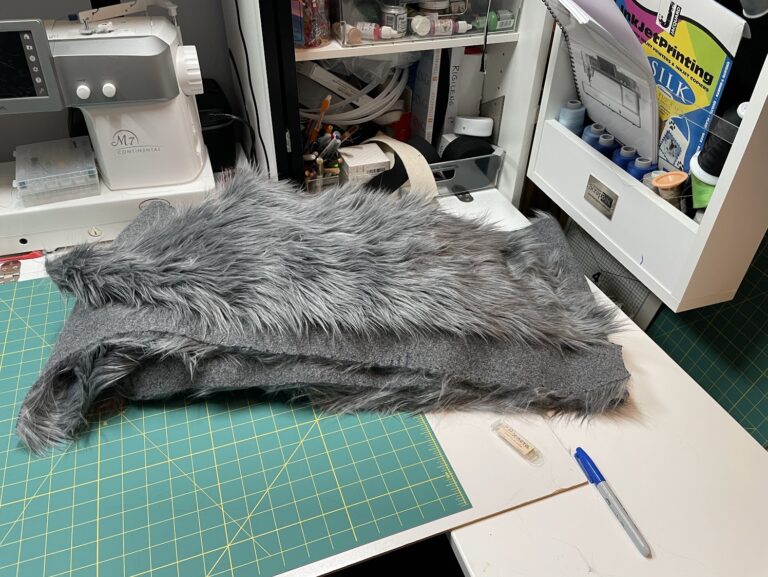
I’ve mentioned a couple times I’m using a special technique to to piece the fur so the seams are almost invisible. The first trick is carefully cutting the yardage from the back with a sharp blade, cutting just through the knit backing, so the pile (fur) isn’t chopped off. The second trick is to cut right on the seamline (leaving no seam allowance), the sew the seam with a wide zigzag stitch so the needle pierces the fur on one side but just wraps the thread around the cut edge on the opposite side.
After the seam is sewn, pull the seam flat, then using a detangling brush, metal pet grooming comb, or large needle, work any caught pile out of the seam to the right side of the garment. I’ve found with this fur the brush is almost always sufficient. The result is a seam with very little bulk and no telltale line of shortened pile.
Assembling Rocky’s Body
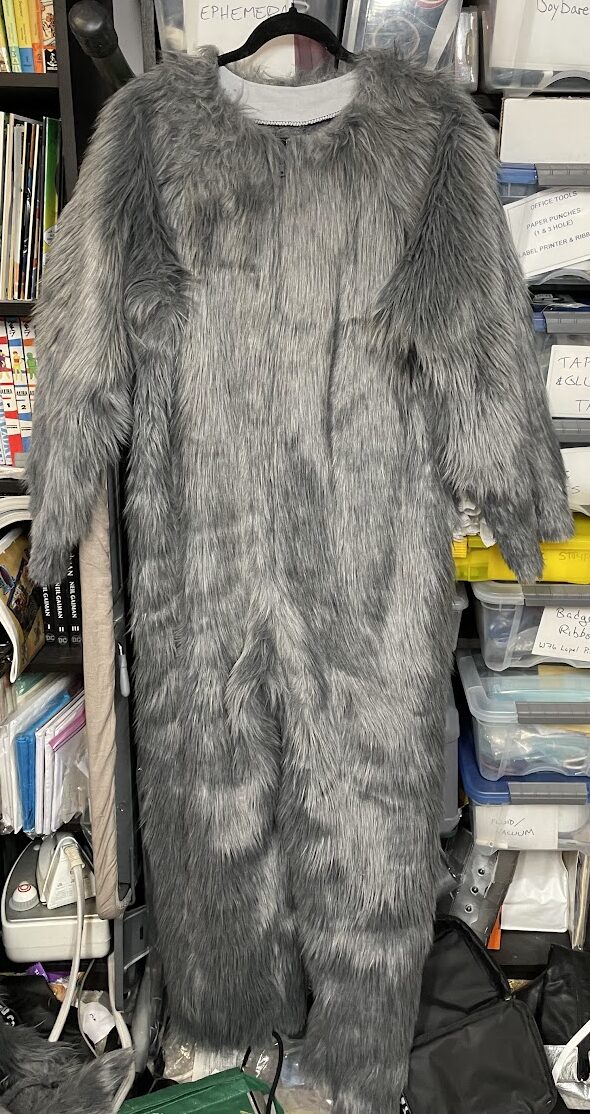
While it required meticulous attention, assembling the main fursuit body was actually quite straightforward after the practice run. After stay-stitching the neckline and raglan edges, I put the two sides of a separating plastic jacket zipper into the front edges, then sewed the front crotch seam. After that, main assembly was quite straightforward using the fur piecing technique. For this final suit I added a simple facing of woven cotton to the neckline (directly from the Simplicity Pattern). The facing is hand tacked to the center back seam, all the shoulder seams, and turned under and slipstitched to the underside of the zipper tape.
Once the suit was assembled I tried it on with the paws to check the sleeve length. After a couple experiments, I trimmed 1 1/2″ from the sleeve, then trimmed the final 4″ of fur to 3/4″ length with the pet clippers.


