Incremental Progress
Had a board meeting, so only got a tiny bit more done — upper big teeth and building out the lower jaw a little.
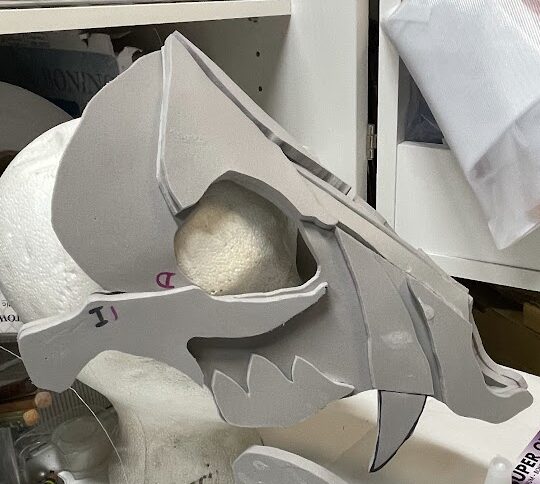
Had a board meeting, so only got a tiny bit more done — upper big teeth and building out the lower jaw a little.
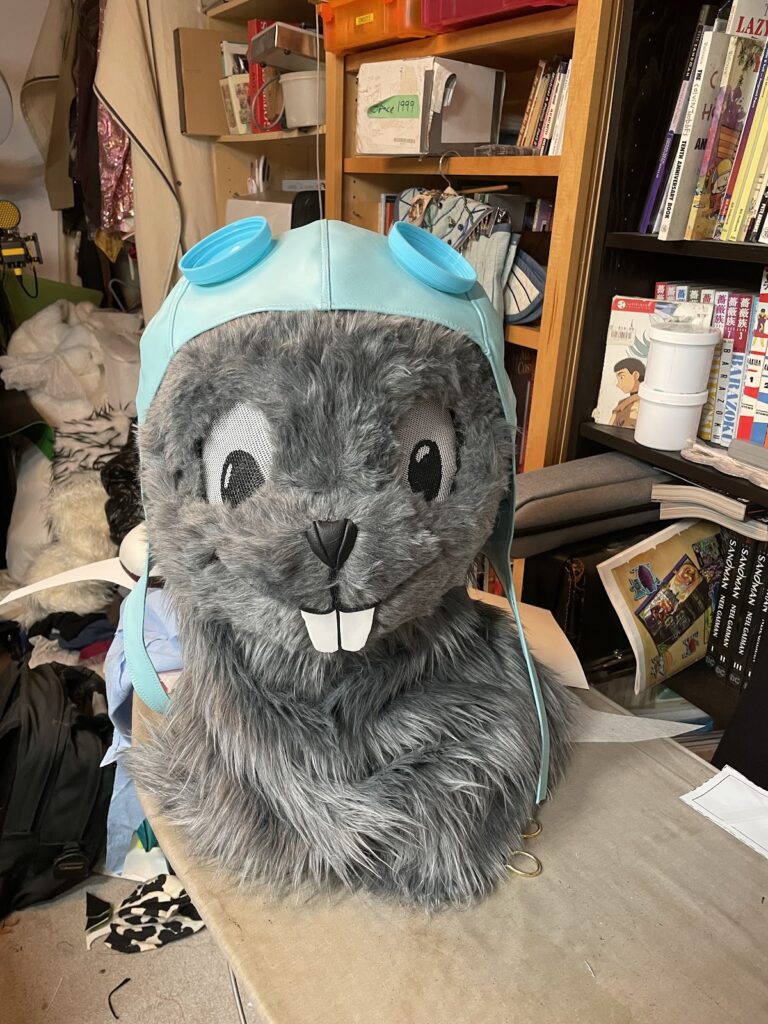
This took three mockups to get right. That was after I’d tried scaling up a commercial pattern (TOO BIG) and starting from a fabric beachball pattern (dimensions did not match description, and it was the wrong shape anyway).The problem basically is that Rocky’s head is basically a squashed basketball shape (not the vertical ovoid of…
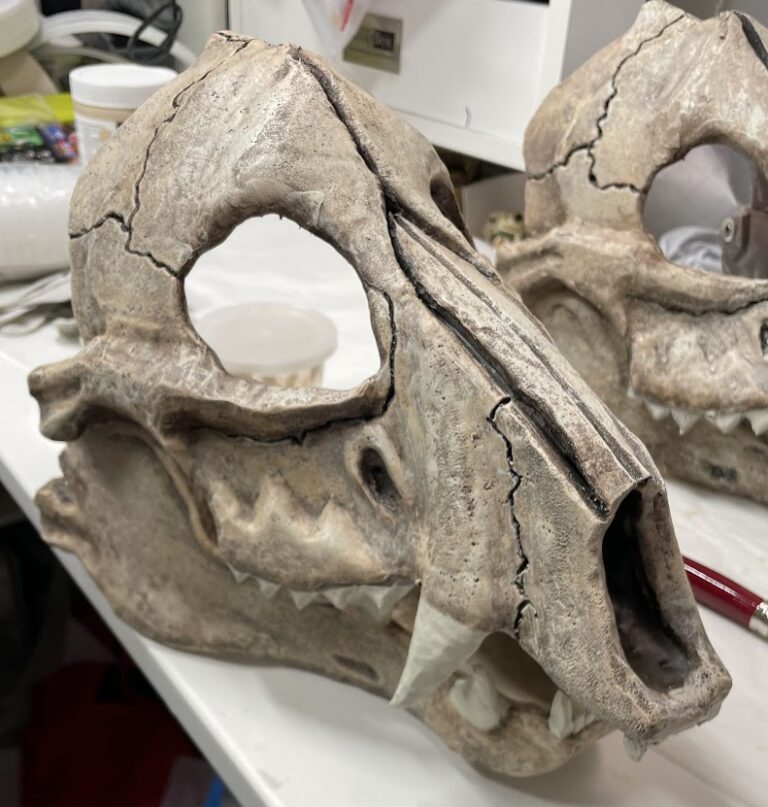
After the first painting with unbleached titanium, next came a wash with a mixture of watered-down burnt sienna, raw sienna, and Mars black. This involves applying a fair amount of the watered paint and then blotting with a damp paper towel. In the SKS video, this looked sort of snotty green, but for us it…
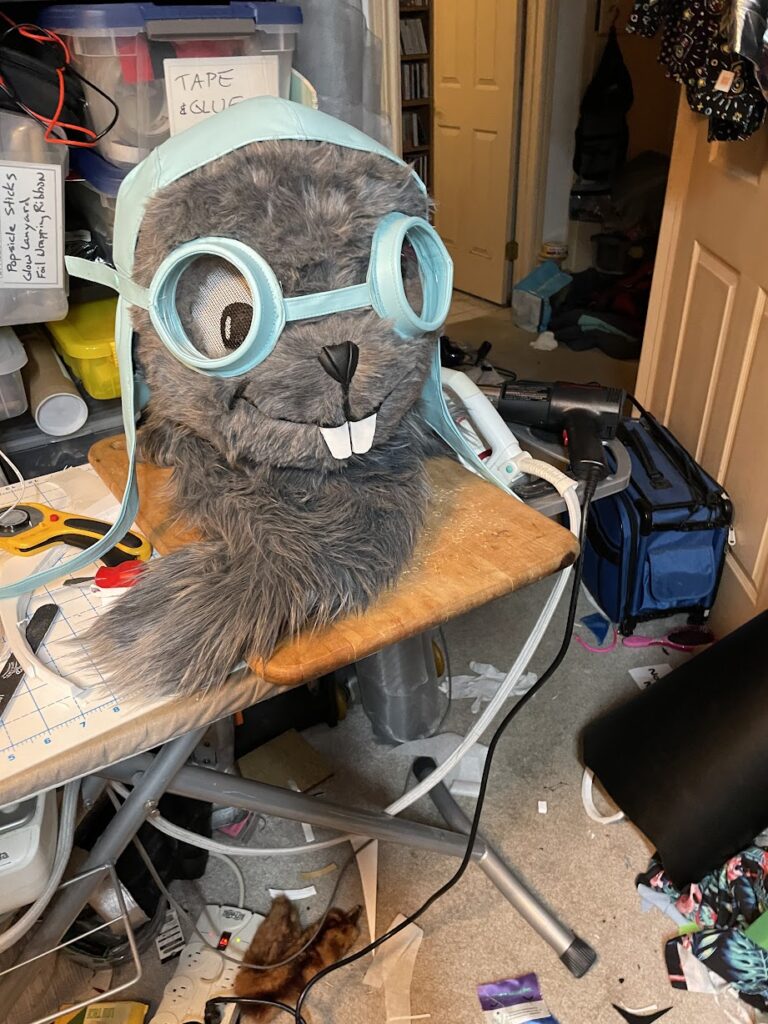
The last detail for the goggles was to attach them to the cap. It turned out I had some pale blue plastic snaps which were an almost perfect snap. A little bit of finesse in placing them, and Rocky can now wear his goggles on top of his head (as he is always drawn in…
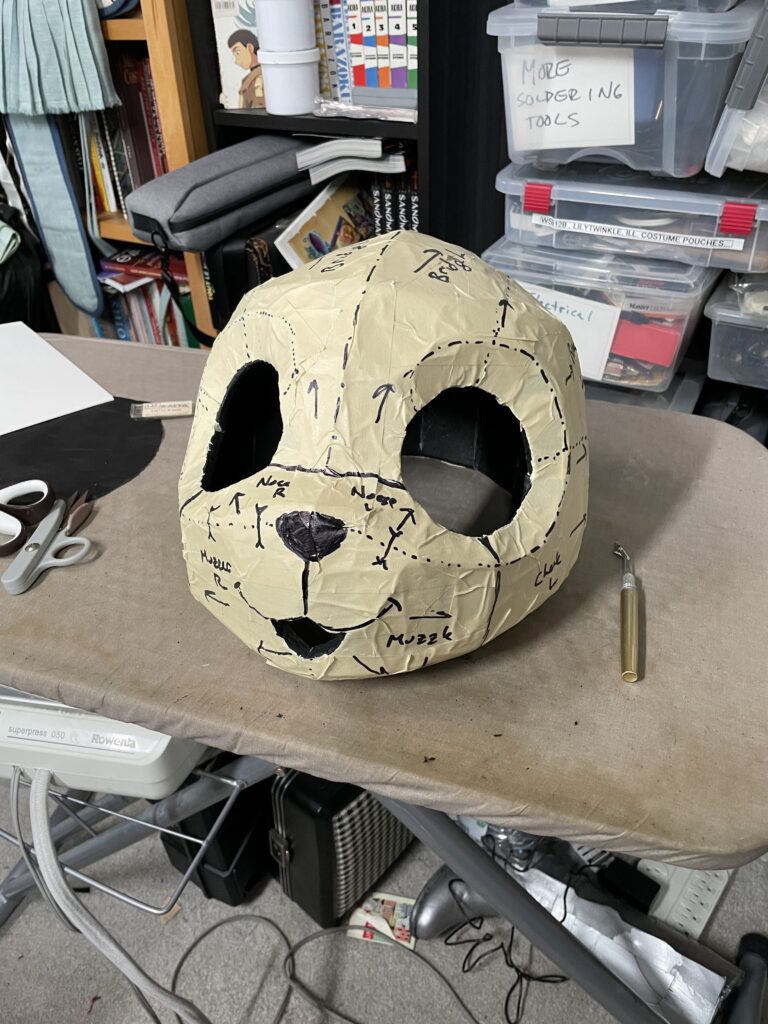
For this step, I used the process for creating a fur pattern from this page on matrices.net Basically, you mummify your head base in masking tape, draw cutting lines and indicate which way the fur should “grow” in each area, then carefully slice and peel it off.You flatten the pieces onto brown paper so the…
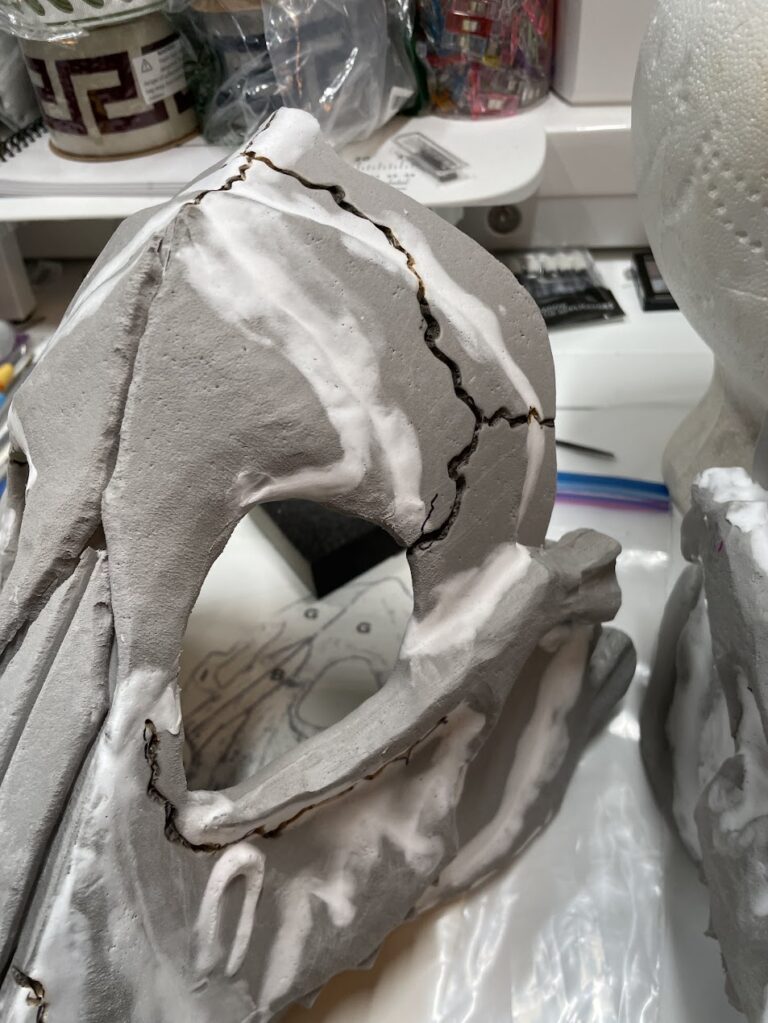
This next step was in two stages: Adding Texture to the foam “bone” This step was actually fairly fast and easy. You take a wire brush, and tap/slap it firmly against the foam surfaces, so the bristles pockmark it and create “pores”.Again, Andy and I each worked on one skull; we used 3 different brushes….
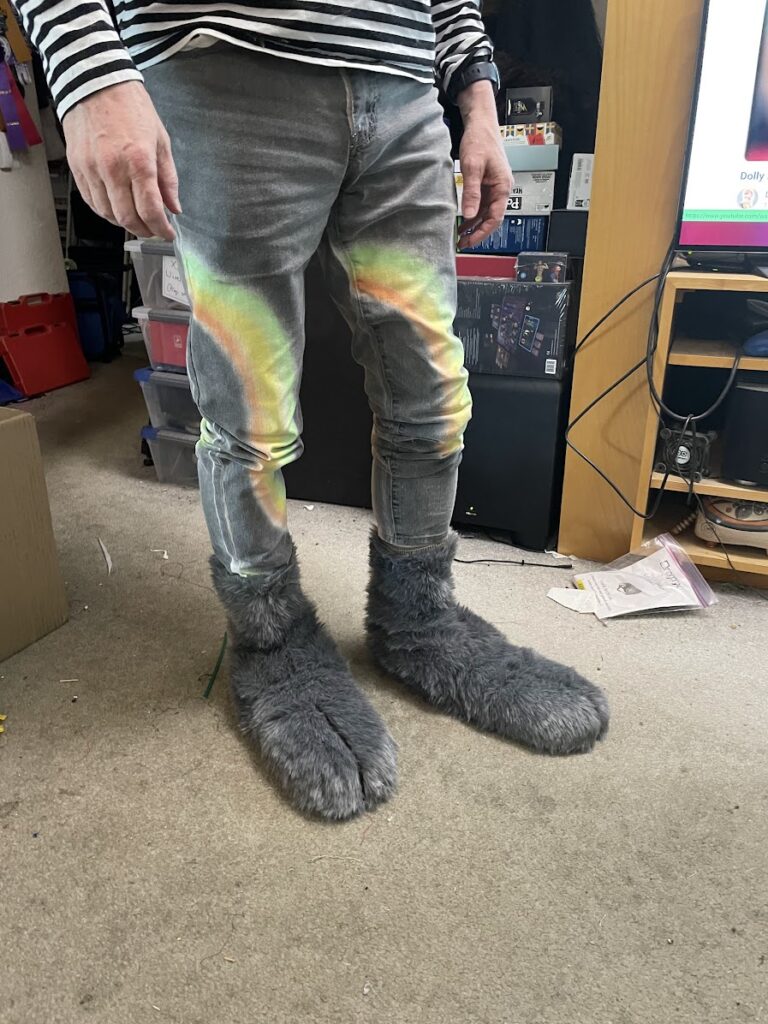
Building the back and shaft of Rocky’s feet took a while. I did a basic pattern piece that would join up with the shape of the front of the paw. Then I shaved down a bunch of fur to 3/4″ pile and cut two of those out. I modified (and shortened) another pair of the…