Adding texture and “sutures” to the foam to simulate bone
This next step was in two stages:
Adding Texture to the foam “bone”
This step was actually fairly fast and easy. You take a wire brush, and tap/slap it firmly against the foam surfaces, so the bristles pockmark it and create “pores”.
Again, Andy and I each worked on one skull; we used 3 different brushes. The big steel brush gave the strongest texture, but the brass brush and the small steel brush also added some variety to the surface.
It’s amazing how much the previously even foam surface resembled old bone after this treatment!
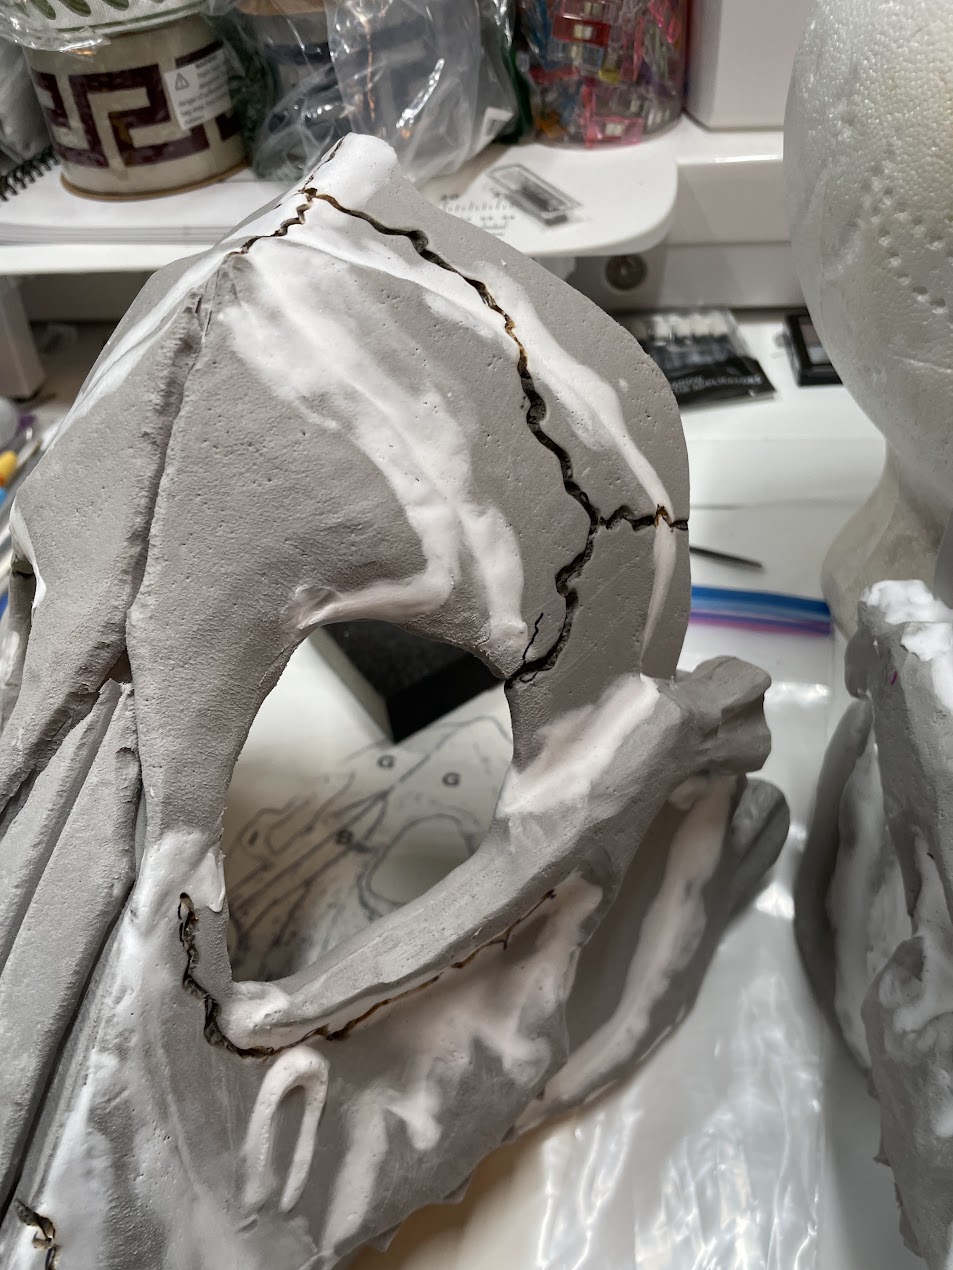
Adding Sutures and cavities to the skulls
This step I did on both skulls because I’m used to working with soldering irons. We opened all the doors and the studio window to make sure there was enough ventilation, and I worked quickly once I started. The cross-ventilation carried the smoke from the process away from me and straight out the window.
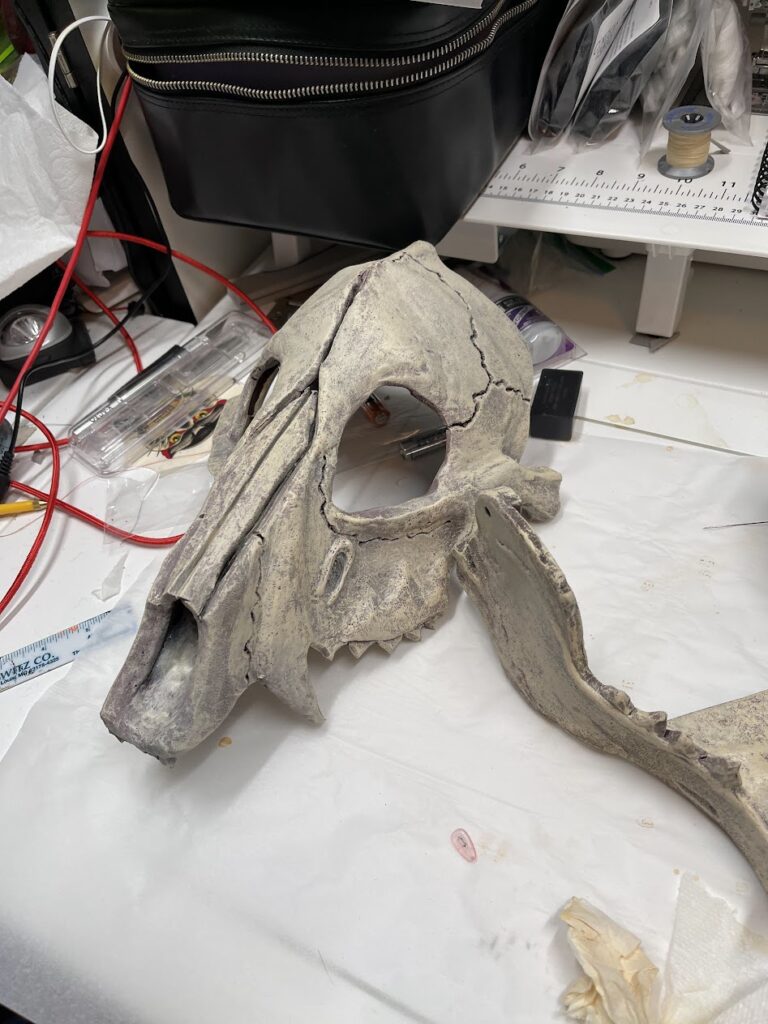
First I used a fine-tip Sharpie marker to sketch out where I wanted to create “suture” lines in the skulls. Then I used a fine tapered round-tipped insert for an old soldering iron and pretty quickly engraved the suture lines into the foam. After the sutures were done, I put in a broader tip and used it to create a few “cavities” in the cheeks and lower jaws, again following the example in the SKS video.
This all looks pretty amazing. Next step is spraying the undercoats of paint, which I will take advantage of the paint hood in the lab machine shop to do.


