dogs at PAW (with bonus squirrel)
just some pix from the convention
just some pix from the convention
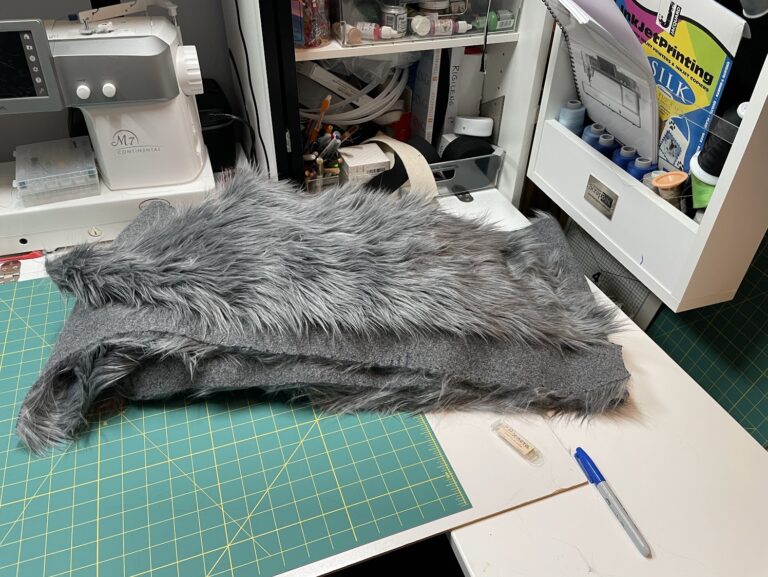
Monday night (Mar 11) I finished marking out all the fursuit body pieces (4 front and back panels, 4 sleeve front and back pieces). I then set out to cut them all out (sans seam allowance, as marked). The best way to do this is from the back with a sharp blade, cutting just through…
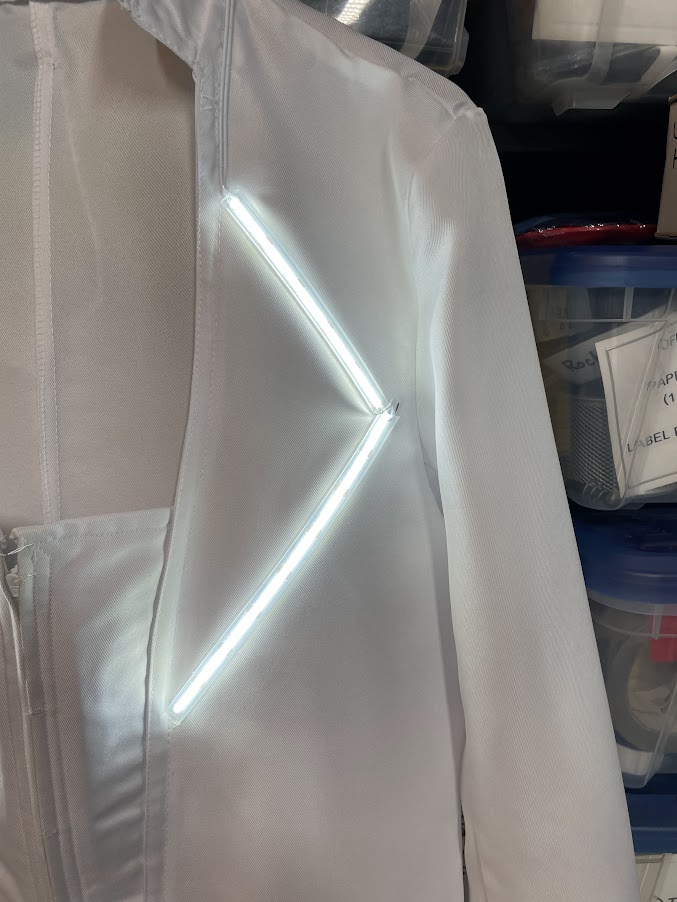
Modifying the neckline and lapels. The new closure works well, but the result still looked like a (cheap) tailcoat. After a bit of soul searching, I cut off the lapels and reseamed the edges to a smooth line, and trimmed the top of the “waistcoat” down to a square line (at the top of the…
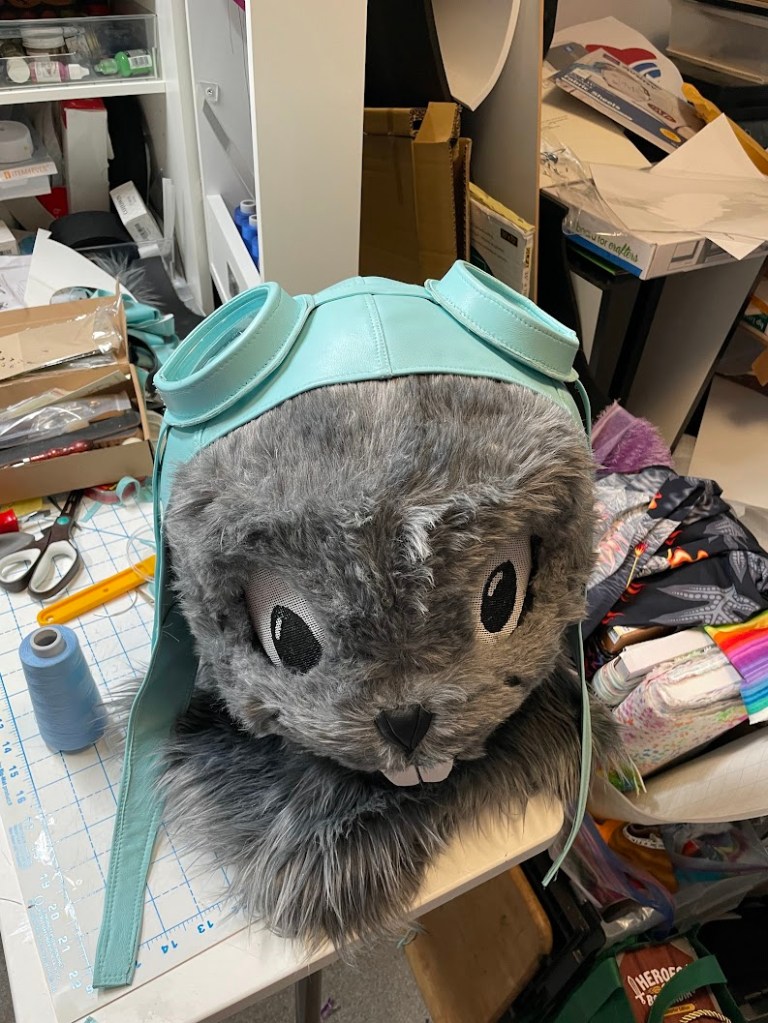
Rocky now has goggles! This was a bit of a trial. After making the basic pattern, I started cutting frames to support the lenses out of some 3mm thick heavy cowhide in my stash. It took 3 iterations to get the pattern the right size, as I wanted to wrap it in the light blue…
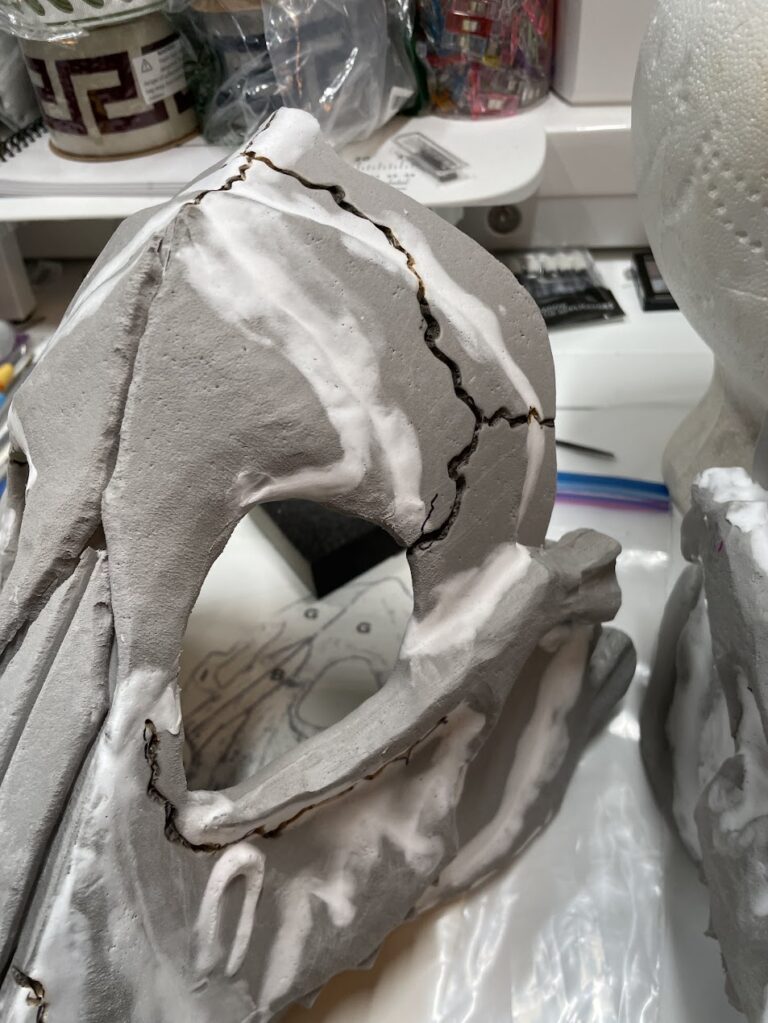
This next step was in two stages: Adding Texture to the foam “bone” This step was actually fairly fast and easy. You take a wire brush, and tap/slap it firmly against the foam surfaces, so the bristles pockmark it and create “pores”.Again, Andy and I each worked on one skull; we used 3 different brushes….
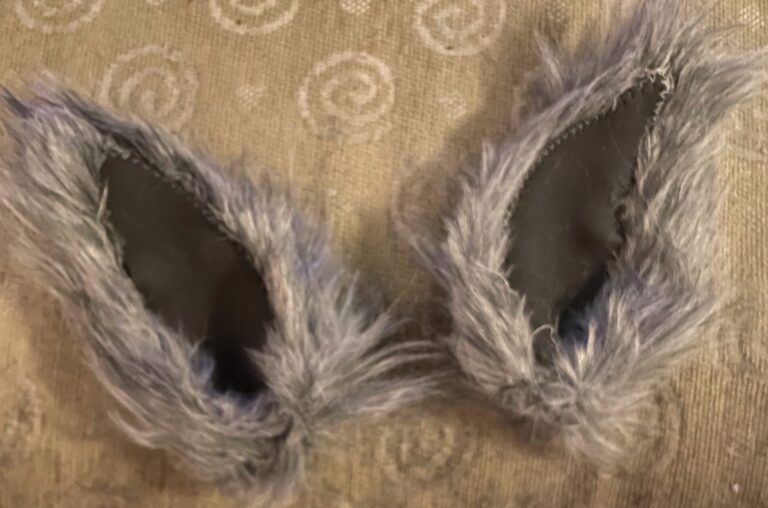
The fur hoods look great, but I kept thinking mine needed werewolf ears. So I made some! I used the ear pattern I developed for my neoprene pup mask to make these. The neoprene has two fabric on both faces, unlike the fur, so I started by cutting two of the main ear out of…
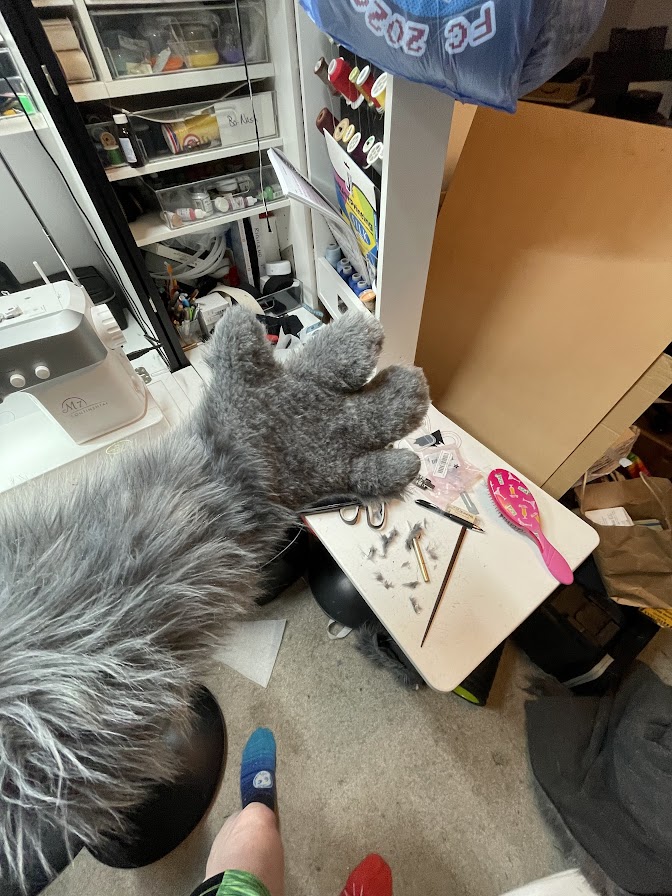
While waiting for the zippers to arrive for the body, I started working on Rocky’s paws. I used as a reference Matrices’ excellent tutorial and pattern for basic paws. Of course, Rocky has only 3 fingers, so I had to modify the pattern for my purposes. After some dexterity tests I decided to group my…