Bullwinkle at CC42!
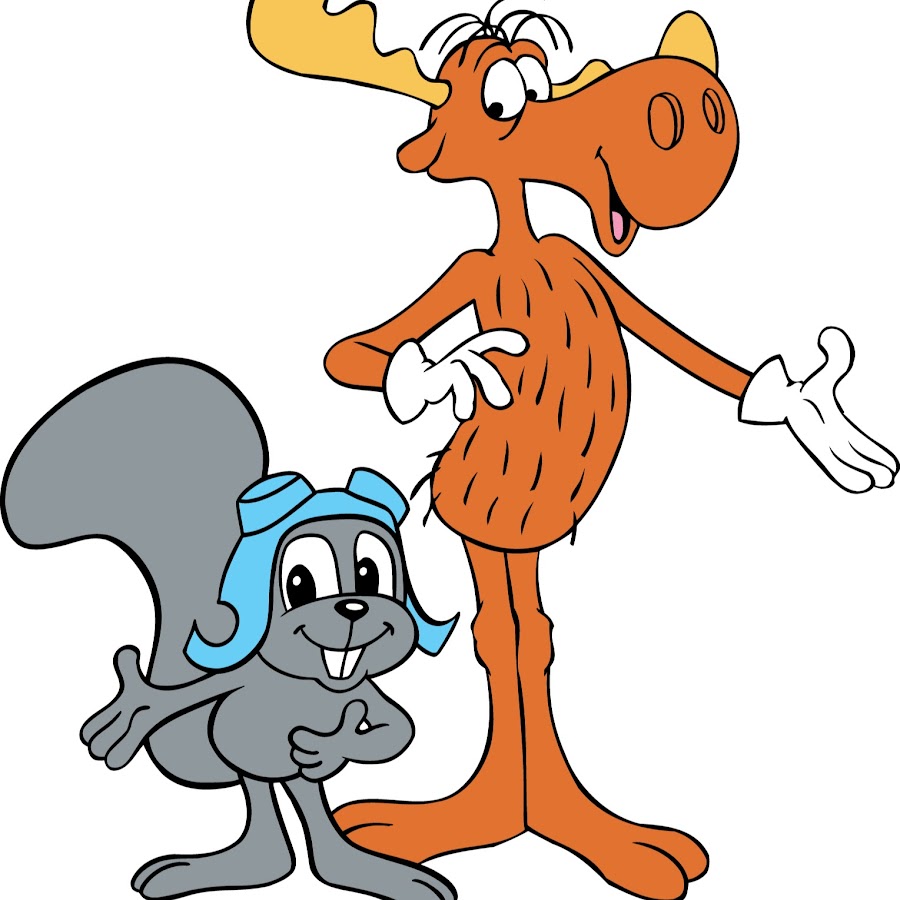
Bill will be adding details of his Bullwinkle build as time and opportunity present


Bill will be adding details of his Bullwinkle build as time and opportunity present
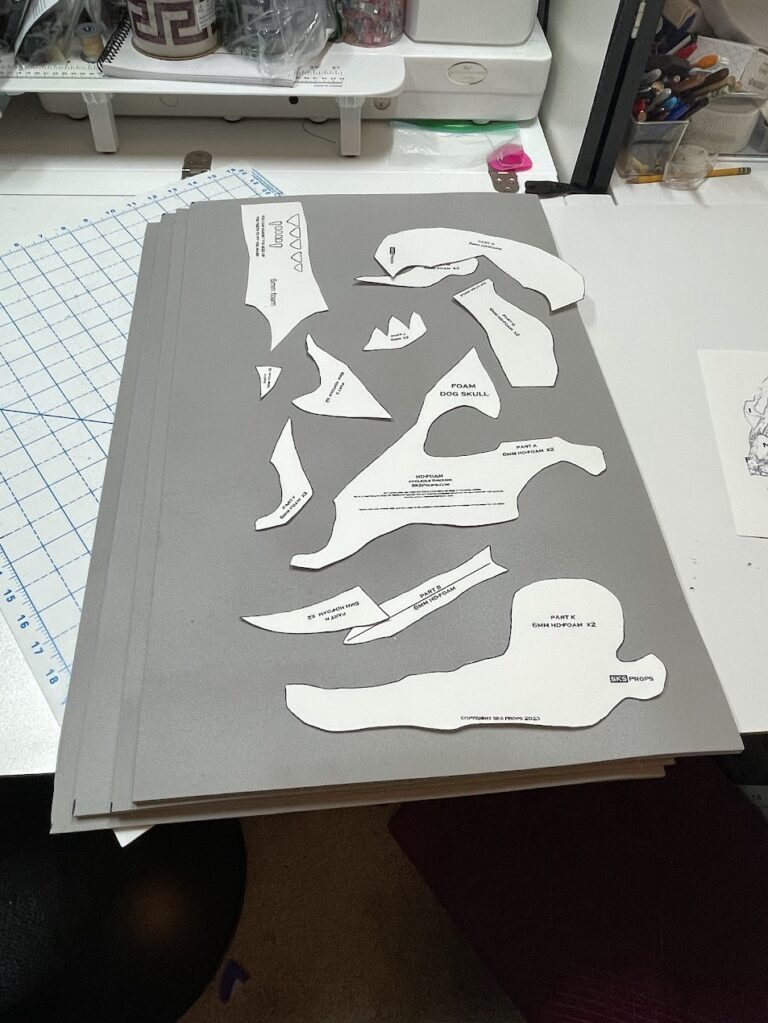
Step one of the whole project was printing out the pattern template onto card stock and then tracing that onto the foam. We’re using SKS Props branded HD (EVA) foam purchased through Blick’s Art Supplies, in 2mm, 6mm, and 10mm thicknesses.SKS had laid out the template to print as a tiled large print; I reorganized…
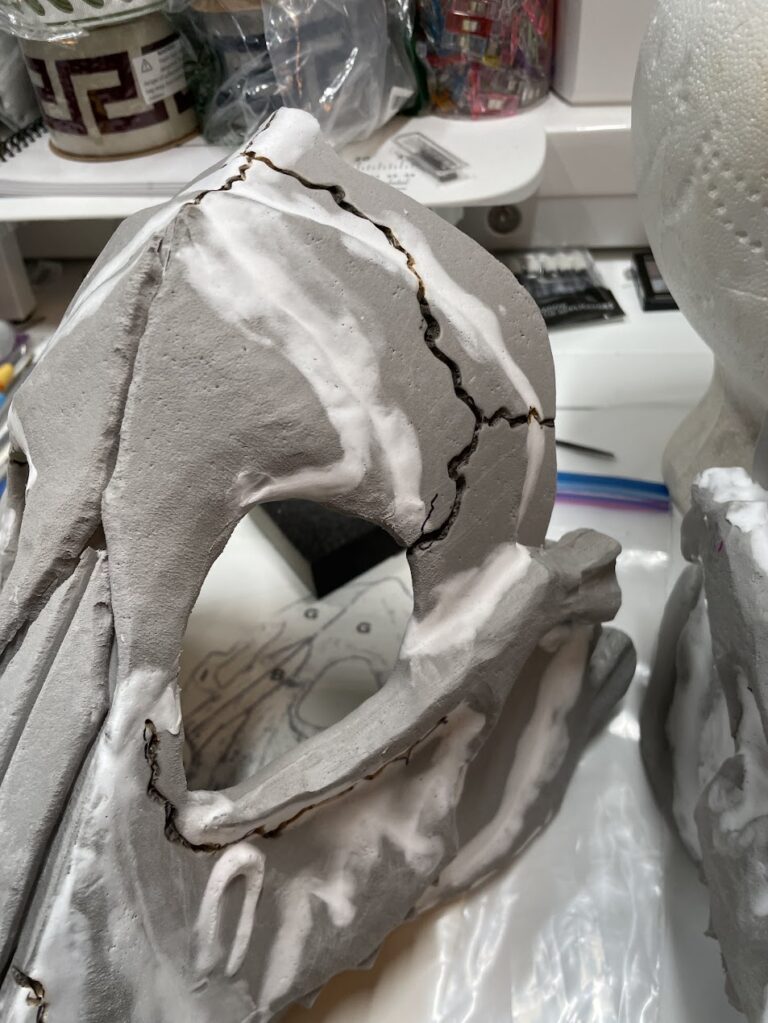
This next step was in two stages: Adding Texture to the foam “bone” This step was actually fairly fast and easy. You take a wire brush, and tap/slap it firmly against the foam surfaces, so the bristles pockmark it and create “pores”.Again, Andy and I each worked on one skull; we used 3 different brushes….
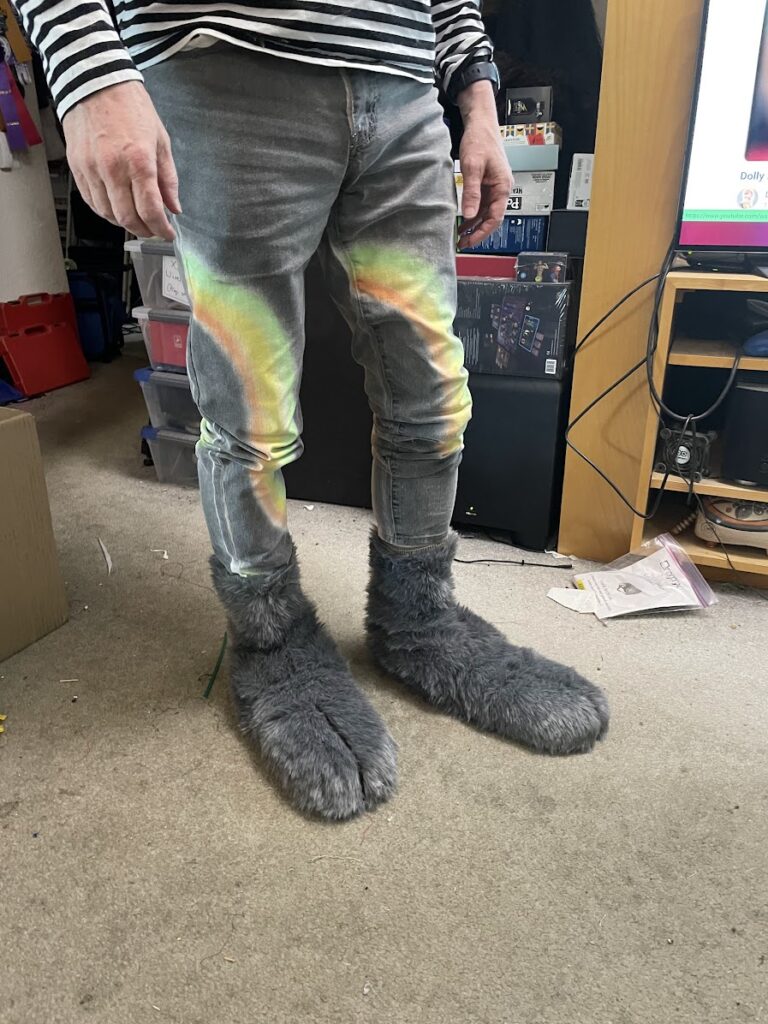
Building the back and shaft of Rocky’s feet took a while. I did a basic pattern piece that would join up with the shape of the front of the paw. Then I shaved down a bunch of fur to 3/4″ pile and cut two of those out. I modified (and shortened) another pair of the…
just some pix from the convention
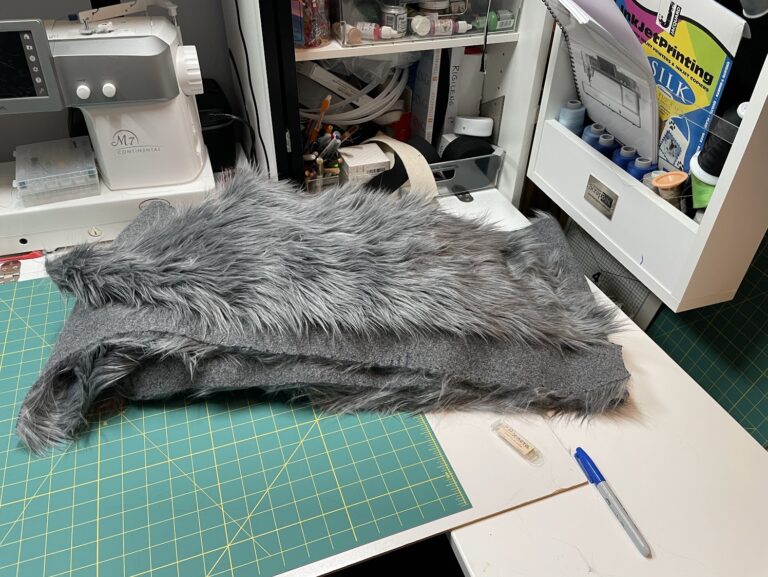
Monday night (Mar 11) I finished marking out all the fursuit body pieces (4 front and back panels, 4 sleeve front and back pieces). I then set out to cut them all out (sans seam allowance, as marked). The best way to do this is from the back with a sharp blade, cutting just through…
Thanks for sharing your costume build for those of us who will not be attending the convention.
Thanks! Bill and I should be posting regular updates to our respective build diaries here.