Dog Skull Masks
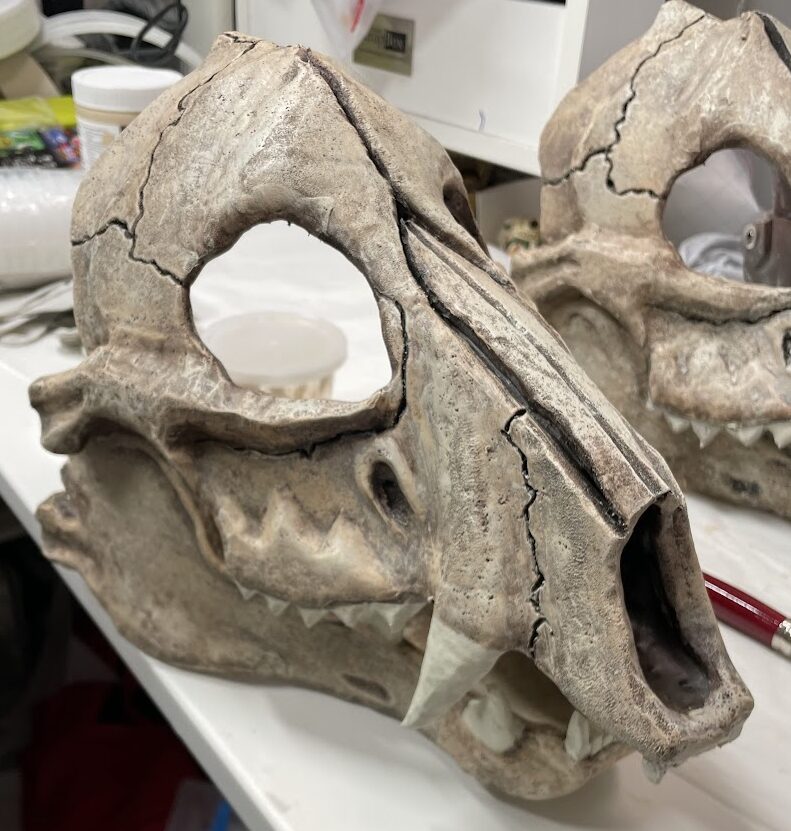
A project for PawCon: PAW ’24: The AF-TAUR Life
When PAW (Pac Anthro Weekend aka PawCon) announced their mythical afterlife theme for 2024 Andy immediately suggested we build a pair of the SKS Props Dog Skull Masks to implement a post-mortality furry wardobe.
The template (pattern) for the skull masks is here: https://www.sksprops.com/templates
SKS Props video on assembling and painting the masks is here: https://www.youtube.com/watch?v=0LKYCmaZ2uE&ab_channel=SKSProps
-
dogs at PAW (with bonus squirrel)
just some pix from the convention
-
The better to hear you with, my dear
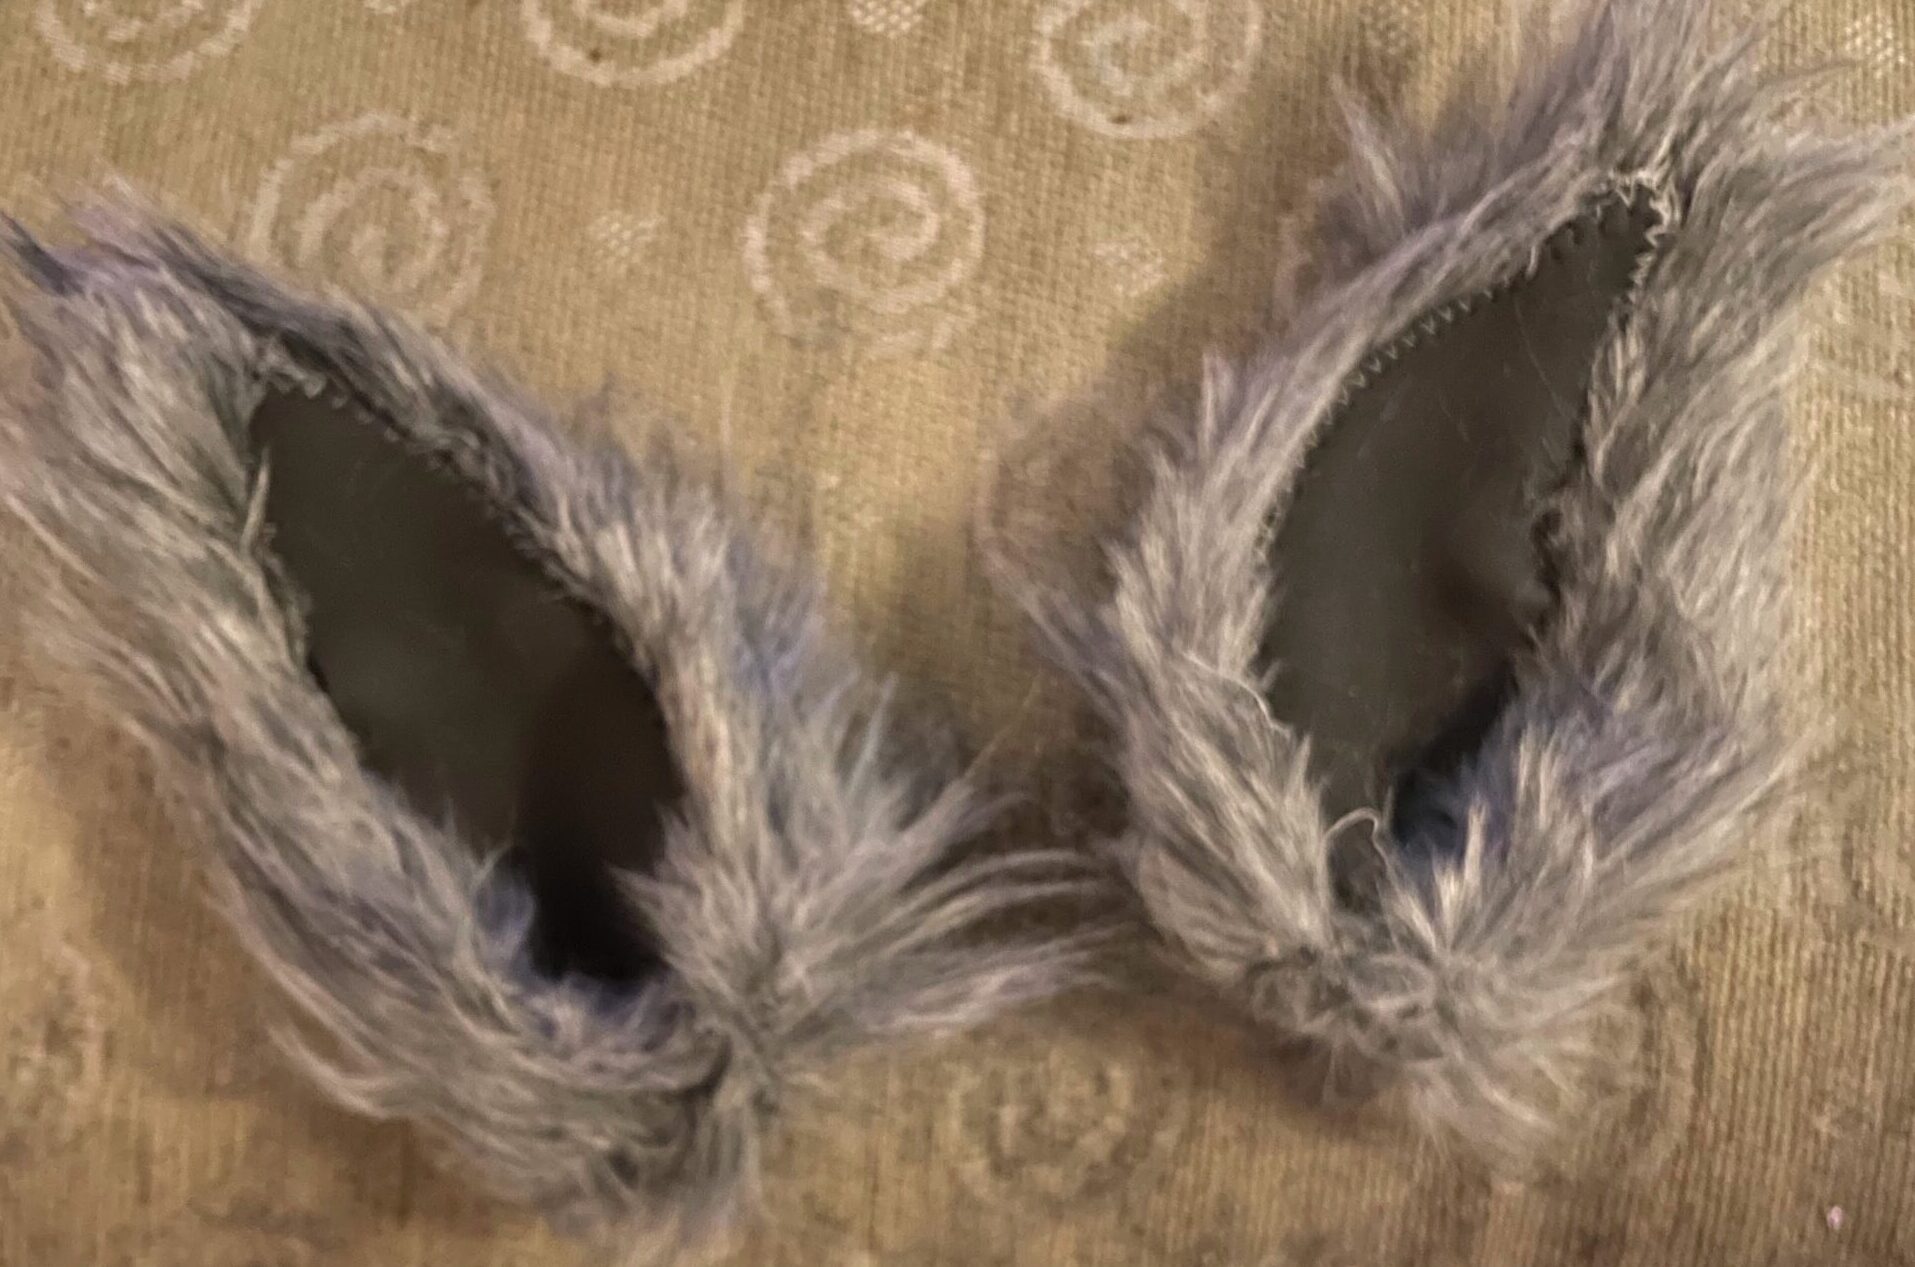
The fur hoods look great, but I kept thinking mine needed werewolf ears. So I made some! I used the ear pattern I developed for my neoprene pup mask to make these. The neoprene has two fabric on both faces, unlike the fur, so I started by cutting two of the main ear out of…
-
Getting Further Along!***
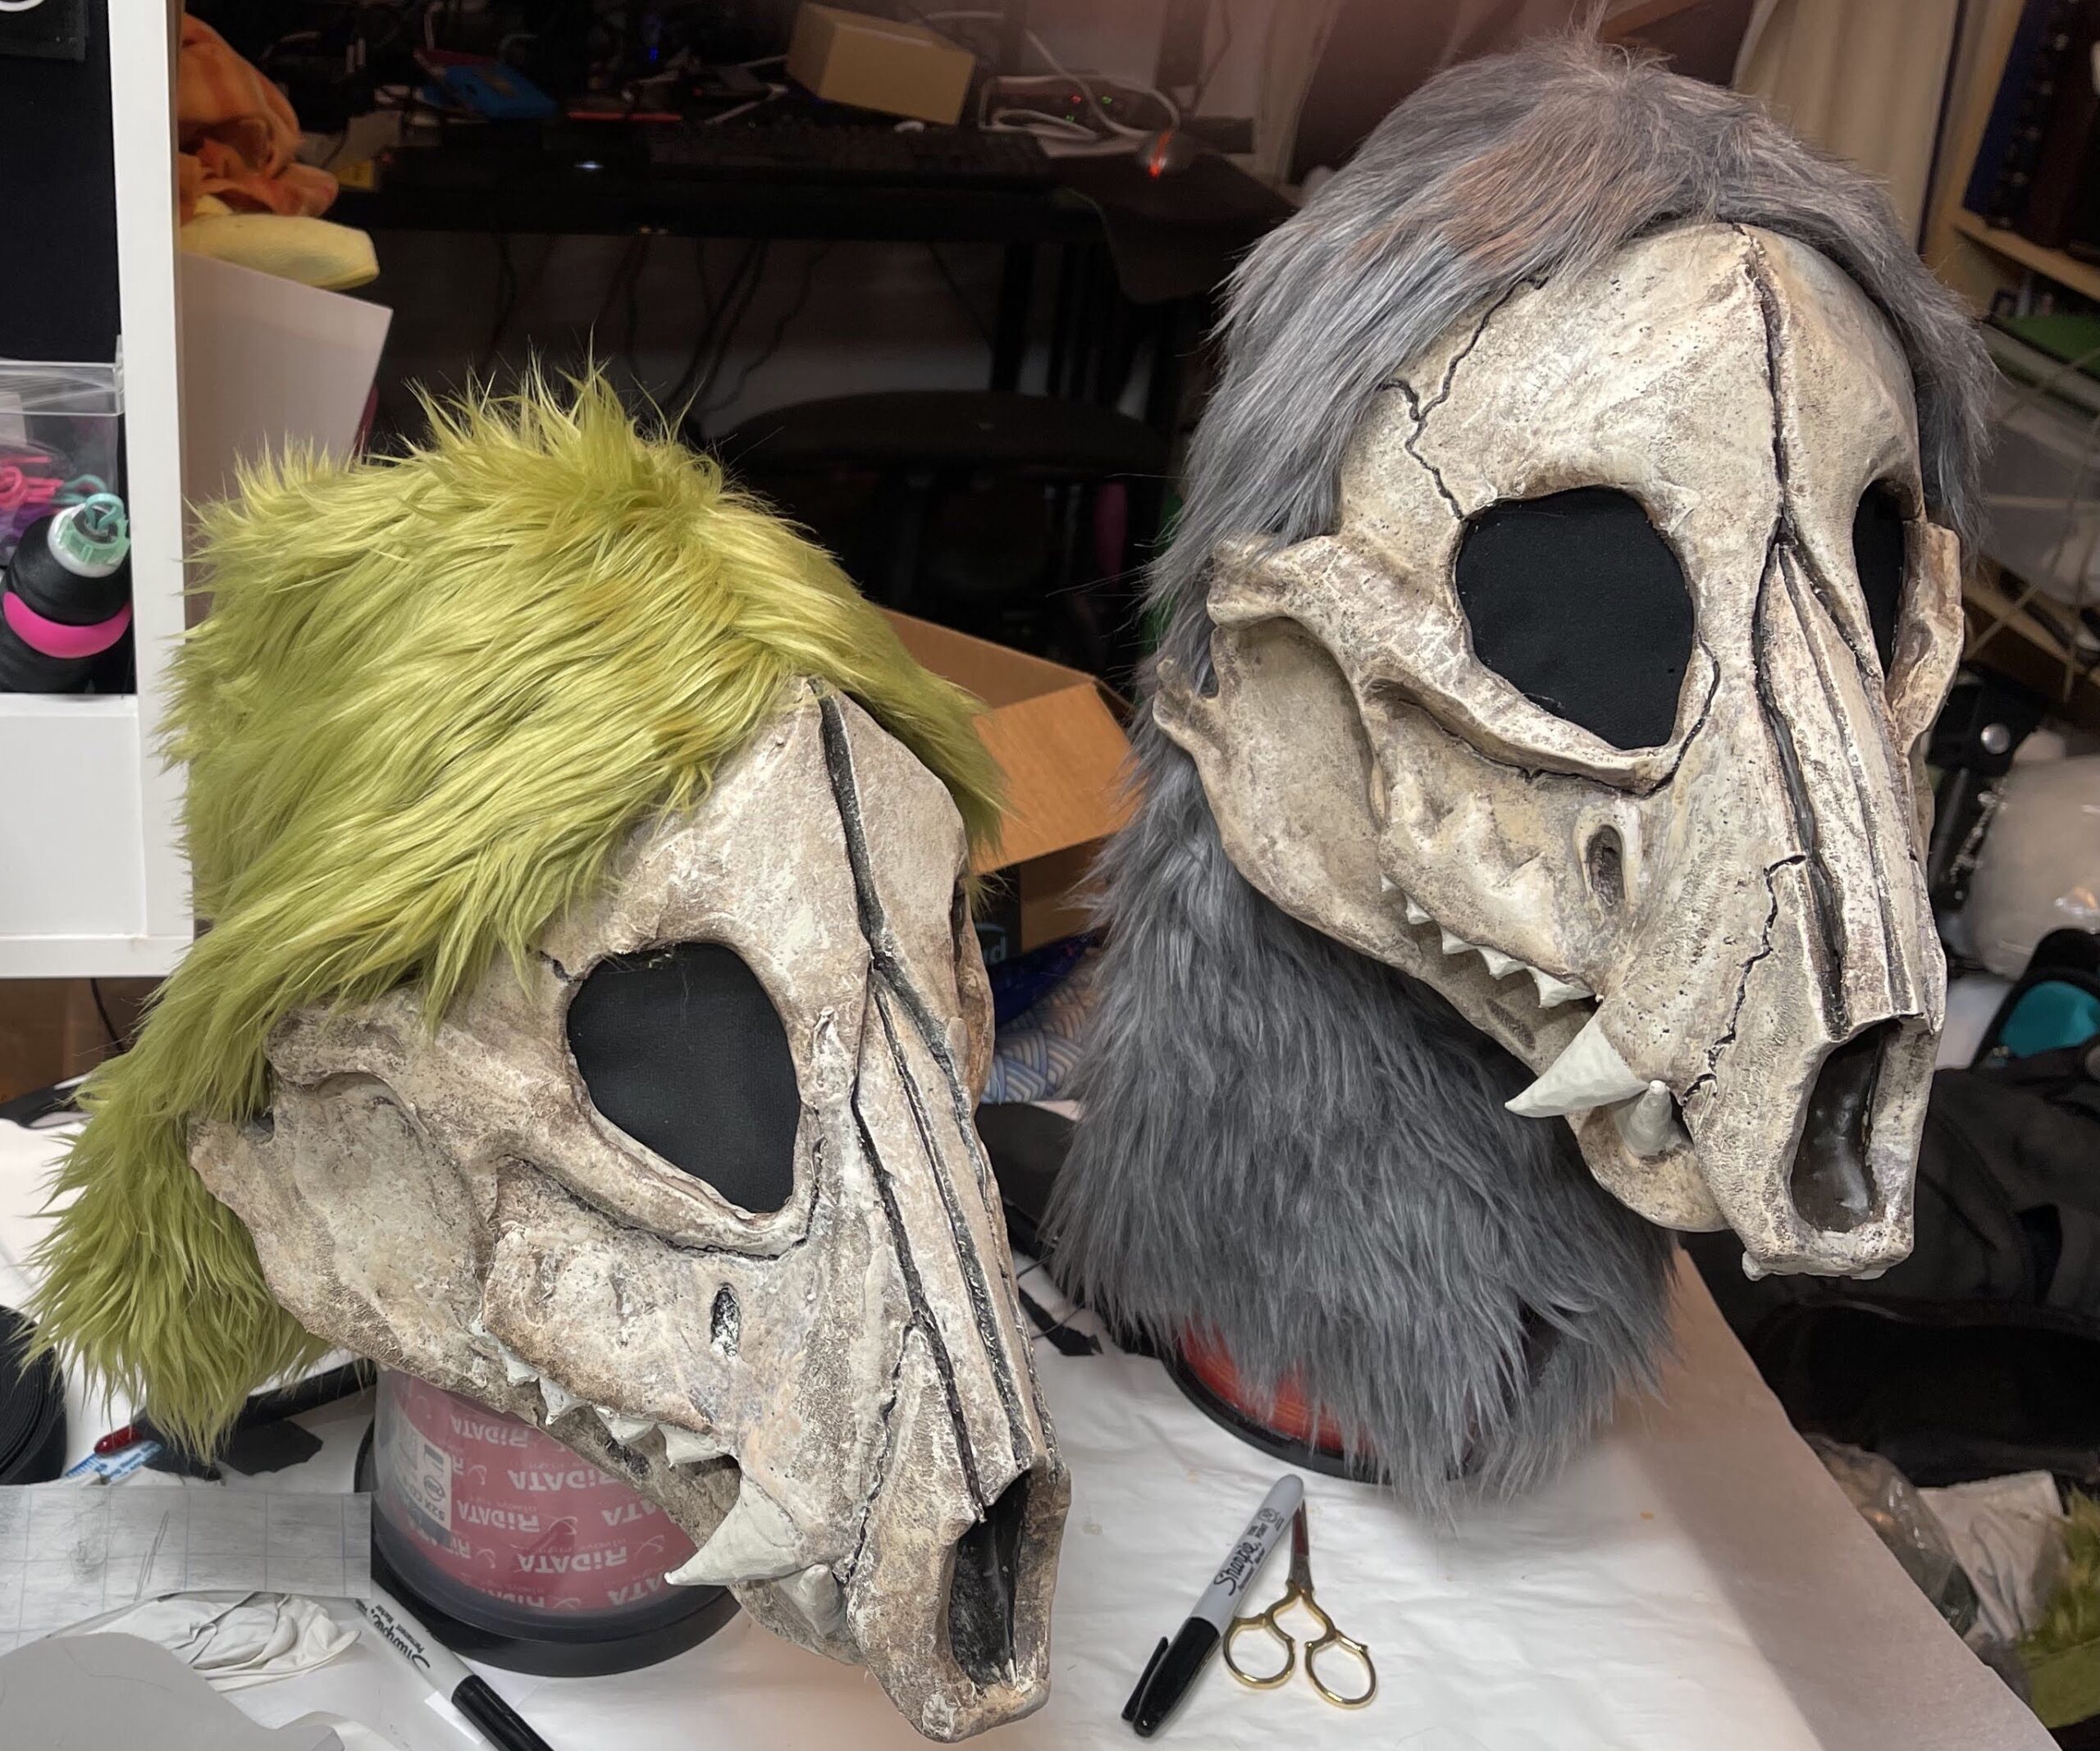
Now that the skull masks are painted, we needed the rest of the heads. After adding elastic loops to close the jaws, and another, adjustable bad of 1” elastic that goes behind our head to secure it*, we considered our options. PAWCon is only 3 days away! We decided to go for simple fur hoods,…
-
So many layers of paint!
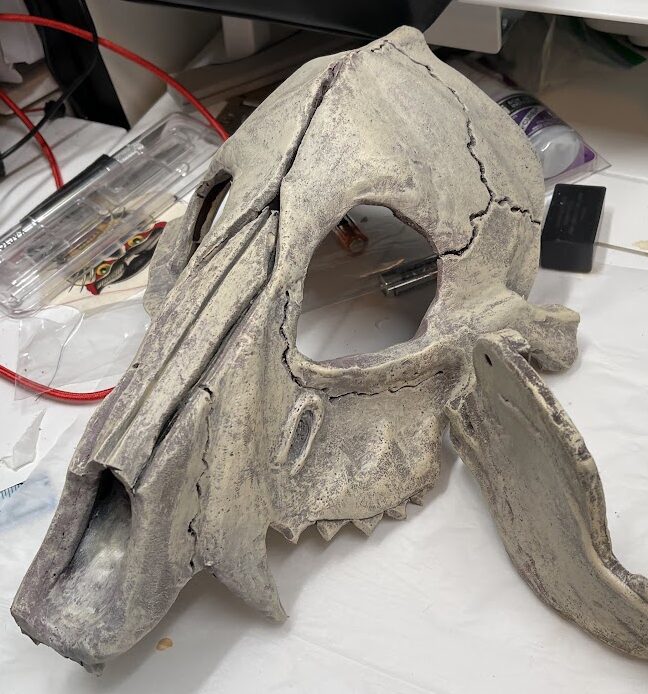
After the first painting with unbleached titanium, next came a wash with a mixture of watered-down burnt sienna, raw sienna, and Mars black. This involves applying a fair amount of the watered paint and then blotting with a damp paper towel. In the SKS video, this looked sort of snotty green, but for us it…
-
First layers of color… unbleached titanium
The first of four rounds of painting on the skulls was with liquitex Unbleached Titanium paint. First a wash with a fair amount of water plus the paint, which left the dark red skulls looking like they’d been dug out of a dusty pit. Then after that dried, drybrushing with scant amounts of the same…
-
Painting Part 1: Base Coats
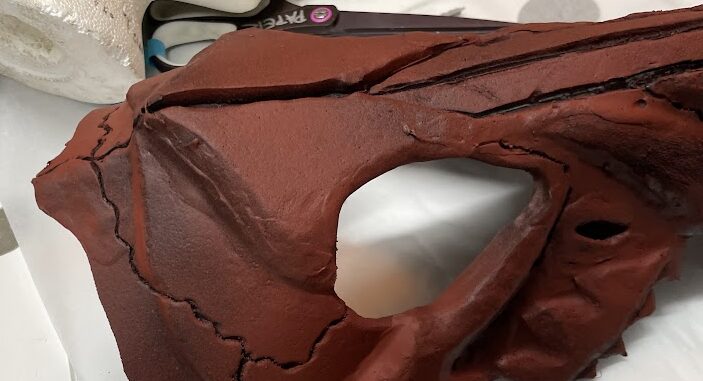
We’re working directly from the SKS Props tutorial here. I took the masks to work, where I have access to a genuine paint spray hood in the machine shop. First was two coats of black PlastiDip spray. I was concerned that the plastic might obscure all the texturing work we’d done on the foam, but…
-
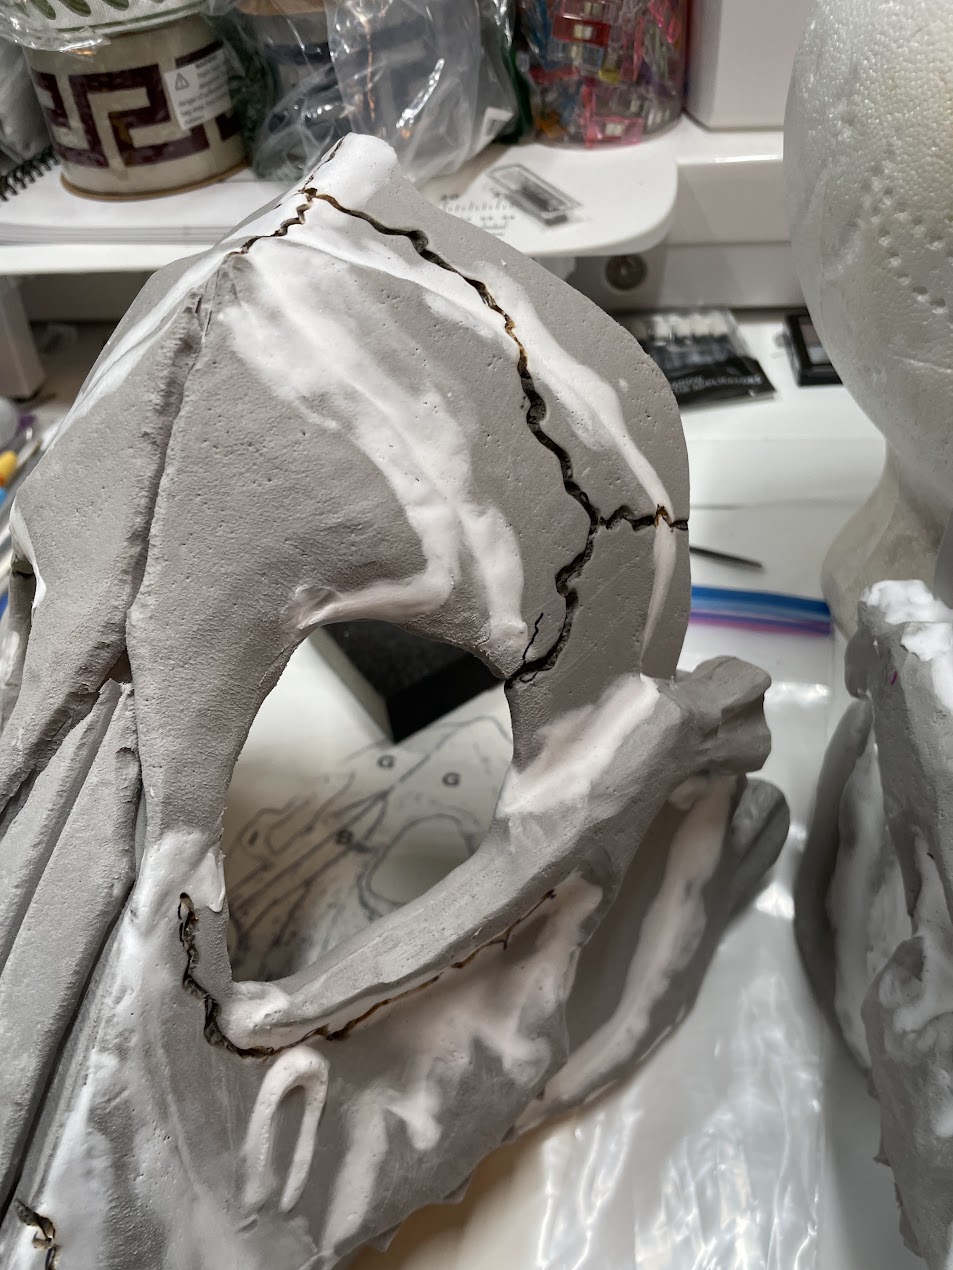
Adding texture and “sutures” to the foam to simulate bone
This next step was in two stages: Adding Texture to the foam “bone” This step was actually fairly fast and easy. You take a wire brush, and tap/slap it firmly against the foam surfaces, so the bristles pockmark it and create “pores”.Again, Andy and I each worked on one skull; we used 3 different brushes….
-
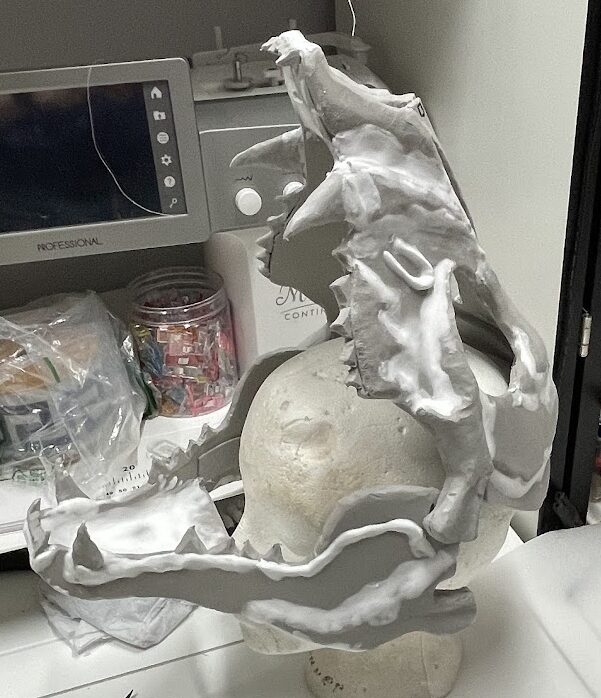
Adding shape with foam clay
The next step was to take a (fraction of a) bucket of foam clay to fillet the seams and add more organic shape to the already sanded skulls. We were going back and forth a lot to SKS Props YouTube video.Andy and I continued to work on one skull each so it will acquire some…
-
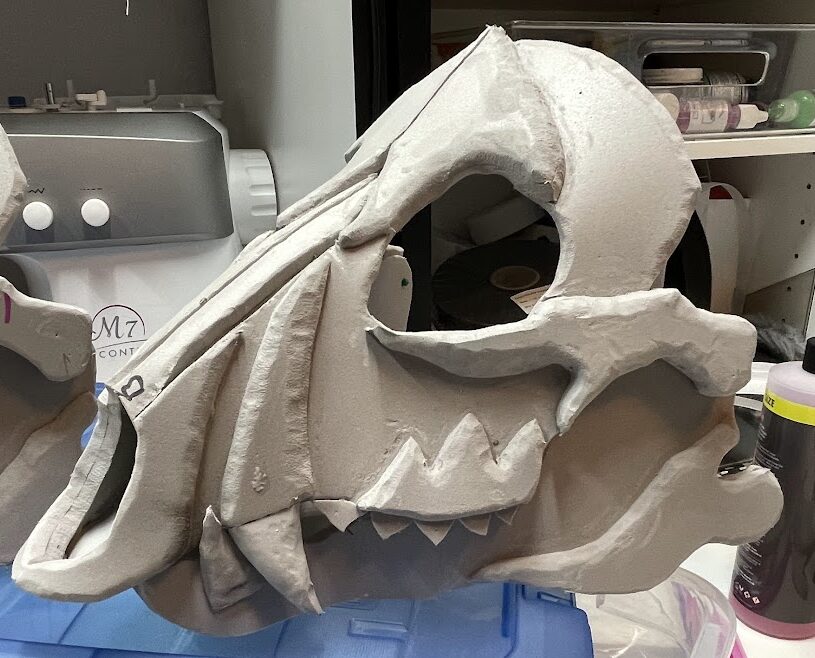
Getting some character: individual sanding/shaping, and more Nasty, Big, Pointy, Teeth
The next step was to do more shaping on the main pieces of the skull with the Dremel. We got a bunch more sanding and shaping heads, and Andy and I each took one of the masks and worked on it for ourselves. This let us each give our own mask a bit of personalized…
-
Main assembly, shaping/sanding, and dentition done.
Over the weekend I got almost all the main assembly done for both skulls (there’s one final piece that extends off the back of the mask) and did an initial pass at shaping all those square foam edges with a tapered grinding stone on my Dremel mototool. (the regular kind of Dremel, not the coping…


