Rocky and Bullwinkle: Costume-Con 42 Historical
And Now for Something You’ll Really Like
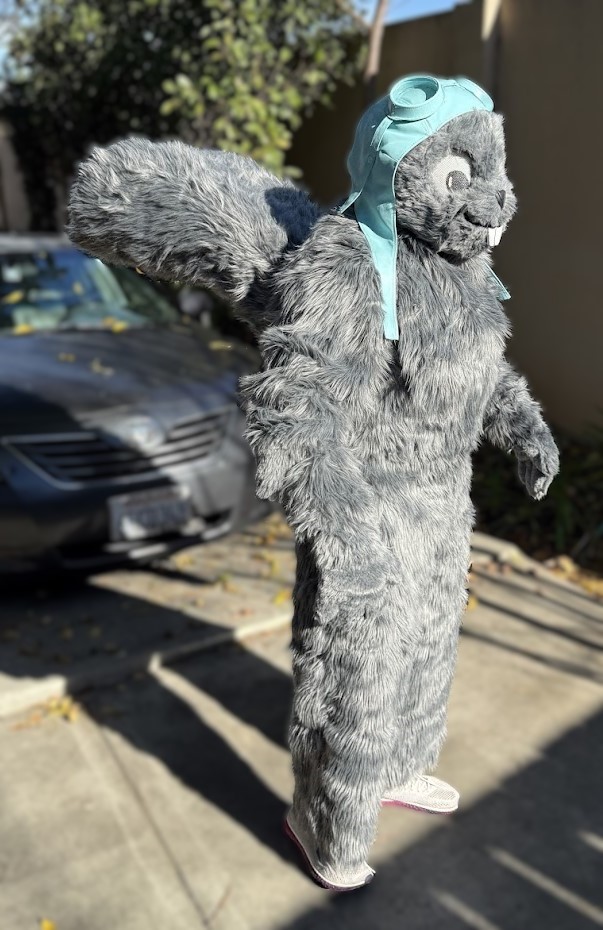
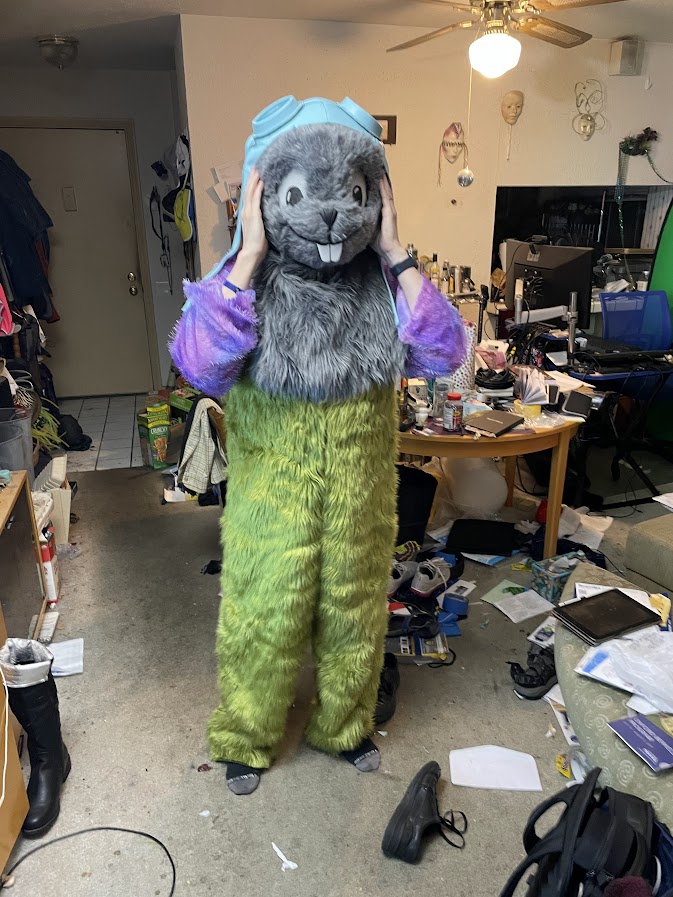
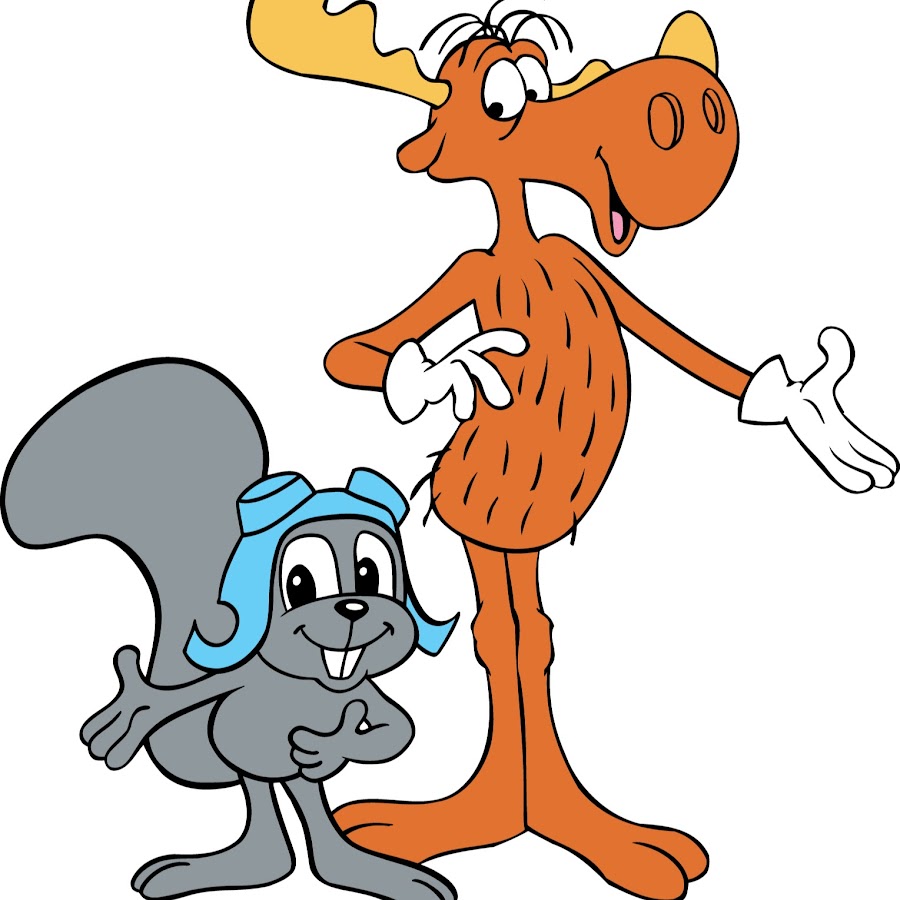
For the CC42 Historical Masquerade (which has a cutoff of 1989!), Bill Howard and I are building Rocky and Bullwinkle, the brilliant creations of Jay Ward, who first debuted them in 1959 (produced in 1958) . We are doing it in the Historical Masquerade as opposed to the SF&F Masquerade to inject some much needed whimsy into the proceedings (and yes, I’ve already had a conversation with the director about doing so). 🙂
I (Kevin) am building Rocky and Bill is building Bullwinkle; each will have a section on this page
While a live project, we’ll be displaying the newest posts at the top of each section; after it’s completed, I’ll flip the display order to chronological. Don’t forget to click through to see all the photos and notes for an entry!
Rocket J Squirrel | Bullwinkle J Moose
Rocket J Squirrel
Rocky is also a great opportunity for me to update my fursuiting credentials; my first full suit was Torve the Trog, built 39 years ago for Costume-Con 3!
There is an unannotated Google Photos gallery to which I’m dumping photos; entries here will included annotations and process descriptions.
https://photos.app.goo.gl/Pc9w9oZCmh45gY2b7
-
Test of embedPress with Google Photos
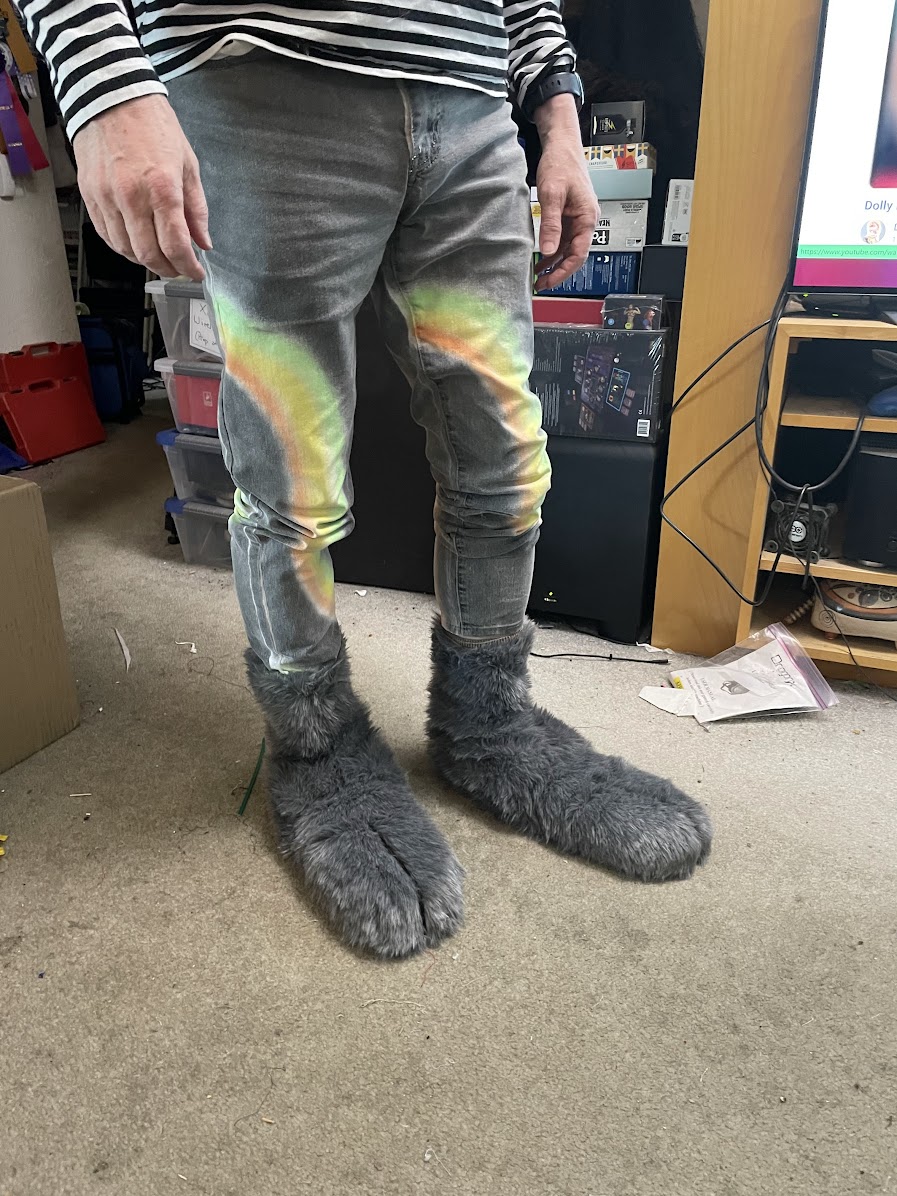
Rocky’s hind feet are always drawn as long and plain grey, with only two toes suggested by a midline, and no paw pads on the underside) My costume version of Rocky’s feet are being built on a pair of simple grey deck shoes with elastic inserts rather than laces. I’ve added pull straps to them…
-
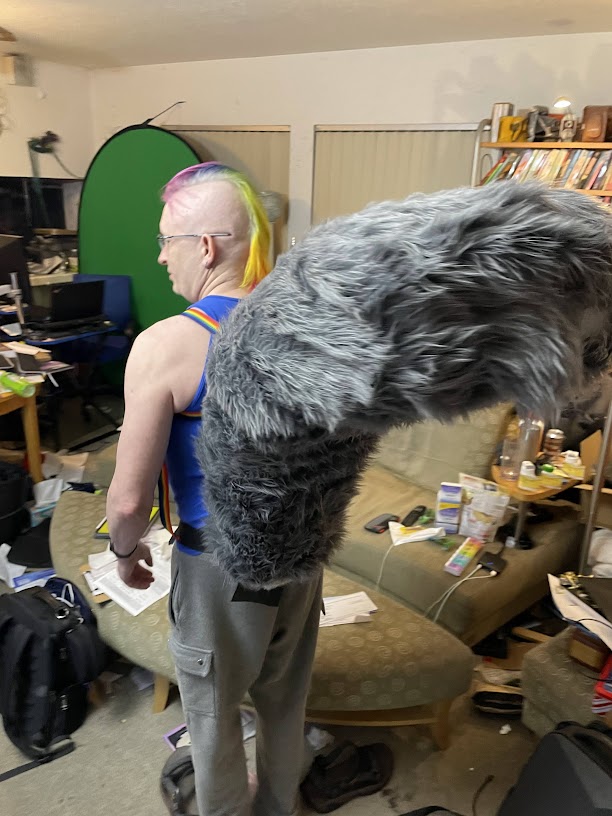
Rocky’s Got Back!
After about four hours work, Rocky’s silhouette is greatly improved for his future appearances!
-
Rocky’s Documentation!
This is what I put together to explain my reasoning for entering Rocky in Historical with some notes about his design and construction. Click on the image or this link to open the PDF,
-
Hey Rocky!
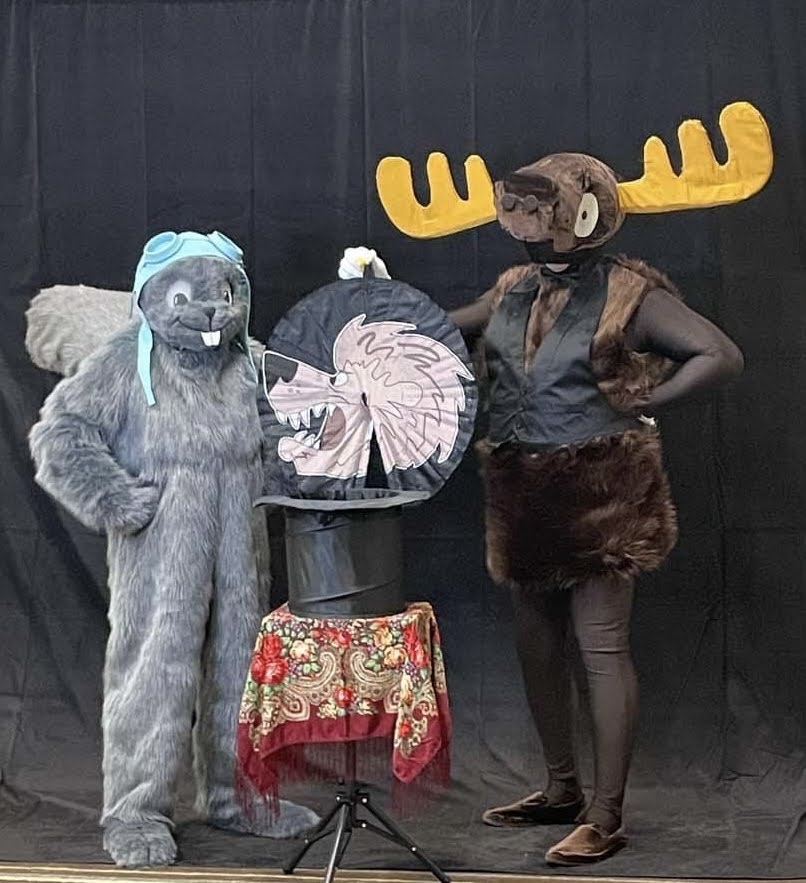
Here’s a great photo (thanks to Christine Doyle) taken before we went on stage at CC42 After our presentation, our friend Wolfcat joined us in the lobby to give Bullwinkle Natasha Fatale’s traditional greeting to Moose and Squirrel
-
Feet Don’t Fail Me Now!
Building the back and shaft of Rocky’s feet took a while. I did a basic pattern piece that would join up with the shape of the front of the paw. Then I shaved down a bunch of fur to 3/4″ pile and cut two of those out. I modified (and shortened) another pair of the…
-
Starting on Rocky’s Feet
Edit: I’ve updated the gallery with the images it was lacking. Rocky’s hind feet are always drawn as long and plain grey, with only two toes suggested by a midline, and no paw pads on the underside) My costume version of Rocky’s feet are being built on a pair of simple grey deck shoes with…
-
Hokey Smokes! It worked
Today I added the tail mounting port to the “hero” fursuit body and did a quick try-on with the body, tail, head and paws.I’m super happy with how it looks! I’m putting this gallery under an additional spoiler password. If you really want to see the photos, the PW is Spoil Me Sweetie!(don’t forget the…
-
Improving the Tail Rigging
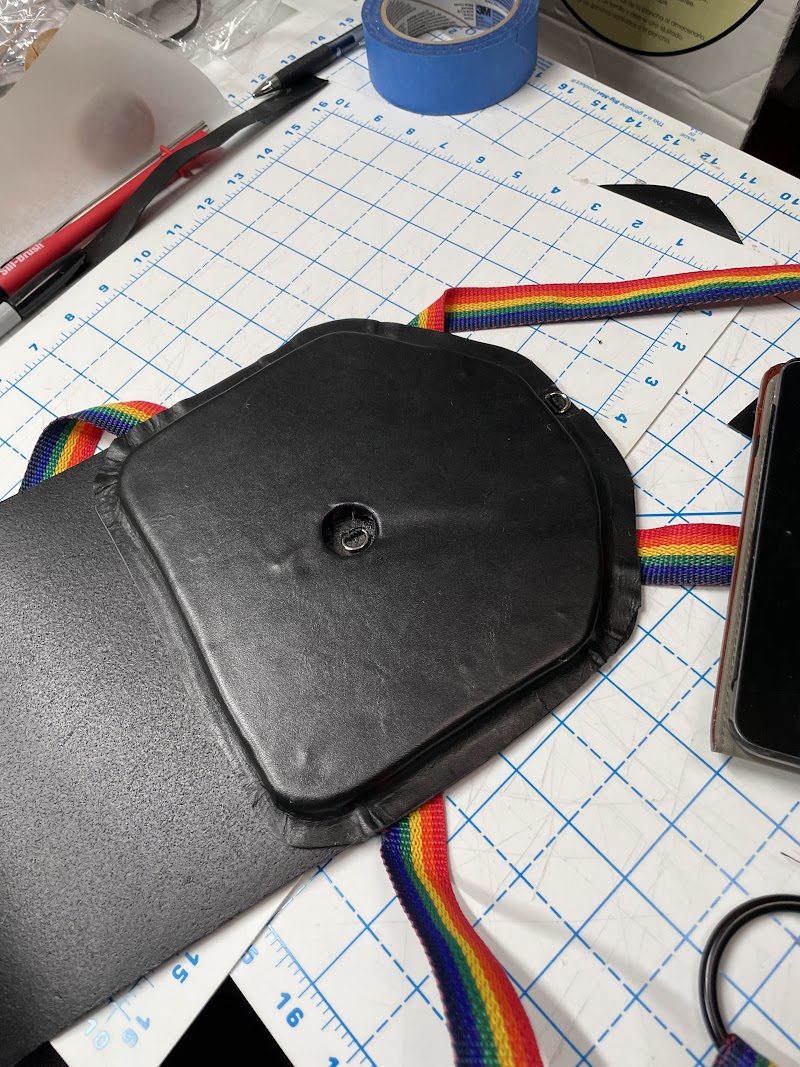
Reinforcing the rigging harness I needed to stiffen the tail support across the shoulder blades because even the heavy hide I used was too flexible. Fortunately I’ve acquired a healthy set of power tools in the course of working on my townhouse and building both Tiki Dalek and Thinbot, so it only took about 20…
-
Building Rocky’s Body
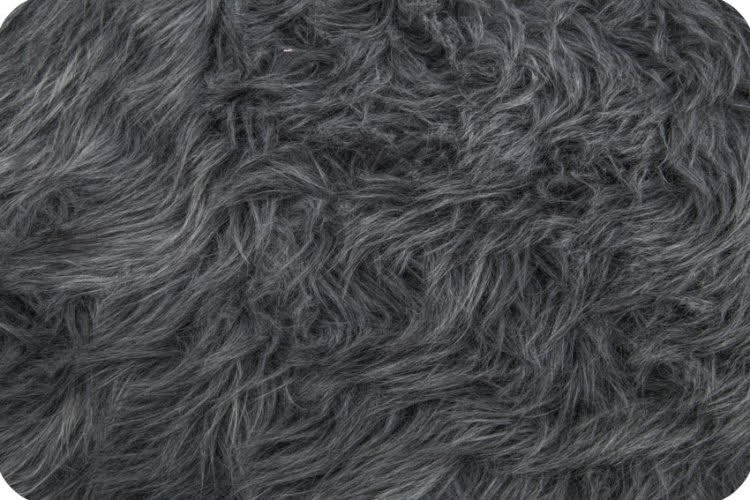
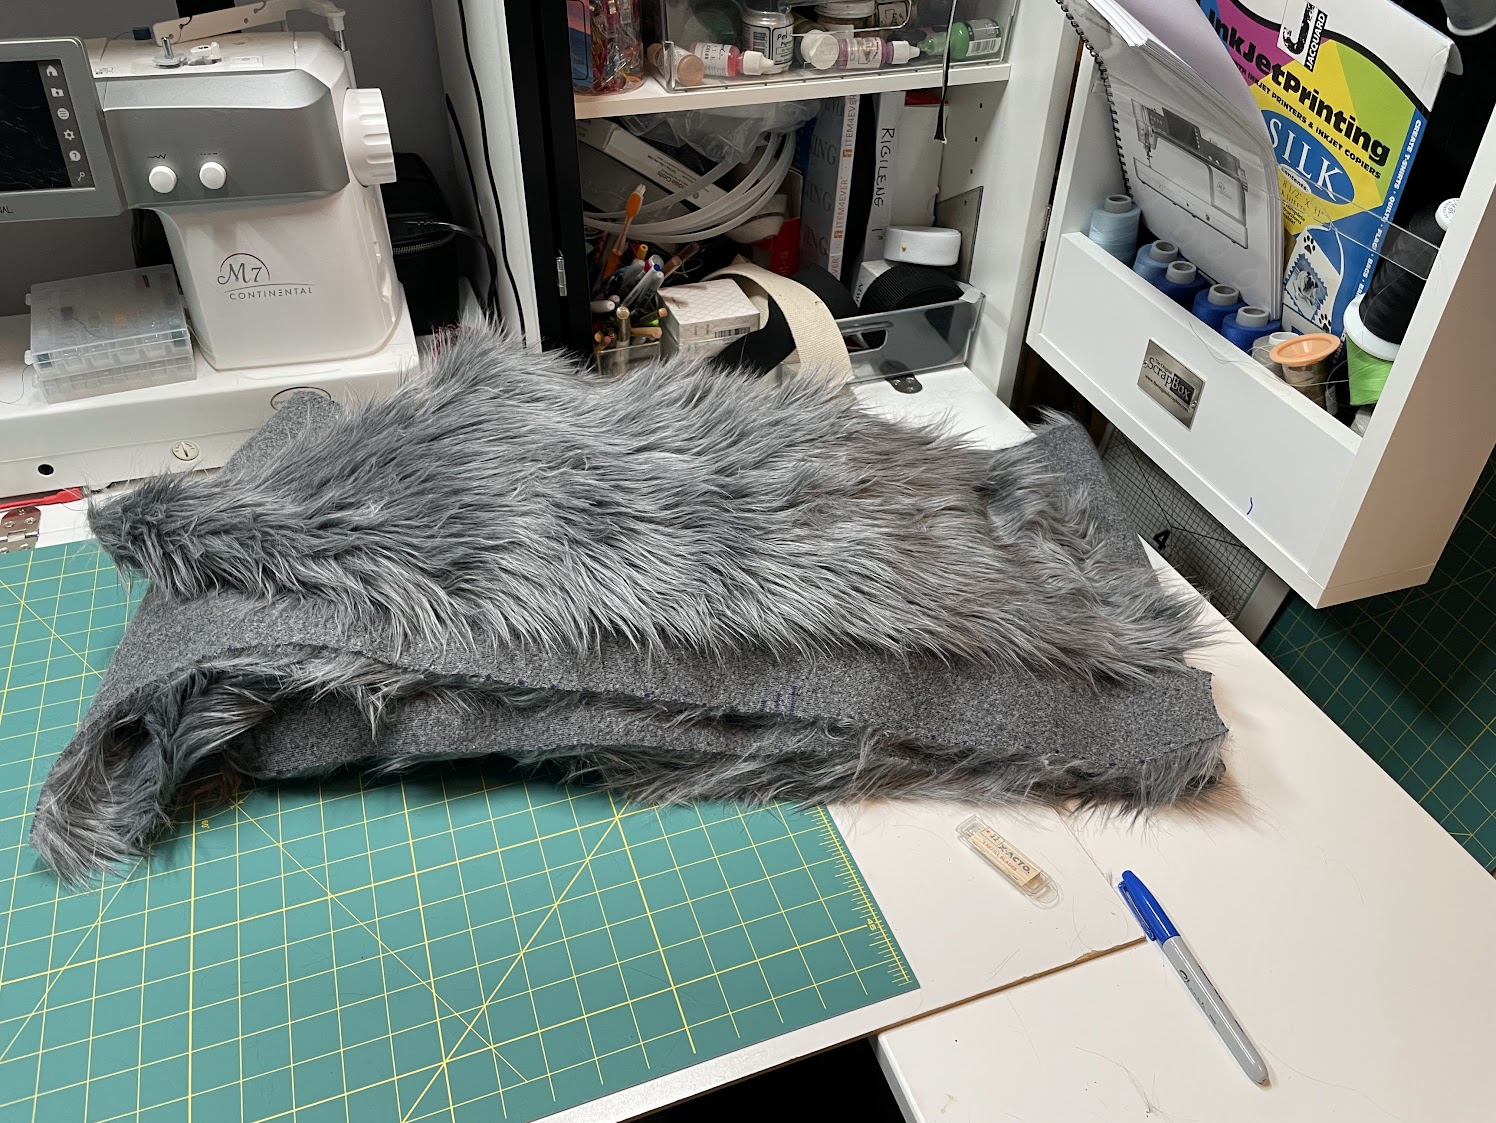
A note on piecing the fur I’ve mentioned a couple times I’m using a special technique to to piece the fur so the seams are almost invisible. The first trick is carefully cutting the yardage from the back with a sharp blade, cutting just through the knit backing, so the pile (fur) isn’t chopped off….
-
Now Two Paws, Plus Packing!
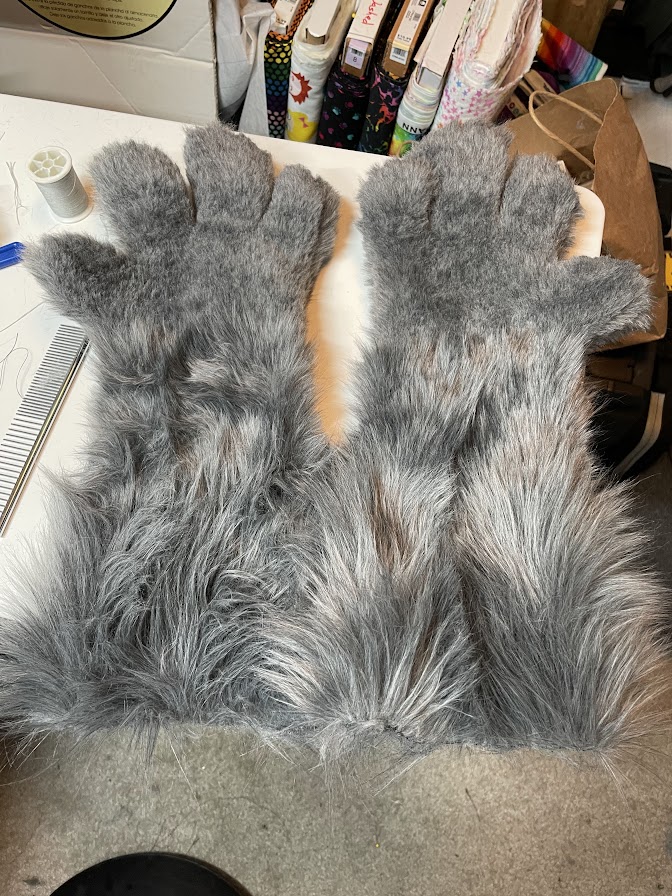
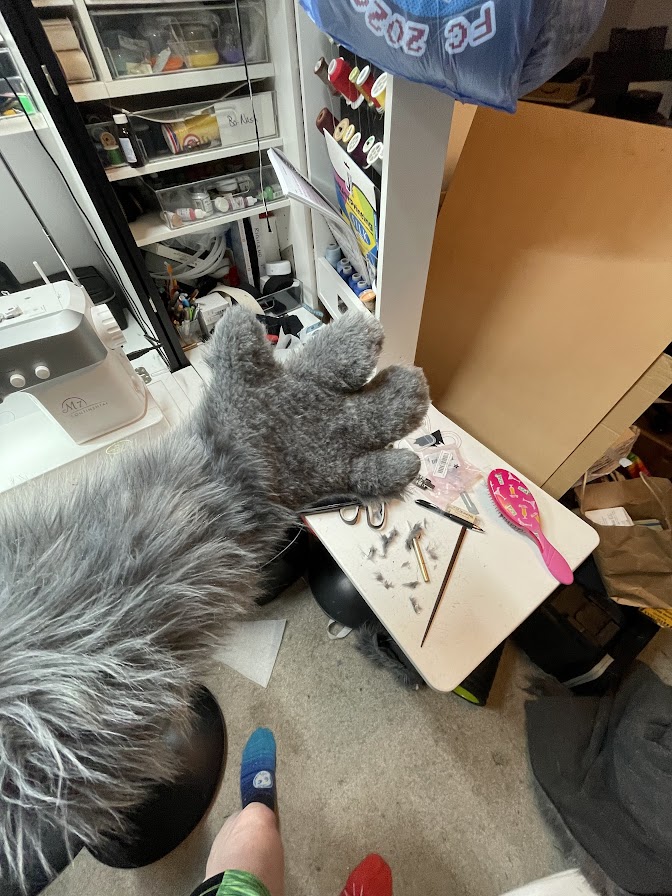
Two Paws are Better Than One After the successful (but requiring lots of handwork to fix gaps in the seams) on the left paw, I set out to build the right paw a little more methodically. First I trimmed the batting layer just about 1/8″ in from the edges. Then I hand basted the batting…
-
The Paws That Refreshes
While waiting for the zippers to arrive for the body, I started working on Rocky’s paws. I used as a reference Matrices’ excellent tutorial and pattern for basic paws. Of course, Rocky has only 3 fingers, so I had to modify the pattern for my purposes. After some dexterity tests I decided to group my…
-
Fursuit (some assembly required)
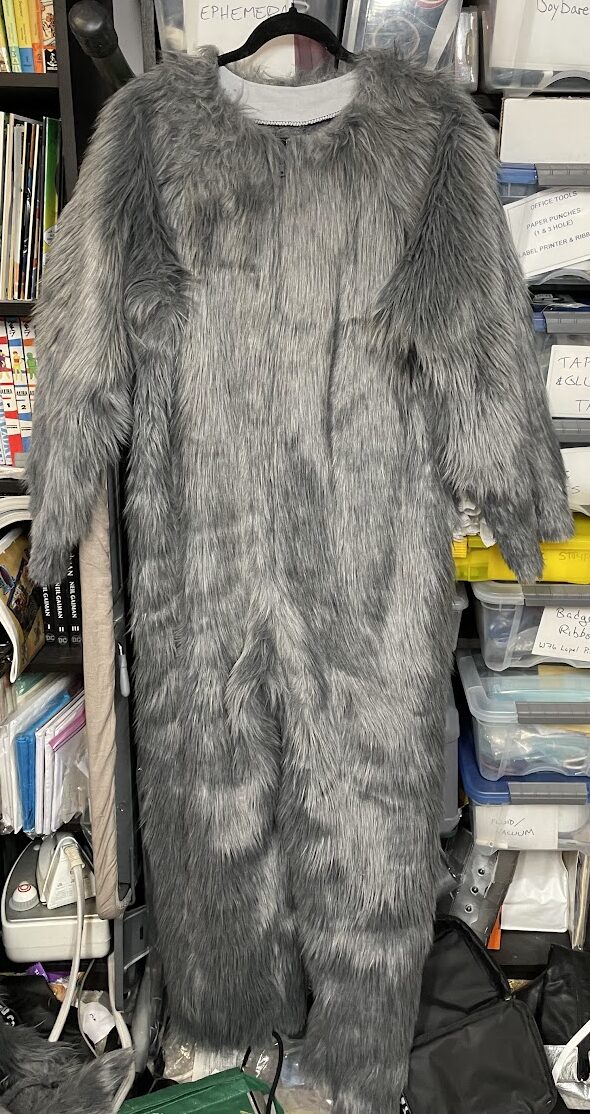
Monday night (Mar 11) I finished marking out all the fursuit body pieces (4 front and back panels, 4 sleeve front and back pieces). I then set out to cut them all out (sans seam allowance, as marked). The best way to do this is from the back with a sharp blade, cutting just through…
-
So Much Handwork…
This weekend has been some finishing work on the tail and hat, which has entailed an enormous quantity of handwork. Finishing the tail While the main assembly of the tail was complete, neither end had been stitched up yet. The tip of the tail had been left open to make it possible to insert the…
-
Fursuit body test
Next up is building Rocky’s body. He’s such a simple character design that I’m going for a very simple onesie style fursuit rather than one with sculpted padding. I’m using the Andrea Schewe Simplicity 2853 pattern for the starting point. I will, however be using a number of tricks (including Matrices’ technique for installing the…
-
Chasing My Tail
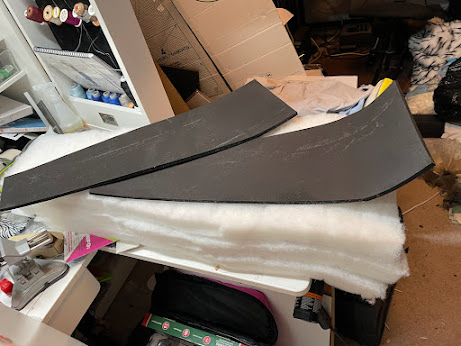
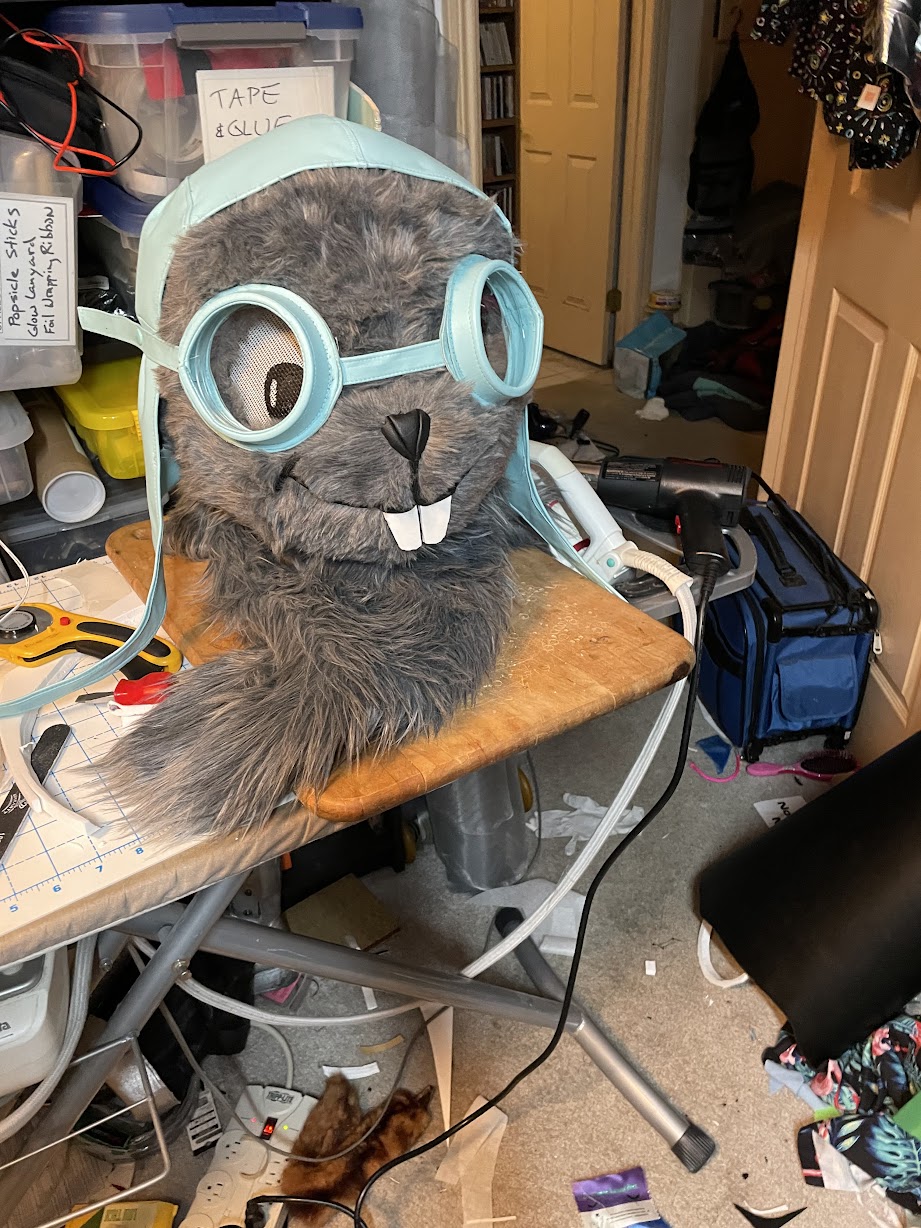
This weekend I set out to build Rocky’s tail. It’s quite long/tall (extends above his head in many animation frames), and I want the costume to be generally huggable, so I needed it to be soft. I detailed previously my decision to laminate NuFoam stabilized fiberfill with an inner piece of EVA to give it…
-
Starting Rocky’s Tail
One of Rocky’s signature features is his giant fluffy tail (it often rises taller than his head in the cartoons). After finishing his head and flying cap, that tail is my next major construction challenge (and I only have 4 weeks left! eep!). I investigated several ways to make the tail free-standing and self-supporting, but…
-
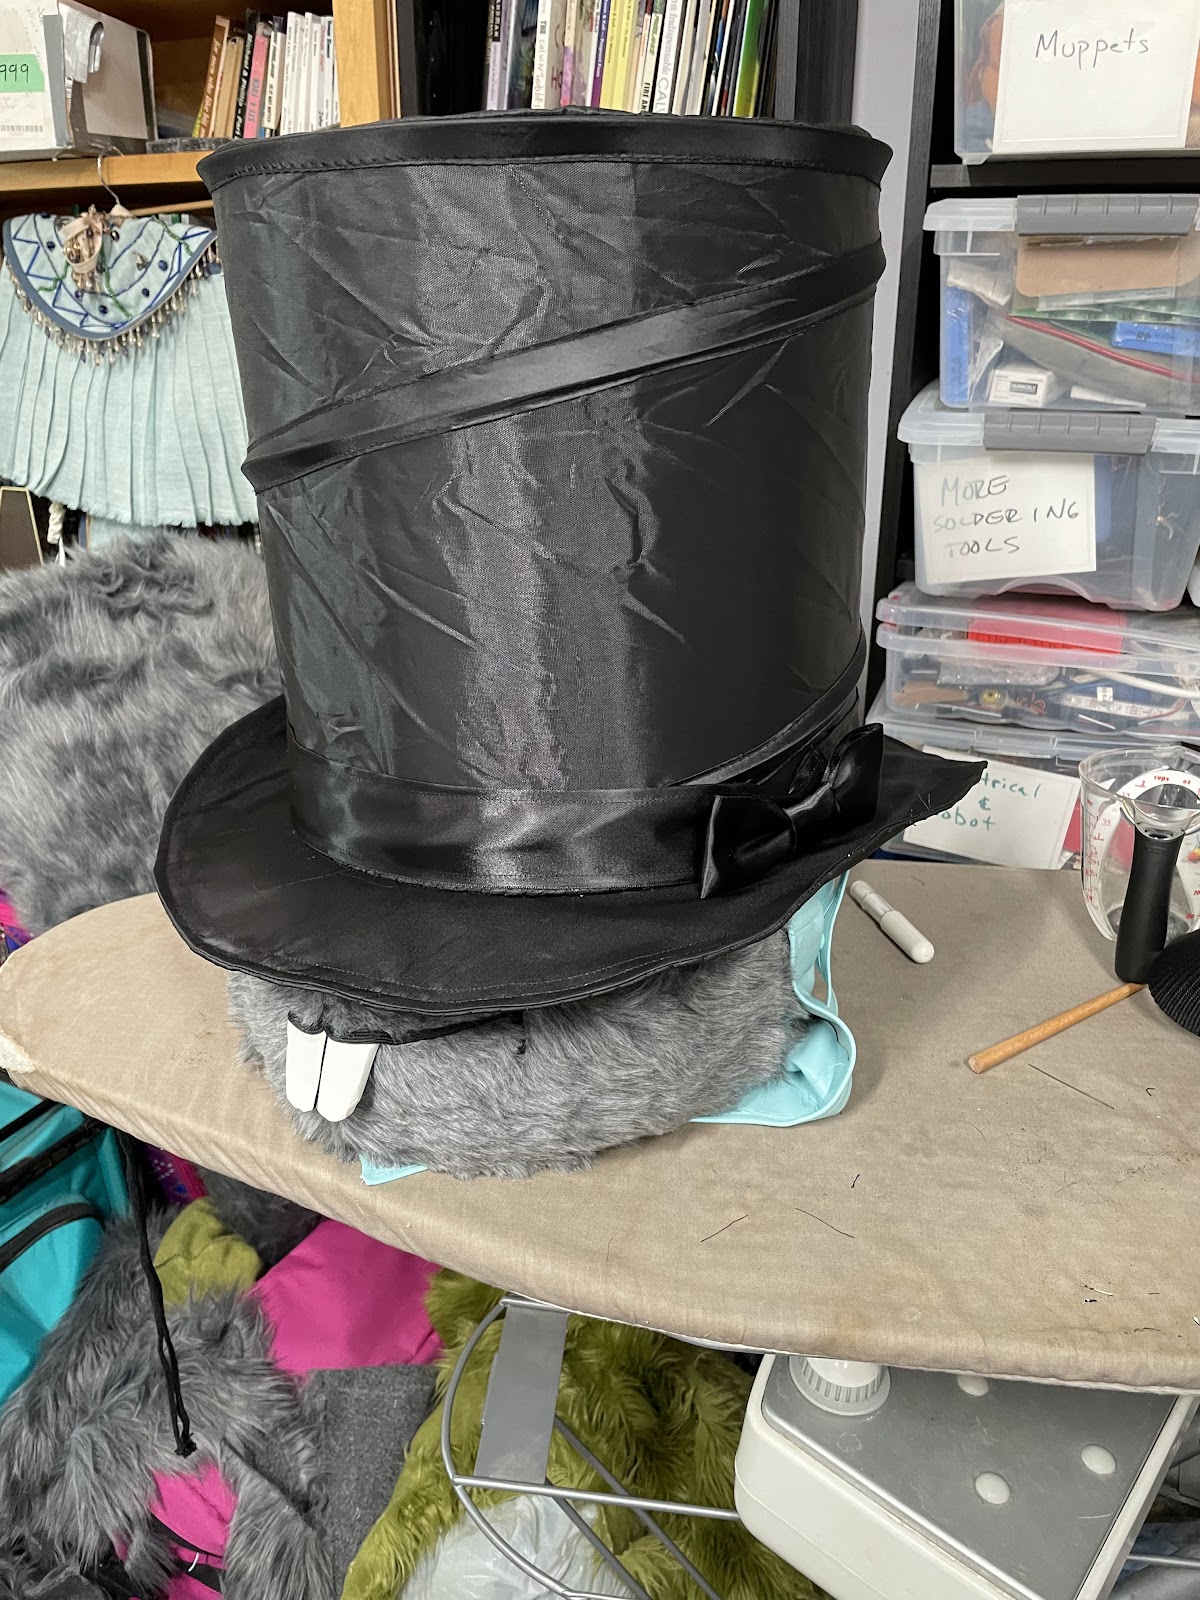
Building a top hat for Bullwinkle
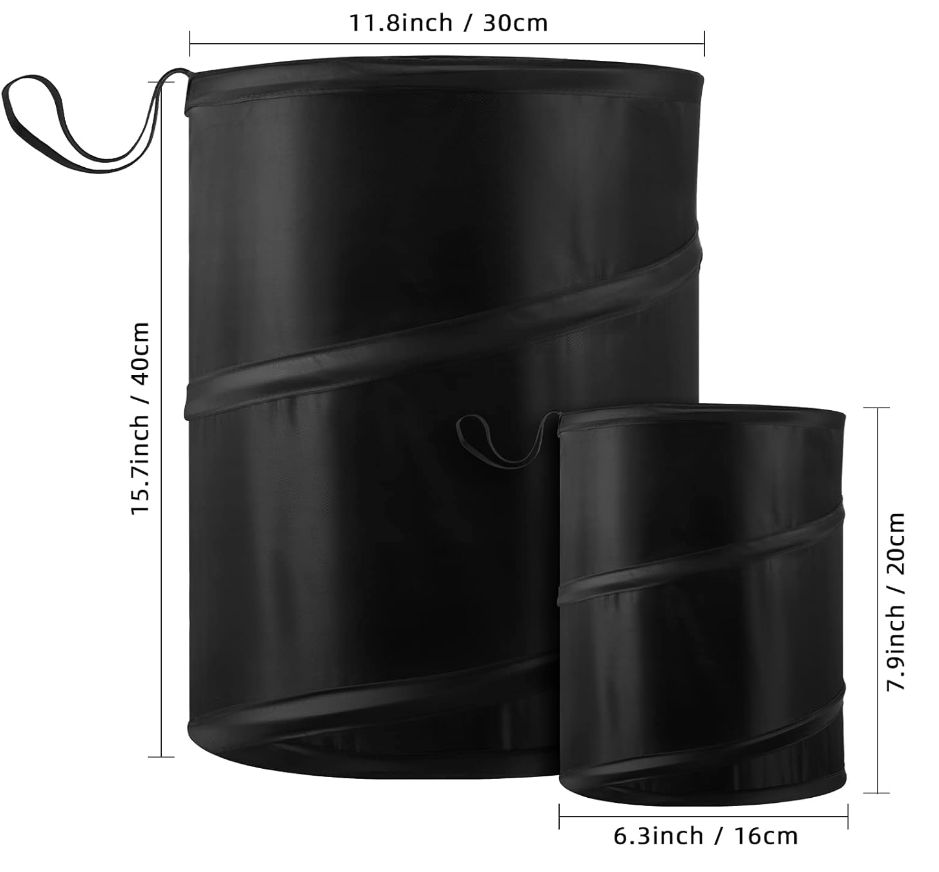
We need Bullwinkle’s iconic magician’s top hat for our on-stage presentation, but Moose has Large Head. Plus, packing issues.While I have an actual opera hat (collapsible Top Hat) it is Kevin-sized and far too small for the Moose. I found a popup cylindrical black hamper/wastebin that was 12×15″ and ordered it. The proportions are off…
-
Goggle-y Eyes! (Goggle Snaps)
The last detail for the goggles was to attach them to the cap. It turned out I had some pale blue plastic snaps which were an almost perfect snap. A little bit of finesse in placing them, and Rocky can now wear his goggles on top of his head (as he is always drawn in…
-
OMGWTF GOGGLES!
Rocky now has goggles! This was a bit of a trial. After making the basic pattern, I started cutting frames to support the lenses out of some 3mm thick heavy cowhide in my stash. It took 3 iterations to get the pattern the right size, as I wanted to wrap it in the light blue…
Bullwinkle J Moose
-
Hey Rocky!
Here’s a great photo (thanks to Christine Doyle) taken before we went on stage at CC42 After our presentation, our friend Wolfcat joined us in the lobby to give Bullwinkle Natasha Fatale’s traditional greeting to Moose and Squirrel
-
Building a top hat for Bullwinkle
We need Bullwinkle’s iconic magician’s top hat for our on-stage presentation, but Moose has Large Head. Plus, packing issues.While I have an actual opera hat (collapsible Top Hat) it is Kevin-sized and far too small for the Moose. I found a popup cylindrical black hamper/wastebin that was 12×15″ and ordered it. The proportions are off…
-
Bullwinkle Torso build!
So I cut out and sewed the furry fabric for the Bullwinkle “tunic” torso piece. I flopped the fabric over to the not furry side, used a silver sharpie to mark the pattern and used my good scissors to cut out the material. Sorry I forgot to take pictures. But I left it “inside out”…


