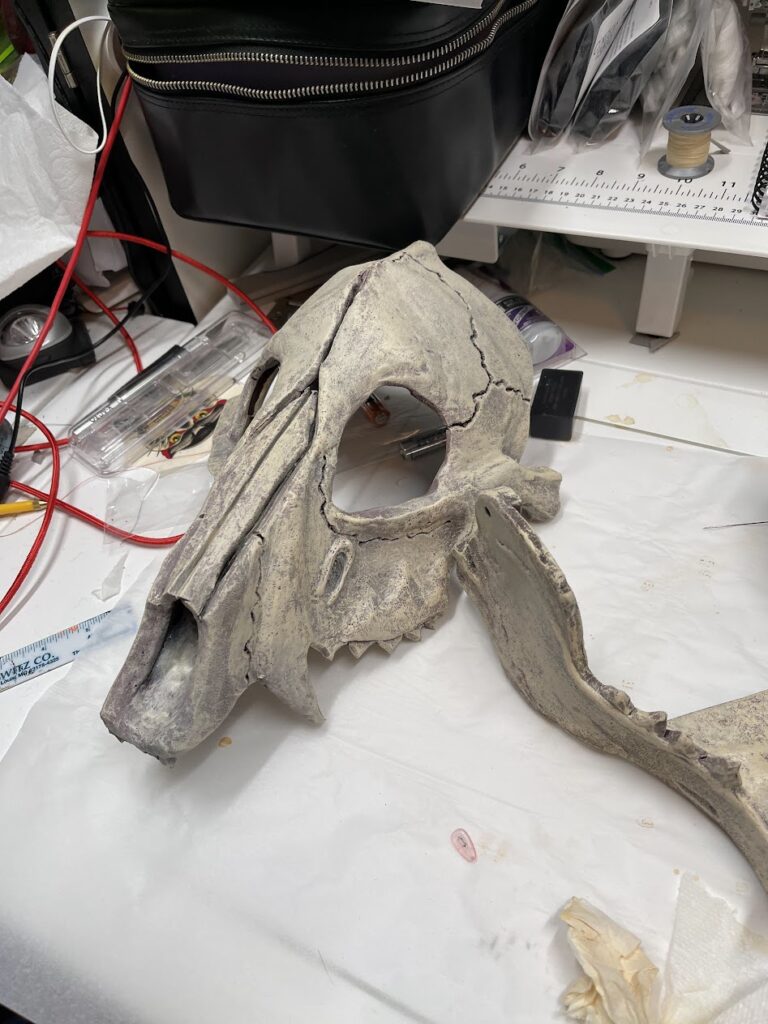
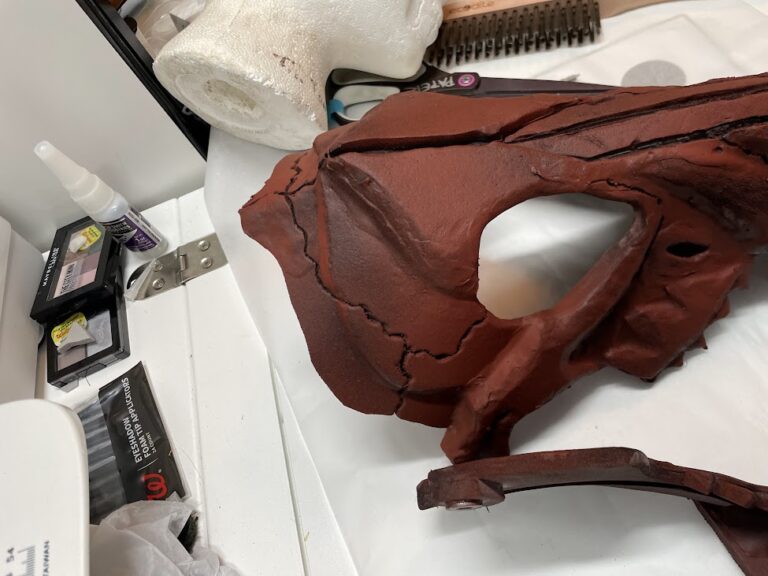
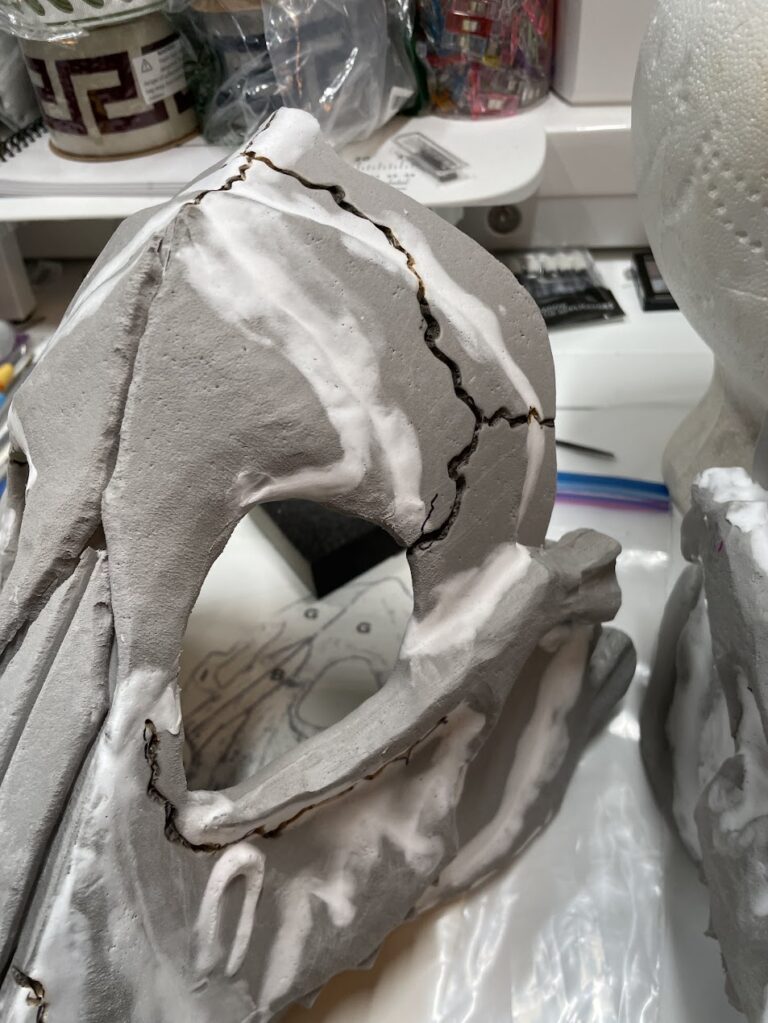
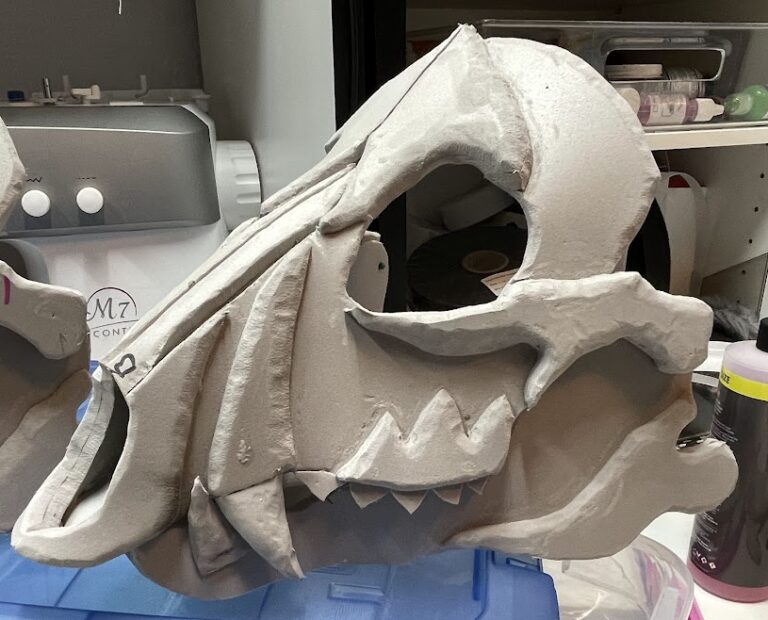
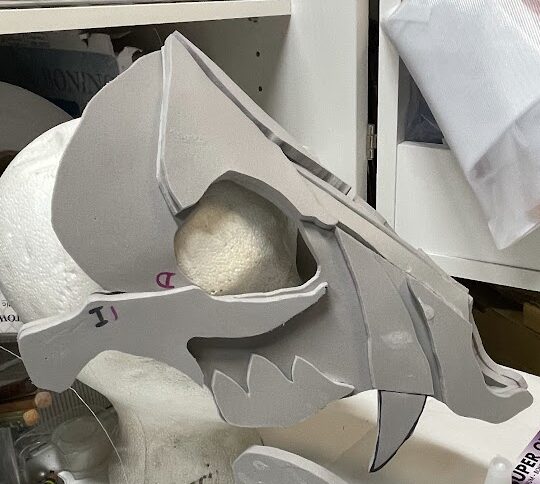
Adding texture and “sutures” to the foam to simulate bone
|

Adding texture and “sutures” to the foam to simulate bone

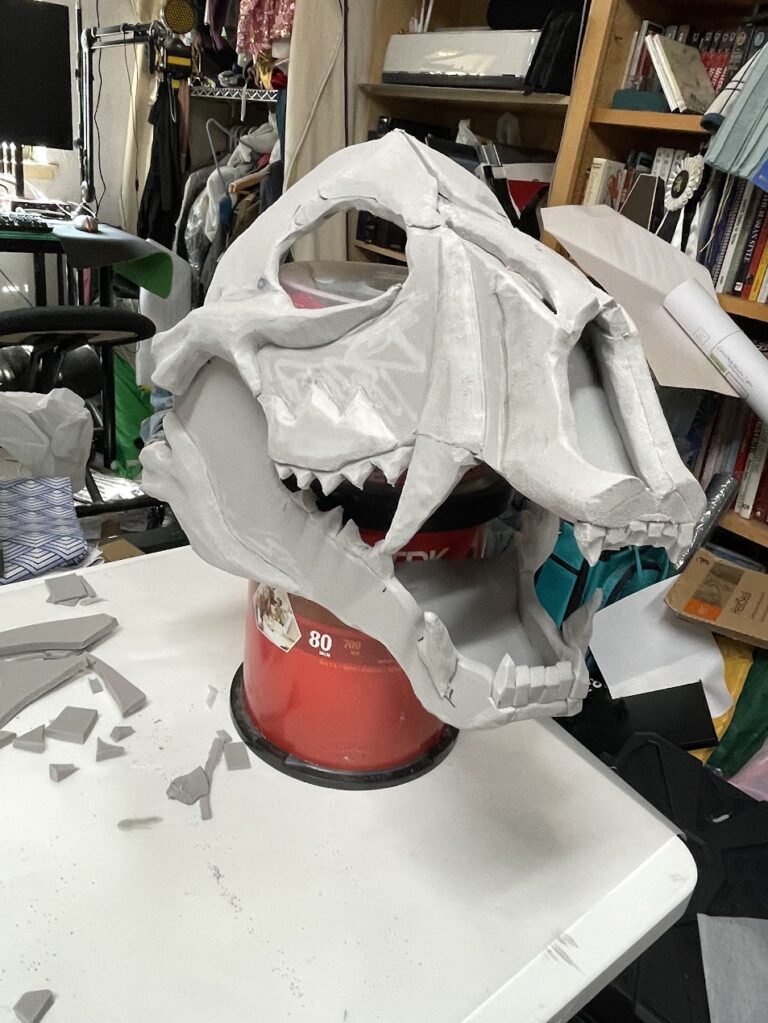
This next step was in two stages: Adding Texture to the foam “bone” This step was actually fairly fast and easy. You take a wire brush, and tap/slap it firmly against the foam surfaces, so the bristles pockmark it and create “pores”.Again, Andy and I each worked on one skull; we used 3 different brushes….

Getting some character: individual sanding/shaping, and more Nasty, Big, Pointy, Teeth
|

Getting some character: individual sanding/shaping, and more Nasty, Big, Pointy, Teeth

The next step was to do more shaping on the main pieces of the skull with the Dremel. We got a bunch more sanding and shaping heads, and Andy and I each took one of the masks and worked on it for ourselves. This let us each give our own mask a bit of personalized…

| |

On Stage, Part 2 (Richard Man Photos, Video)

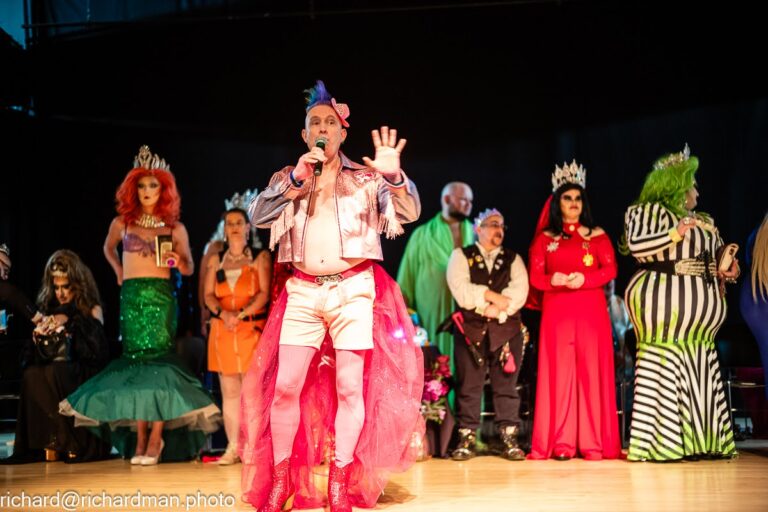
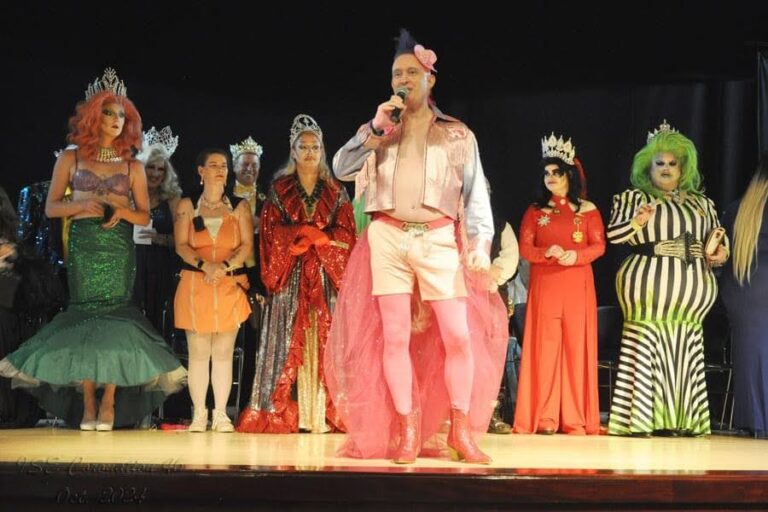
Richard got a great series of photos of my performance, including the wall of streamers. To cap it off, Christine Doyle captured this non-embarassing recording of my performance. You can tell I’m having fun and so is the audience (though you can’t hear them singing along; well over a quarter of the room joined in)….

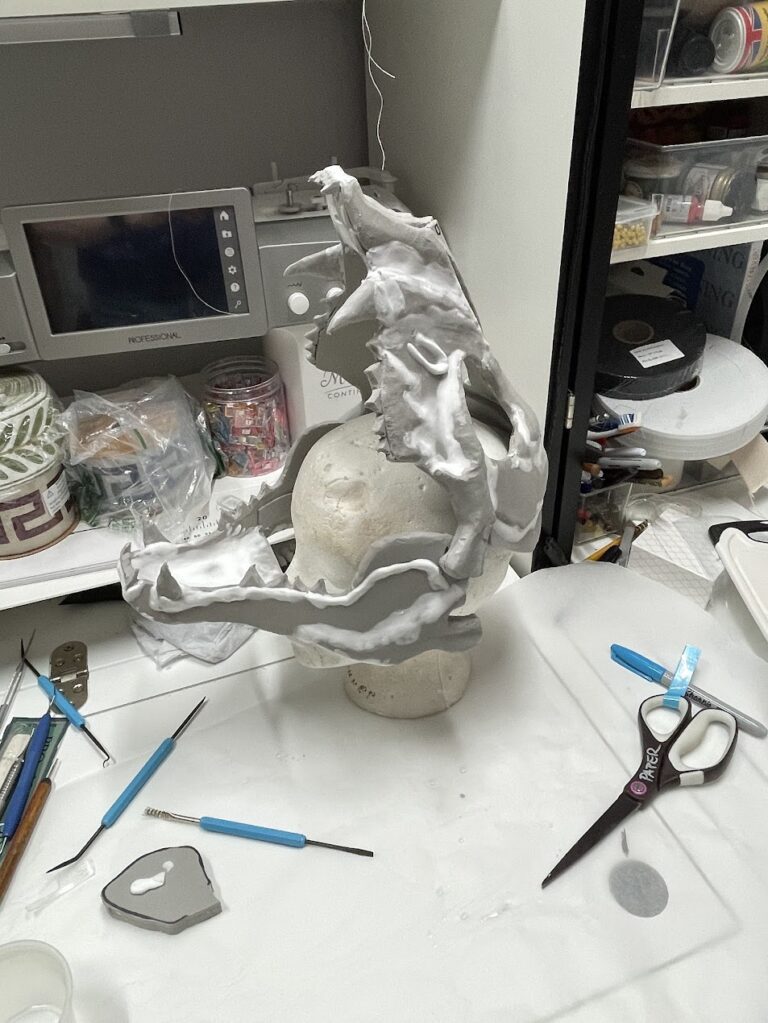
Starting assembly on the first mask
|

Starting assembly on the first mask

October 7, 2024 Using a gap filling superglue (Bob Smith Industries Insta-Cure Plus *), I did most of the rough assembly of the first skull in an evening, following along with Steve’s demonstration in the Youtube Video (https://www.youtube.com/watch?v=0LKYCmaZ2uE&ab_channel=SKSProps)He goes pretty fast, so there was lots of pausing and rewinding going on. The superglue was cranky…